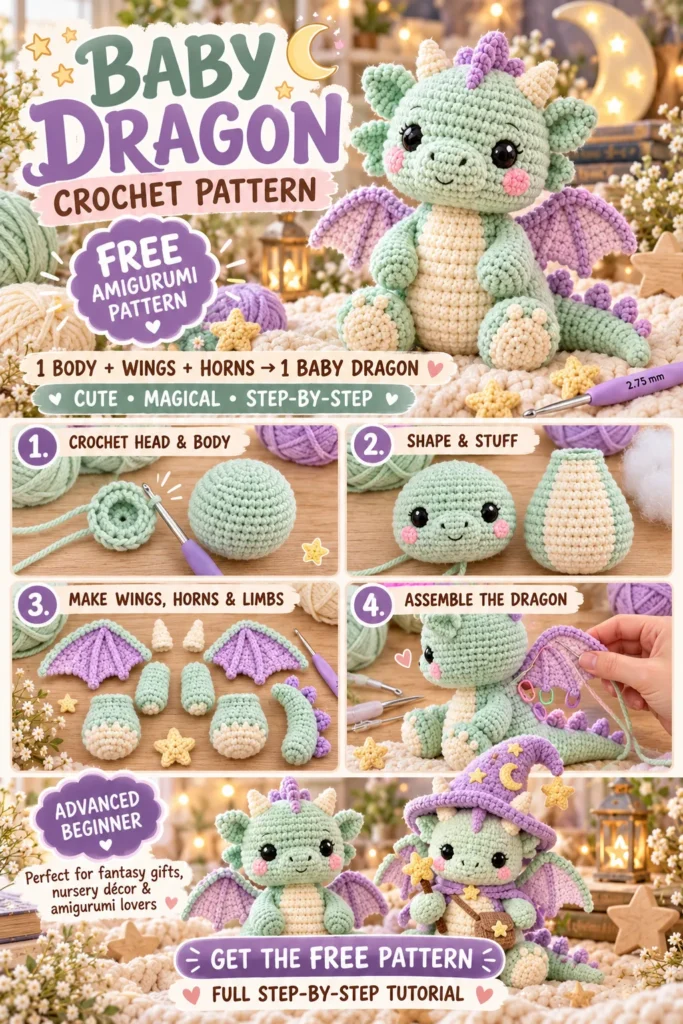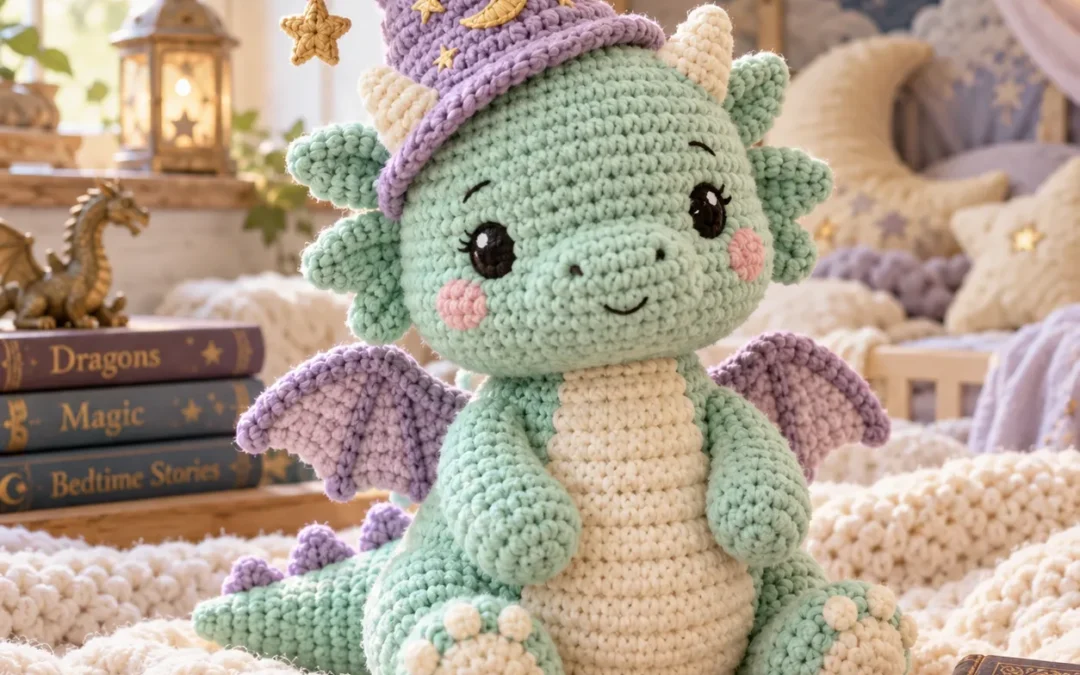
Create a tiny magical friend with this Baby Dragon Crochet Pattern.
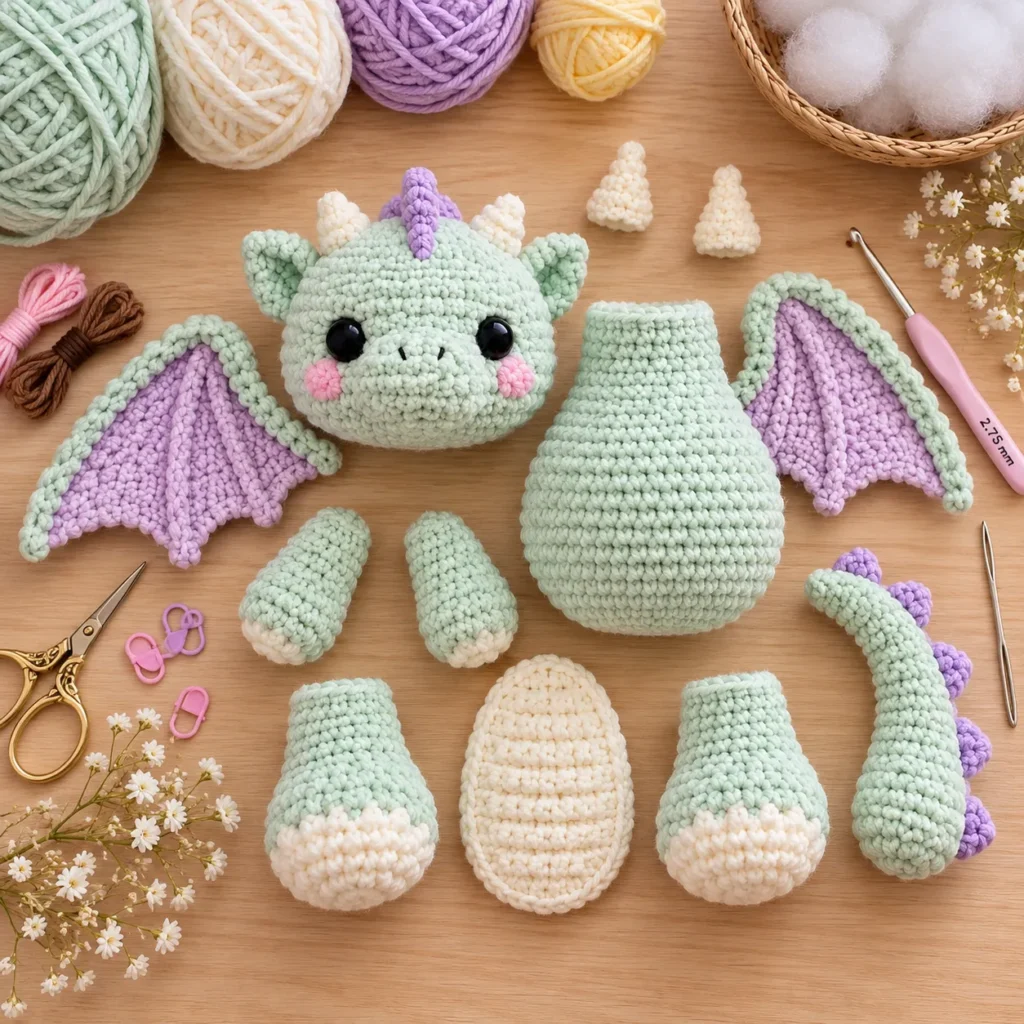
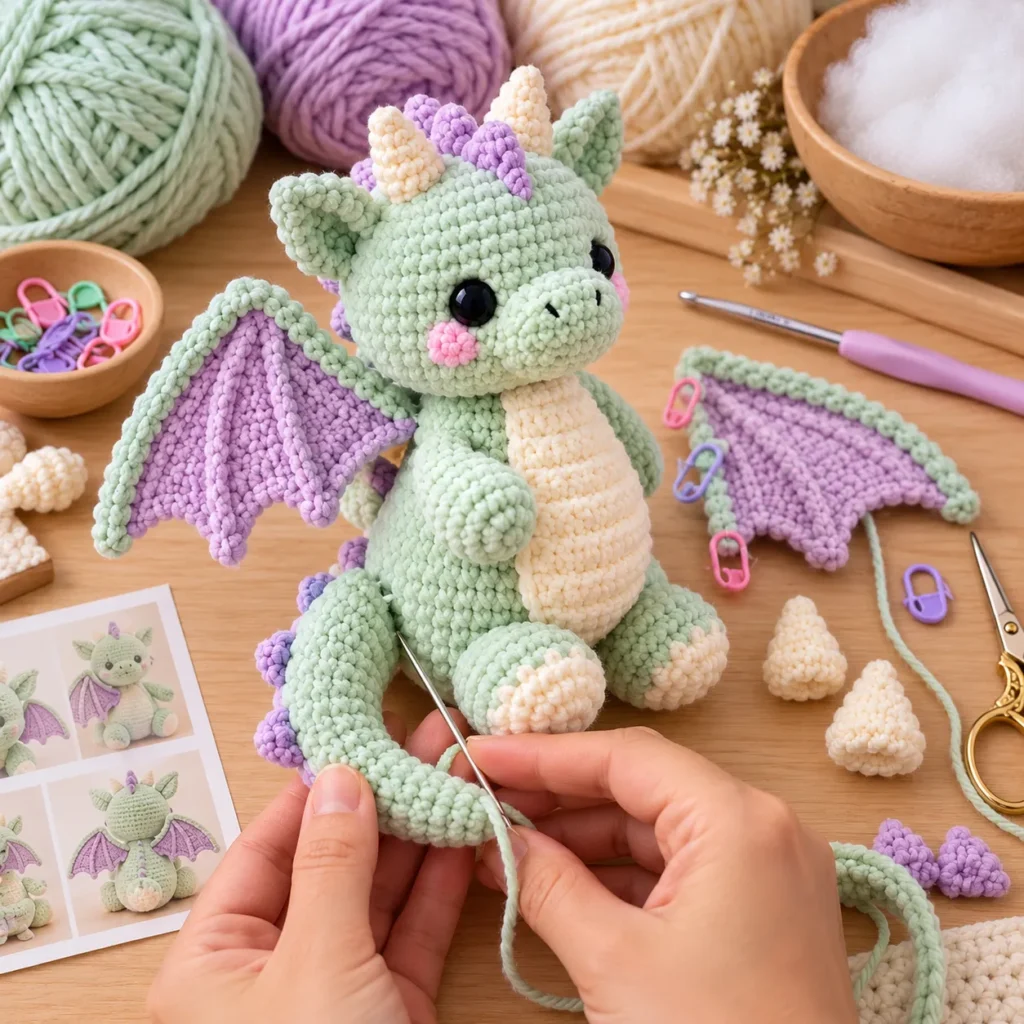
This adorable amigurumi dragon combines a plump mint-green body with a cream belly, tiny horns, soft wings, rounded feet, a little tail, and a sweet embroidered face.
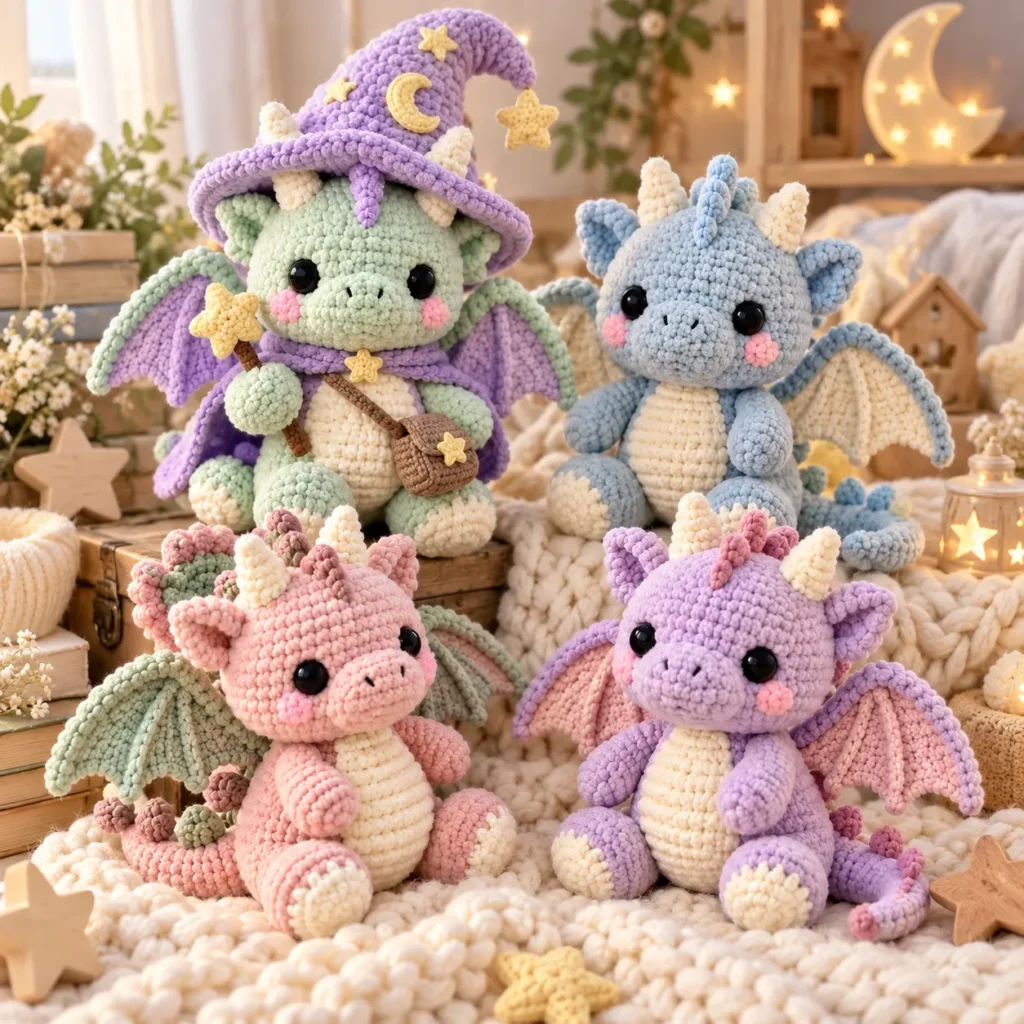
For an extra whimsical finish, you can also crochet an optional wizard hat, cape, star wand, and miniature shoulder bag.
The finished dragon is perfect for fantasy-themed gifts, nursery décor, handmade collections, desk companions, and anyone who loves cute mythical creatures.
Baby Dragon Crochet Pattern at a Glance
| Pattern Detail | Information |
|---|---|
| Skill Level | Advanced Beginner / Intermediate |
| Crochet Terms | US terminology |
| Yarn Weight | DK / Light Worsted |
| Hook Size | 2.75–3 mm |
| Finished Height | Approx. 7–9 in / 18–23 cm |
| Construction | Separate pieces + assembly |
| Main Stitch | Single crochet |
| Wings | Flat crochet pieces |
| Accessories | Optional wizard set |
| Best For | Fantasy gifts, décor, amigurumi collections |
Why You’ll Love This Baby Dragon
This little dragon is:
- Cute rather than scary
- Easy to customize
- Perfect for pastel color palettes
- Great for leftover yarn
- Detailed without being overly complicated
- Fun for fantasy crochet lovers
- Easy to turn into different characters
You can make the basic dragon alone or add the full magical costume.
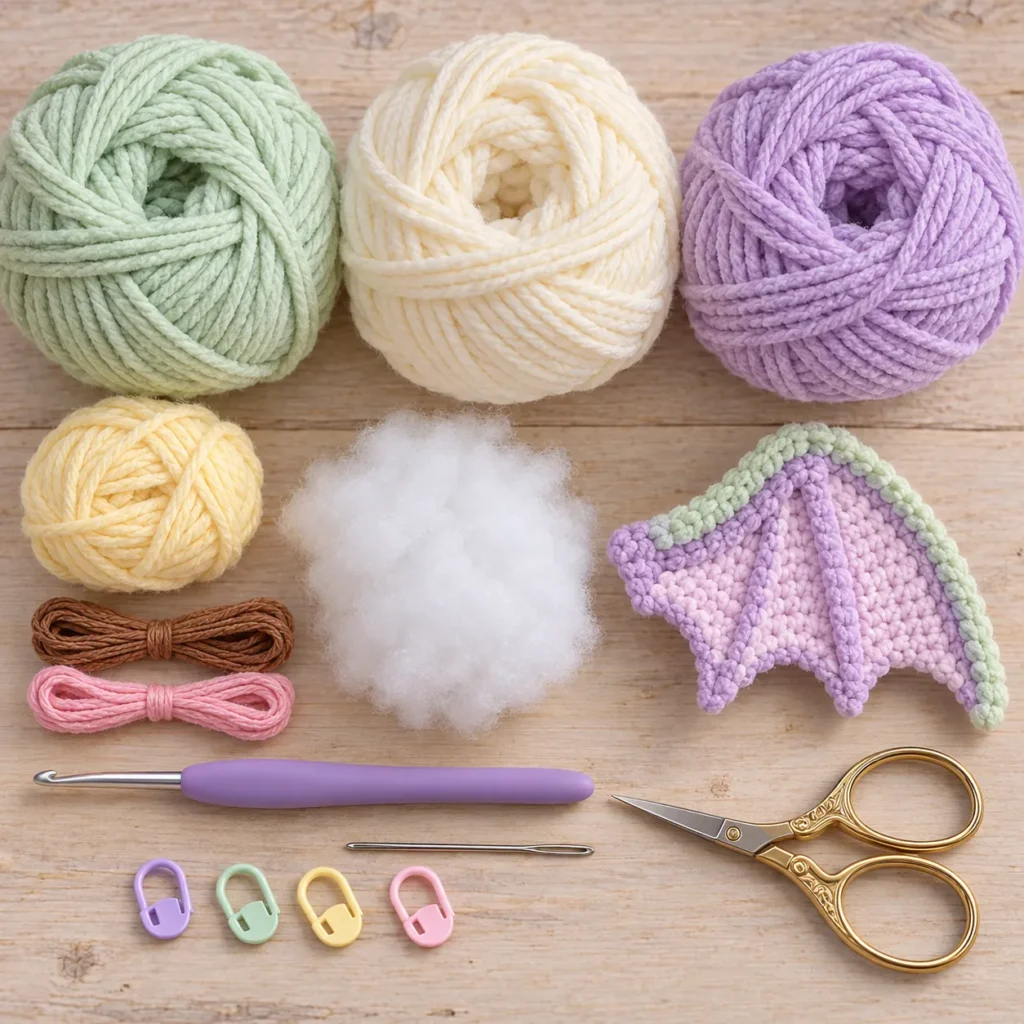
Materials
For one dragon:
- Approx. 90–120 yd mint-green DK yarn
- Approx. 30 yd warm-cream yarn
- Approx. 25–35 yd lavender yarn
- Small amount pale-yellow yarn
- Small amount brown yarn
- Black embroidery floss
- Pale-pink embroidery floss
- 2.75–3 mm crochet hook
- Fiberfill stuffing
- Yarn needle
- Scissors
- Stitch markers
Optional wizard accessories:
- Lavender yarn
- Golden-yellow yarn
- Brown yarn for wand and bag
- Small amount taupe yarn for bag
Crochet Abbreviations
| Abbreviation | Meaning |
|---|---|
| MR | Magic ring |
| ch | Chain |
| sc | Single crochet |
| hdc | Half double crochet |
| dc | Double crochet |
| inc | 2 sc in same stitch |
| dec | Invisible decrease |
| sl st | Slip stitch |
| st / sts | Stitch / stitches |
| FO | Fasten off |
Pattern Notes
The dragon is made from separate pieces:
- Head
- Body
- Arms
- Legs
- Snout
- Belly patch
- Horns
- Wings
- Tail
Work in continuous spirals unless otherwise stated.
Use a stitch marker to track the beginning of each round.
For toys intended for babies or toddlers, use embroidered eyes rather than plastic safety eyes.
Part 1: Crochet the Dragon Head
Using mint-green yarn:
Round 1
6 sc into MR.
6 sts
Round 2
Inc around.
12 sts
Round 3
Repeat:
sc, inc
around.
18 sts
Round 4
Repeat:
2 sc, inc
around.
24 sts
Round 5
Repeat:
3 sc, inc
around.
30 sts
Rounds 6–11
Sc around.
30 sts
Round 12
Repeat:
3 sc, dec
around.
24 sts
Begin stuffing.
Round 13
Repeat:
2 sc, dec
around.
18 sts
Round 14
Repeat:
sc, dec
around.
12 sts
Finish stuffing.
Fasten off with a long sewing tail.
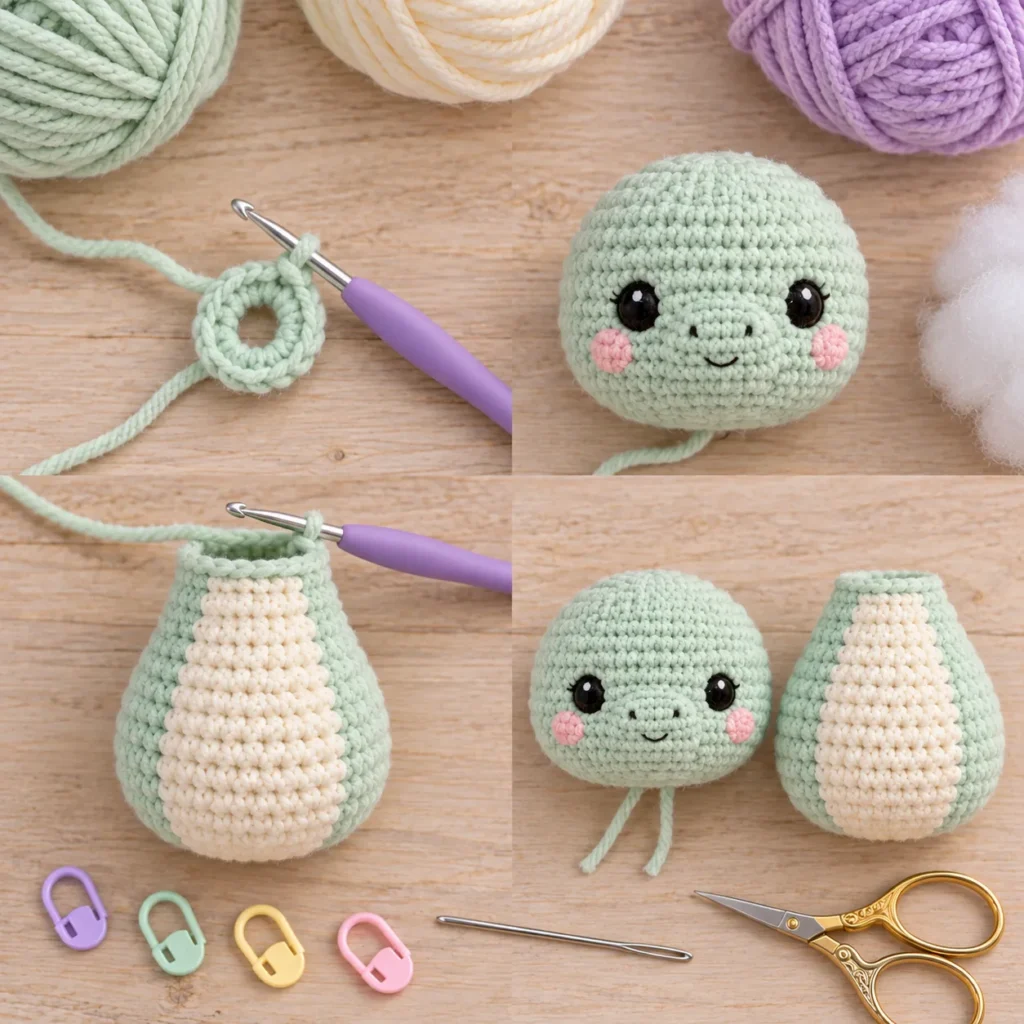
Part 2: Crochet the Body
Using mint-green yarn:
Round 1
6 sc into MR.
Round 2
Inc around.
12 sts
Round 3
Repeat:
sc, inc
around.
18 sts
Round 4
Repeat:
2 sc, inc
around.
24 sts
Rounds 5–10
Sc around.
Round 11
Repeat:
2 sc, dec
around.
18 sts
Round 12
Sc around.
Round 13
Repeat:
sc, dec
around.
12 sts
Stuff firmly.
Fasten off with a long tail.
The body should be plump with a slightly narrower neck.
Attach the Head
Pin the head to the body.
Check from the front and side.
Sew securely around the neck opening.
Add a little more stuffing before fully closing if necessary.
Part 3: Crochet the Cream Belly
Using warm-cream yarn:
Ch 10.
Starting in second chain:
Sc across.
Work 3 sc into the final chain.
Rotate.
Sc along the opposite side.
Continue around the oval for another 1–2 rounds, increasing at the curved ends.
The finished belly patch should fit from the dragon's chest to lower tummy.
Fasten off with a long tail.
Pin it centrally on the body and sew around the edge.
Optional Textured Belly
For a slightly more detailed dragon:
Work the final belly round in:
hdc BLO
This creates subtle ribbing.
Part 4: Crochet the Arms
Make 2.
Using mint yarn:
Round 1
6 sc into MR.
Round 2
Repeat:
sc, inc
around.
9 sts
Rounds 3–7
Sc around.
Stuff only the lower half lightly.
Flatten the opening.
Fasten off with a long tail.
Sew one arm to each side of the upper body.
Angle them slightly forward.
Part 5: Crochet the Legs
Make 2.
Begin with cream for the toes.
Round 1
6 sc into MR.
Round 2
Inc around.
12 sts
Change to mint.
Rounds 3–5
Sc around.
Lightly stuff.
Fasten off.
Attach the legs at the lower front of the body so the dragon can sit upright.
Part 6: Crochet the Snout
Using mint yarn:
Ch 6.
Work around the chain to create a small oval.
Complete approximately 2 rounds.
Lightly stuff.
Sew to the lower front of the head.
Use black embroidery floss to add:
- Two tiny nostrils
- Optional tiny smile
Add the Eyes
Embroider two round or slightly curved black eyes above the snout.
For a sleepy dragon, use short curved lines instead.
Add Rosy Cheeks
Using pale-pink floss, add a few tiny stitches below each eye.
Keep them subtle.
Part 7: Crochet the Horns
Make 2–4, depending on your preferred design.
Using warm cream:
Round 1
4 sc into MR.
Round 2
Sc around.
Round 3
Repeat:
sc, inc
as needed.
Continue for another short round.
Fasten off.
Lightly stuff or leave flat.
Attach two horns on top of the head.
Optional smaller horns can be added along the sides.
Optional Head Spike
Make one small tapered spike in mint or lavender and sew it centrally between the horns.
Part 8: Crochet the Dragon Wings
Make 2.
Using pastel-lavender yarn:
Ch 8.
Starting in second chain:
Sc, hdc, dc, dc, hdc, sc across.
Turn.
Work back across while creating slight scallops with combinations such as:
sl st, 3 dc in one stitch, sl st
Repeat to create 2–3 wing sections.
Fasten off with a long tail.
Add Wing Border
Using mint yarn:
Work one round of sc around the outer edge.
This creates a beautiful contrasting dragon-wing outline.
Attach the Wings
Pin one wing to each side of the upper back.
Angle them outward slightly.
Sew mainly along the inner edge so the wings retain some dimensionality.
Part 9: Crochet the Tail
Using mint:
Round 1
6 sc into MR.
Work several rounds of sc.
Every few rounds, make one decrease.
Continue until the tail gradually narrows.
For a slightly curved tail, lightly bend it during stuffing.
Leave the final portion unstuffed.
Fasten off with a long tail.
Sew to the center back of the body.
Optional Wizard Hat
The wizard hat gives the dragon an especially magical personality.
Using lavender yarn:
Hat Cone
6 sc into MR.
Work a few straight rounds.
Then begin gradual increases every 1–2 rounds.
Continue until the cone is wide enough to fit the dragon's head.
Hat Brim
Increase more rapidly around the final rounds to create a wide floppy brim.
Try:
3 sc, inc
around.
Then:
4 sc, inc
around.
Add 1–2 plain rounds.
Fasten off.
Bend the Hat
Because the crochet fabric is soft, gently curve the top sideways.
A little stuffing can be inserted into the tip if needed.
Add the Moon & Stars
Using pale-yellow yarn:
Crochet tiny stars and one small crescent moon.
Sew them securely around the hat.
Keep the embellishments flat and firmly attached.
Optional Wizard Cape
Using lavender yarn:
Ch enough to fit around the dragon's shoulders.
Work hdc back and forth.
Gradually increase toward the bottom.
Add a small fastening loop or simply sew the cape permanently at the neck.
Avoid long loose ties on toys intended for young children.
Optional Star Wand
Using brown yarn:
Crochet a narrow cord or cover a tightly crocheted chain.
At the top, sew on a small yellow crochet star.
For baby-safe toys, avoid internal sticks or wire.
Optional Mini Shoulder Bag
Using taupe or brown yarn:
Crochet a tiny rectangle.
Fold upward and seam the sides.
Add a narrow crochet strap.
Decorate with a tiny yellow star.
For younger children, sew the bag permanently to the dragon rather than leaving it removable.
Color Variations
Magical Mint Dragon
Mint
Cream
Lavender
Gold
Baby Blue Dragon
Dusty blue
Cream
Soft gray
Pale yellow
Strawberry Dragon
Blush pink
Cream
Dusty rose
Sage
Forest Dragon
Muted sage
Oatmeal
Rust
Mustard
Lavender Dragon
Soft lavender
Cream
Blush
Gold
Moonlight Dragon
Warm gray
Cream
Deep lavender
Pale yellow
Make a Dragon Family
Make three sizes:
- Tiny hatchling
- Baby dragon
- Mama dragon
Use coordinating fantasy colors.
A whole dragon family makes beautiful shelf or nursery décor.
Make a Sleeping Baby Dragon
Use embroidered closed eyes.
Curl the tail around the body.
Position the wings folded close to the back.
This creates a sweet sleeping-dragon variation.
Make a Dragon Without the Wizard Costume
The basic dragon works perfectly by itself.
Simply skip:
- Hat
- Cape
- Wand
- Shoulder bag
This gives you a classic pastel baby dragon amigurumi.
Add Tiny Back Spikes
Crochet several small triangles or cones.
Sew them in a row from the back of the head toward the tail.
Use cream, lavender, or a darker shade of the body color.
Fantasy Gift Set Idea
Pair the dragon with:
- Crochet moon
- Crochet stars
- Tiny mushroom
- Mini wizard hat
- Fantasy-themed blanket
Place everything in a handmade gift box for a magical crochet set.
Tips for a Professional Finish
Use a hook small enough to prevent stuffing from showing.
Stuff gradually rather than all at once.
Pin every piece before sewing.
Check horn placement from the front.
Keep both wings at the same angle.
Do not overstuff the wings.
Embroider facial details before adding too many accessories.
Use matching yarn for invisible seams.
Keep accessories proportional to the dragon.
Baby & Child Safety Notes
If making the dragon for a young child:
- Use embroidered eyes
- Avoid beads and buttons
- Avoid wire inside wings or accessories
- Do not use wooden sticks inside the wand
- Secure all embellishments firmly
- Remove detachable accessories
- Avoid long straps, cords, or ties
- Check seams regularly
The simplest baby-safe version is the dragon without removable wizard accessories.
Frequently Asked Questions
Is this Baby Dragon Crochet Pattern beginner friendly?
It is best for an advanced beginner or intermediate crocheter because it includes several small pieces and assembly.
How big is the finished dragon?
Approximately 7–9 inches / 18–23 cm tall with DK yarn.
Can I use plush yarn?
Yes.
The dragon will become much larger and extra cuddly.
Are the wings stuffed?
No.
Flat wings create a lighter and cleaner shape.
Can I make the dragon without horns?
Yes.
But the horns help create the recognizable baby-dragon look.
Is the wizard costume necessary?
No.
It is completely optional.
Can I use safety eyes?
For adult collectibles, yes. For toys intended for babies or young children, embroidered eyes are preferable.
Save This Baby Dragon Crochet Pattern
Save this Baby Dragon Crochet Pattern to Pinterest for your next fantasy amigurumi project.
The pastel colors, tiny wings, horns, cream belly, and optional wizard accessories make this little dragon a charming project for gifts, magical nursery décor, handmade collections, fantasy lovers, and cute crochet inspiration.