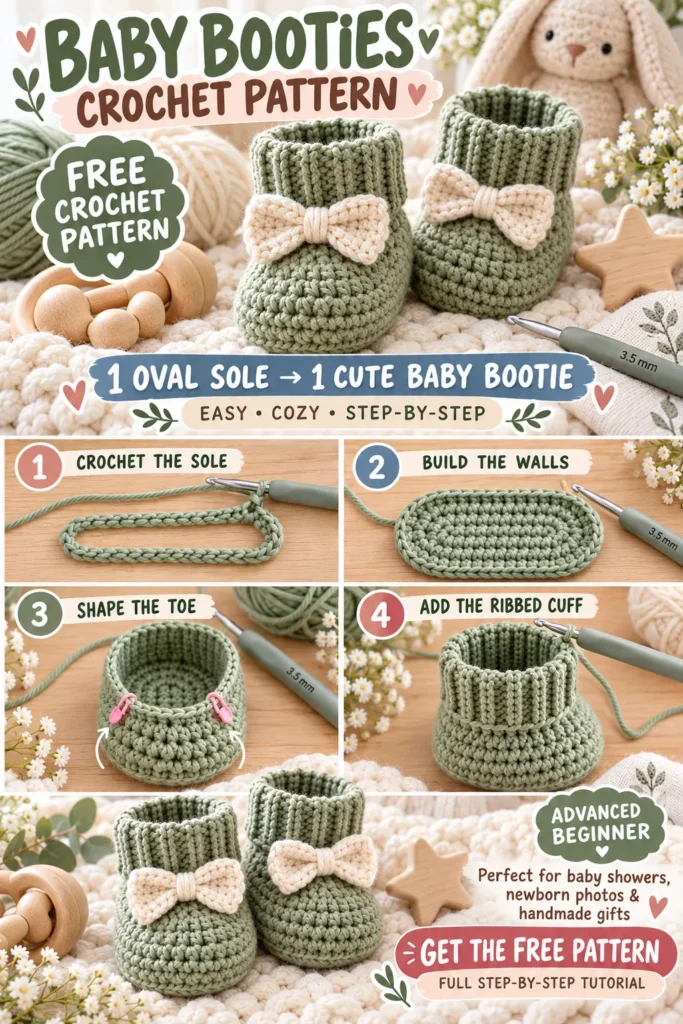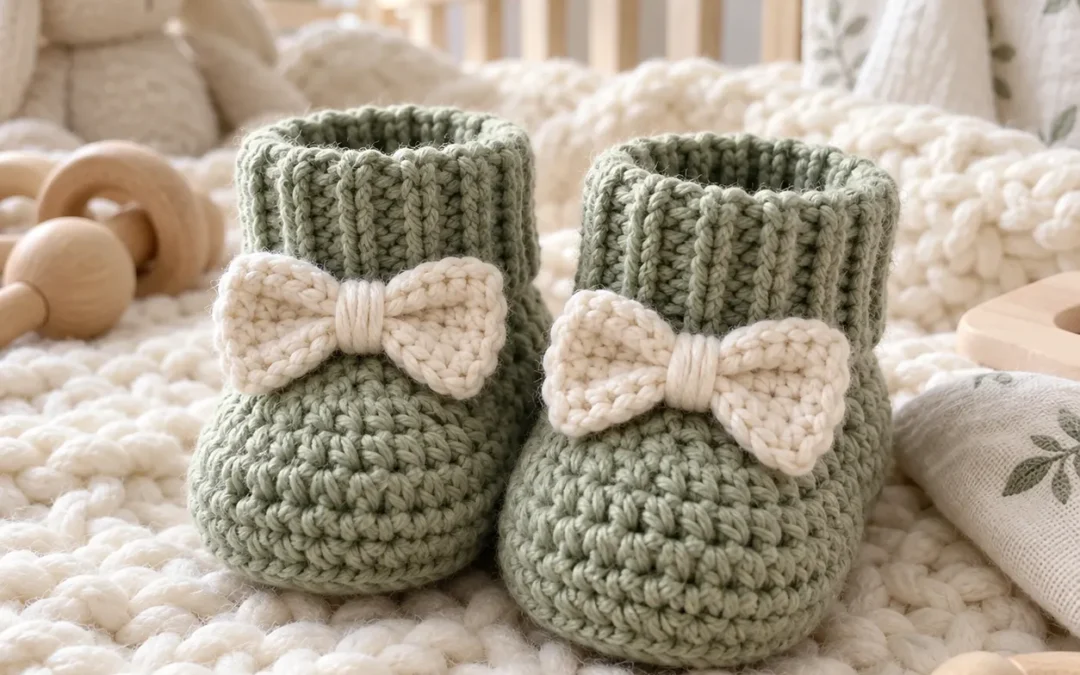
These Baby Booties Crochet are a sweet handmade project for baby showers, newborn gift boxes, first-photo outfits, and cozy nursery sets.
The design starts with a simple oval crochet sole, builds upward into soft shoe walls, shapes the toe with gradual decreases, and finishes with a stretchy ribbed cuff.
For an extra cute detail, add a small cream crochet bow to the front of each bootie.
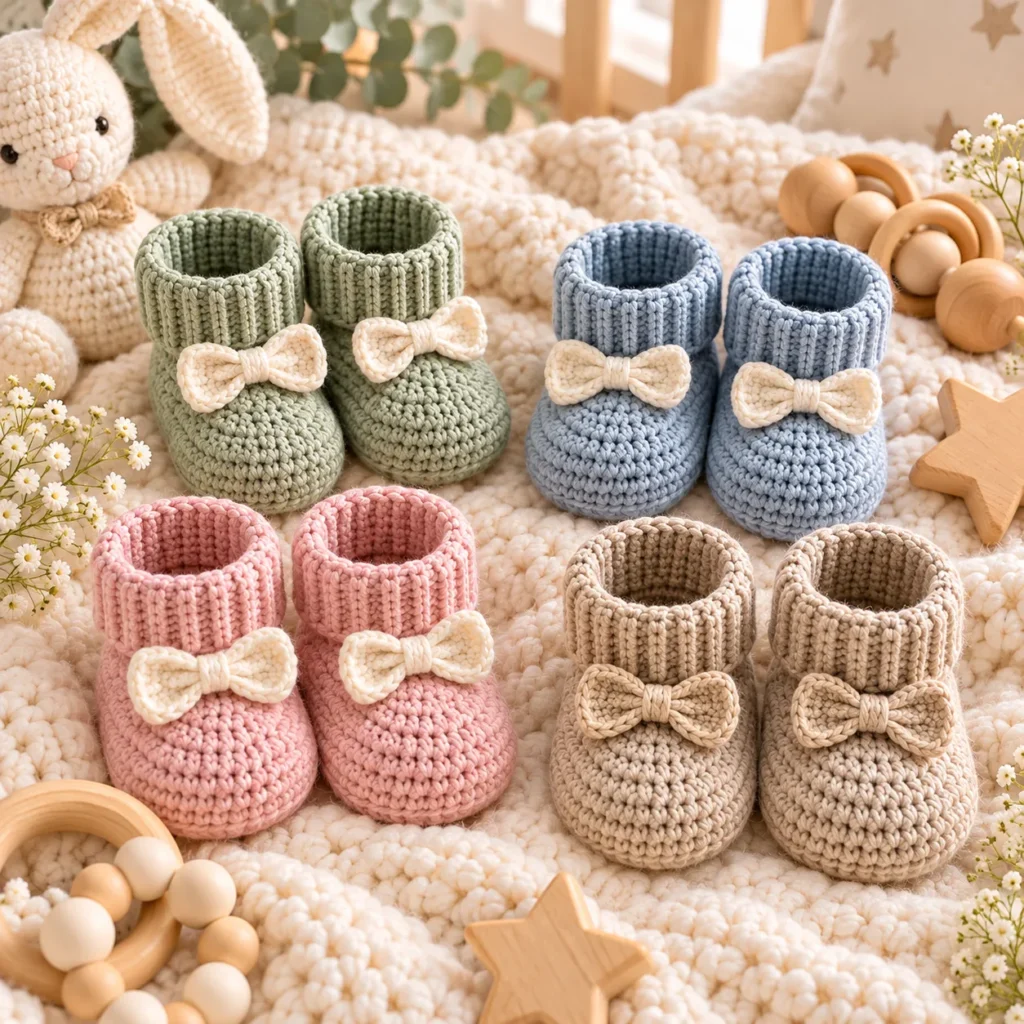
The pattern is easy to customize in sage green, dusty blue, blush pink, oatmeal, cream, lavender, or any other soft nursery shade.
Baby Booties Pattern at a Glance
| Pattern Detail | Information |
|---|---|
| Skill Level | Advanced Beginner |
| Crochet Terms | US terminology |
| Yarn Weight | DK / Light Worsted |
| Hook Size | 3.5 mm |
| Construction | Sole upward |
| Main Stitches | sc, hdc |
| Toe Shaping | Decreases |
| Cuff | Ribbed |
| Decoration | Optional crochet bow |
| Sample Size | 3–6 months |
Why You’ll Love These Crochet Baby Booties
These booties are:
- Quick to crochet
- Soft and lightweight
- Easy to resize
- Perfect for scrap yarn
- Cute for baby-shower gifts
- Easy to coordinate with hats and cardigans
- Suitable for many nursery color palettes
The ribbed ankle helps the booties sit more securely while still keeping the design soft and comfortable.
Materials
For one pair:
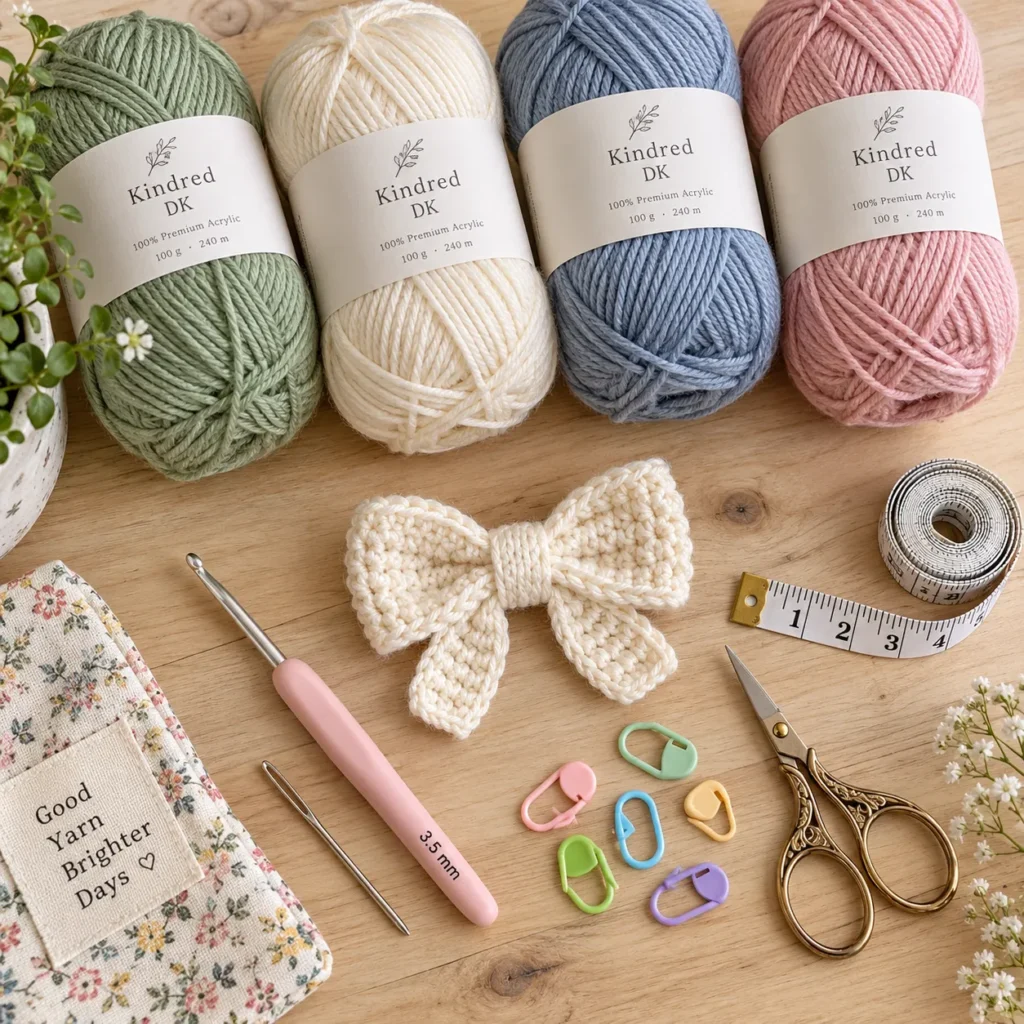
- Approx. 70–100 yd DK or light-worsted yarn
- 3.5 mm crochet hook
- Yarn needle
- Scissors
- Stitch markers
- Measuring tape
Optional:
- Contrast yarn for bows
- Smaller hook for firmer cuffs
- Blocking pins
Good yarn choices include:
- Baby acrylic
- Cotton-acrylic blend
- Soft cotton
- Fine merino blend suitable for babies
Choose yarn that is soft, washable, and comfortable against delicate skin.
Crochet Abbreviations
| Abbreviation | Meaning |
|---|---|
| ch | Chain |
| sc | Single crochet |
| hdc | Half double crochet |
| dc | Double crochet |
| inc | 2 sts in same stitch |
| dec | Crochet 2 sts together |
| BLO | Back loop only |
| sl st | Slip stitch |
| st / sts | Stitch / stitches |
| FO | Fasten off |
Approximate Bootie Size Guide
Measure the baby's foot whenever possible.
| Size | Approx. Sole Length |
|---|---|
| Newborn | 8–8.5 cm |
| 0–3 months | 8.5–9 cm |
| 3–6 months | 9.5–10 cm |
| 6–9 months | 10–10.5 cm |
| 9–12 months | 10.5–11.5 cm |
The finished sole should be slightly longer than the baby's foot for comfortable wiggle room.
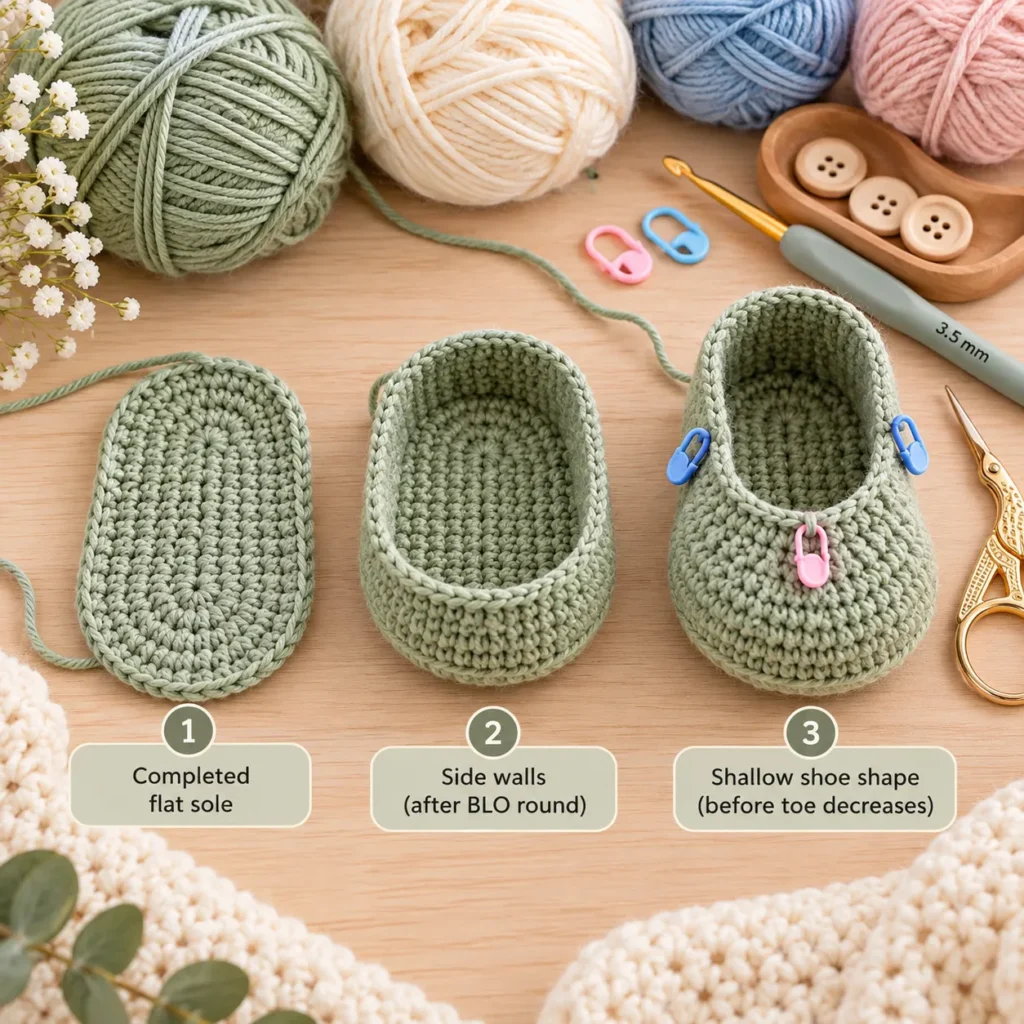
Part 1: Crochet the Oval Sole
Using sage-green yarn:
For the 3–6 month sample:
Ch 12
Starting in the second chain from the hook:
Sc in the next 10 chains.
Work 4 sc into the final chain.
Turn your work so you can crochet along the opposite side of the starting chain.
Sc in the next 9 chains.
Work 3 sc into the last stitch.
Join with sl st.
Round 2
Ch 1.
Work sc around.
Increase several times across the rounded toe and heel areas.
Keep the side sections mostly straight.
The sole should begin forming a smooth oval.
Round 3
Continue increasing evenly around both curved ends.
The toe should be slightly wider than the heel.
Do not increase along the straight side sections unless necessary.
Fasten off only if changing colors.
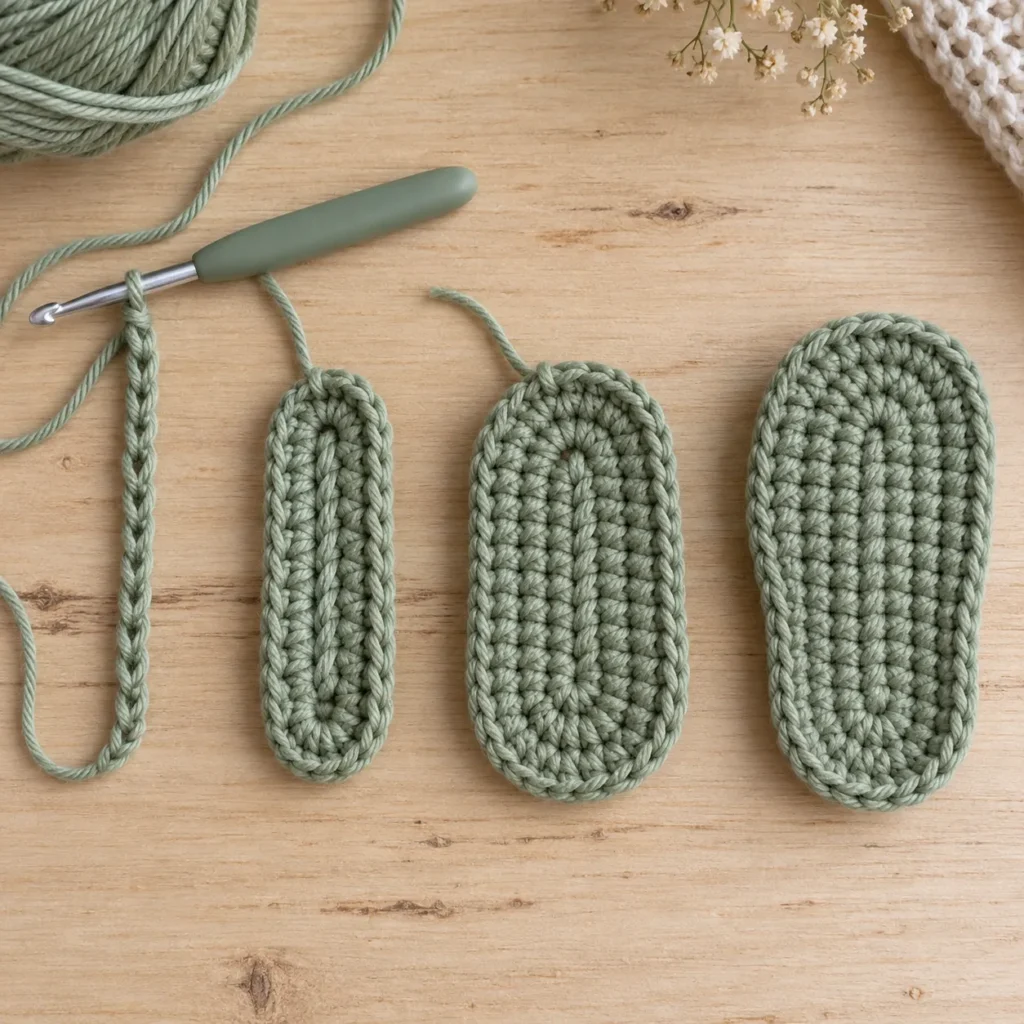
Check the Sole Size
Before building the shoe walls, measure the sole.
For 3–6 months, aim for approximately:
9.5–10 cm long
If your sole is too short, add another increase round.
If it is too large, use a smaller hook or remove one increase round.
Keep Both Soles Identical
Make the second sole immediately after the first.
Count your stitches carefully.
Lay both soles on top of each other before continuing.
They should match closely.
Part 2: Build the Bootie Walls
Do not increase anymore.
Join yarn at the heel.
Wall Round 1
Work:
1 sc BLO in each stitch around
This back-loop-only round creates a clean ridge between the flat sole and vertical shoe wall.
Wall Round 2
Work:
1 sc in each stitch around
Wall Round 3
Repeat one more plain sc round.
You should now have a shallow slipper shape.
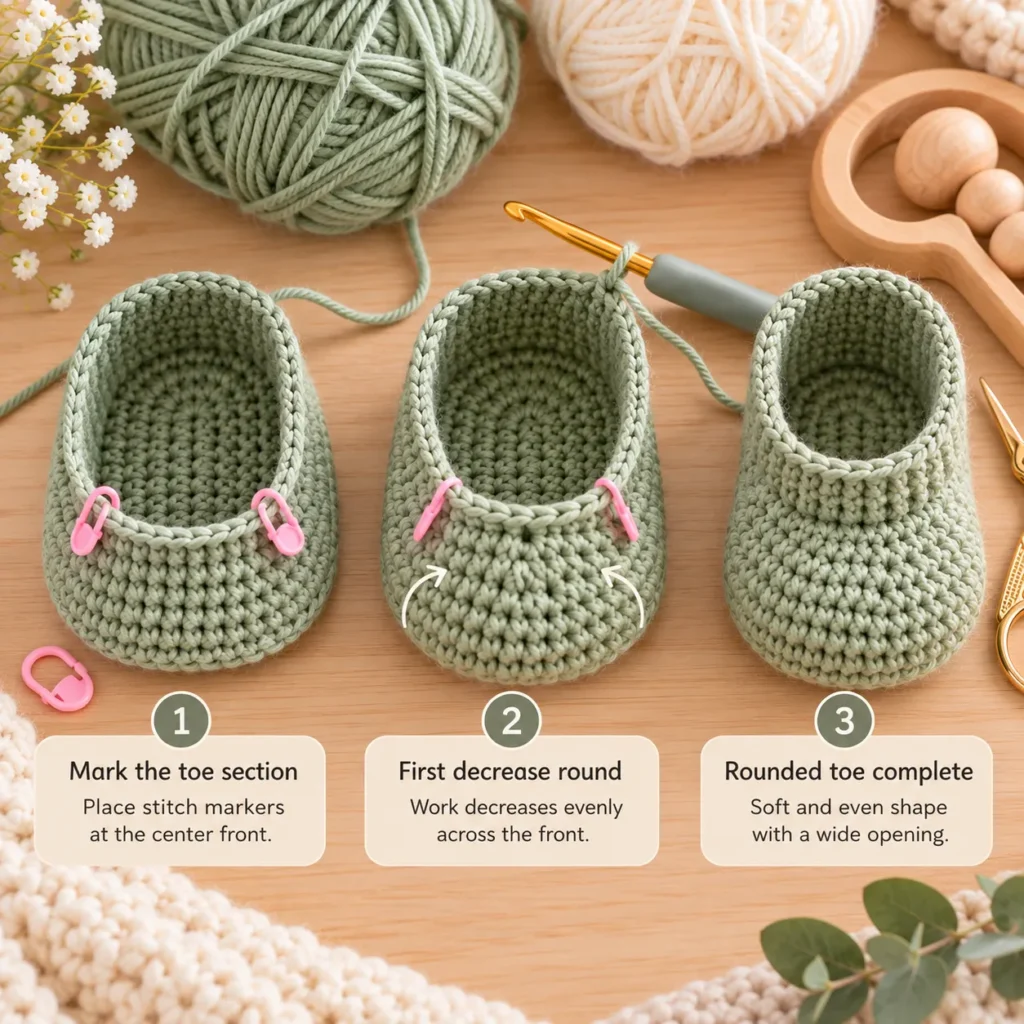
Mark the Toe
Fold the bootie in half lengthwise.
Place one marker at the exact center front.
Count an equal number of stitches on each side.
Mark the toe-shaping zone.
For the sample size, use approximately 12–16 front stitches.
Part 3: Shape the Rounded Toe
The goal is to reduce the front of the bootie while keeping the heel and sides unchanged.
Toe Round 1
Sc around until reaching the first toe marker.
Across the toe section:
Repeat:
sc, dec
until you reach the second marker.
Sc normally around the remaining heel stitches.
Toe Round 2
Sc to the toe section.
Work several decreases evenly across the front.
Continue sc around the back.
Toe Round 3
Repeat if needed.
The toe should become softly rounded rather than sharply pointed.
Check the Shape
Before continuing, make sure:
- The toe is centered
- Both sides are symmetrical
- The opening is large enough for a baby's foot
- The heel has not collapsed inward
Part 4: Crochet the Ankle Section
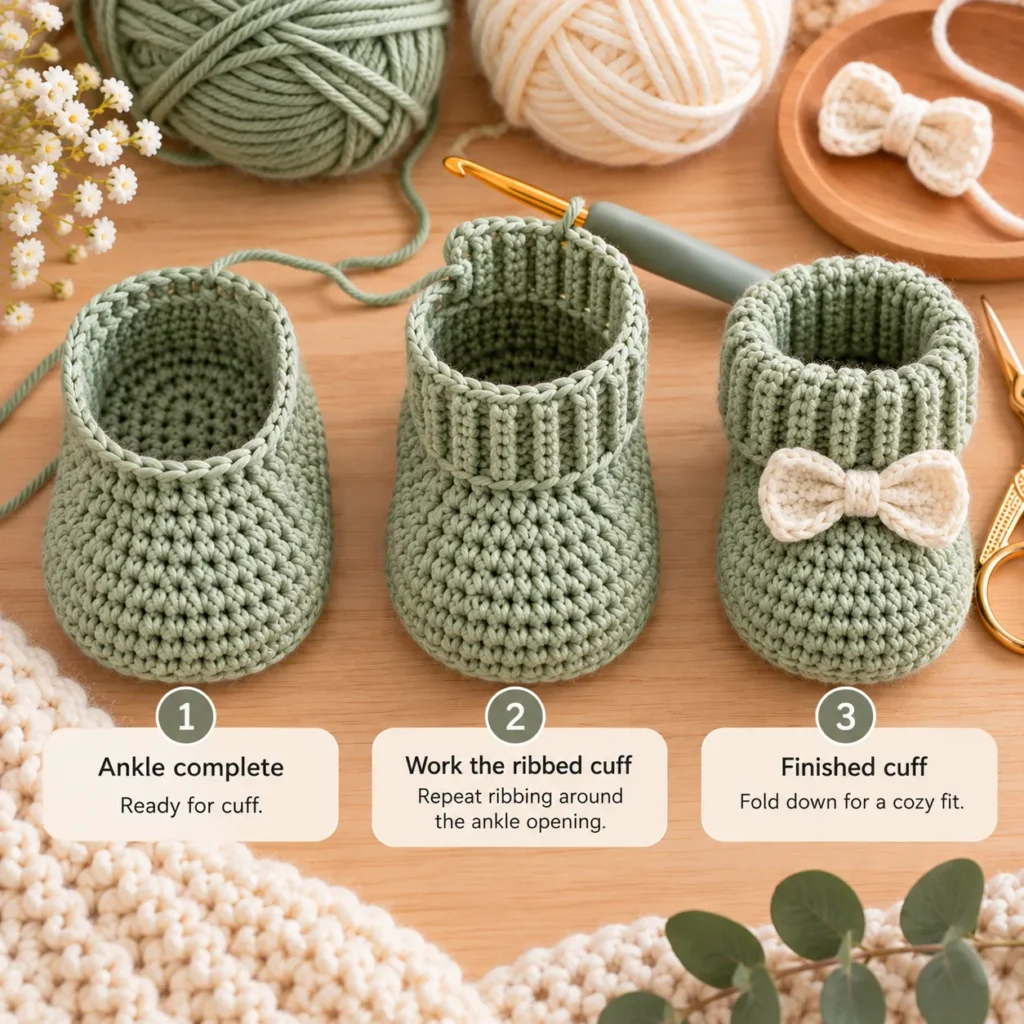
Once the toe is shaped:
Work 1–2 rounds of sc evenly around the ankle opening.
This creates a clean base for the cuff.
If the ankle opening feels too loose, work one or two evenly spaced decreases.
Do not make it too tight.
A little stretch is important for getting the bootie onto the baby's foot.
Part 5: Add the Ribbed Cuff
There are two easy cuff options.
Option 1 – Back-Loop Ribbing in Rounds
Work one round of hdc.
For the next rounds:
hdc BLO around
Repeat for approximately 4–6 rounds.
Fold the cuff downward.
This creates a simple textured cuff.
Option 2 – Vertical Ribbing
For a more pronounced ribbed effect:
Ch 7.
Starting in second chain:
Sc across.
Sl st into the next 2 ankle stitches.
Turn.
Sc BLO back across the ribbing strip.
Continue repeating around the entire ankle opening.
Join the first and last ribbing rows.
This creates a thick, stretchy cuff similar to a knitted baby sock.
Part 6: Crochet the Small Bow
Make 2.
Using warm-cream yarn:
Ch 7.
Starting in second chain:
Sc across.
Work approximately 4–5 rows.
Fasten off.
Shape the Bow
Pinch the rectangle tightly in the center.
Wrap a separate strand of cream yarn around the middle several times.
Tie securely at the back.
Leave a long sewing tail.
You now have a small structured crochet bow.
Attach the Bow
Center the bow on the front of the bootie just below the cuff.
Sew through the middle several times.
Then secure the outer bow edges with one small stitch on each side.
This prevents the bow from flopping forward.
Optional Strap Version
Instead of the ribbed cuff, you can add a button strap.
Crochet a narrow strip:
Ch 14–18
Sc back across.
Sew one end to the side of the bootie.
Create a small buttonhole at the opposite end.
For baby items, make sure the button is extremely secure.
For very young babies, a bow or sewn strap without a button is the simpler option.
Optional Tie Version
Crochet a chain long enough to wrap comfortably around the ankle.
Thread it through evenly spaced stitches.
Tie in a small bow.
Keep ties short and use booties with cords only during supervised wear.
Color Ideas
Sage Nursery
Sage green
Warm cream
Powder Blue
Dusty blue
Ivory
Blush Baby
Blush pink
Cream
Neutral Baby
Oatmeal
Taupe
Lavender Baby
Soft lavender
Warm white
Woodland Baby
Muted sage
Caramel
Make a Matching Baby Set
Use the same yarn to crochet:
- Baby beanie
- Bonnet
- Cardigan
- Mittens
- Baby blanket
- Teddy bear hat
A coordinated pair of booties and a matching hat makes a beautiful handmade baby-shower gift.
Make Them Without the Bow
Skip the decorative bow for a simpler minimalist bootie.
This version works especially well in:
- Oatmeal
- Cream
- Taupe
- Sage
- Dusty blue
Make a Two-Tone Version
Crochet:
- Sole in cream
- Body in sage
- Cuff in cream
Or:
- Sole in oatmeal
- Body in dusty blue
- Cuff in warm cream
This gives the booties a more detailed boutique look.
Add a Picot Edge
For a softer decorative version, finish the top edge with:
sc, ch 3, sl st into first ch
Repeat evenly around.
This creates a tiny scalloped edge.
Baby Shower Gift Idea
Make three pairs in different neutral colors:
- Cream
- Sage
- Dusty blue
Arrange them in a small gift box lined with cream tissue paper.
Add a matching crochet bonnet or beanie for a complete handmade gift set.
Tips for a Professional Finish
Keep both soles the same size.
Use stitch markers around the toe.
Count decreases carefully.
Do not over-tighten the ankle.
Make both cuffs the same number of rows.
Sew decorative bows securely.
Weave every yarn tail inside the bootie.
Lightly block the finished pair if necessary.
Photograph both booties from the same angle for a polished presentation.
Baby Safety Notes
These booties are intended as soft footwear or photo accessories, not walking shoes.
For babies:
- Avoid loose beads
- Avoid detachable decorations
- Secure bows firmly
- Keep ties short
- Check buttons frequently if used
- Use soft, washable yarn
- Remove loose footwear during sleep
- Do not use crochet booties as walking shoes
Crochet soles can be slippery on hard floors, so older babies who are standing or walking need appropriate non-slip footwear.
Frequently Asked Questions
Are these baby booties beginner friendly?
Yes, if you are comfortable with basic single crochet, working in rounds, and simple decreases.
How are the booties constructed?
They start with a flat oval sole and are worked upward.
How do I make the second bootie identical?
Use the same stitch count, hook, yarn, and number of rounds.
Can I use cotton yarn?
Yes.
Cotton or cotton-acrylic blends create a more structured bootie.
Can I use plush yarn?
You can, but the booties will become thicker and larger.
How can I make a larger size?
Add stitches to the starting chain and one additional increase round to the sole.
Then add height to the walls and cuff as needed.
Can I make these without the ribbed cuff?
Yes.
Finish with several plain sc rounds or a simple decorative edging.
Can I sell finished booties made from this pattern?
If this is your own original finished project, you can set your own terms for finished items. Avoid copying another designer's written pattern or branded presentation.
Save This Baby Booties Crochet Pattern
Save this Baby Booties Crochet Pattern to Pinterest for your next baby project.
The simple oval sole, shaped toe, cozy ribbed cuff, and optional crochet bow make these booties perfect for baby showers, newborn photos, nursery gift sets, and handmade keepsakes.