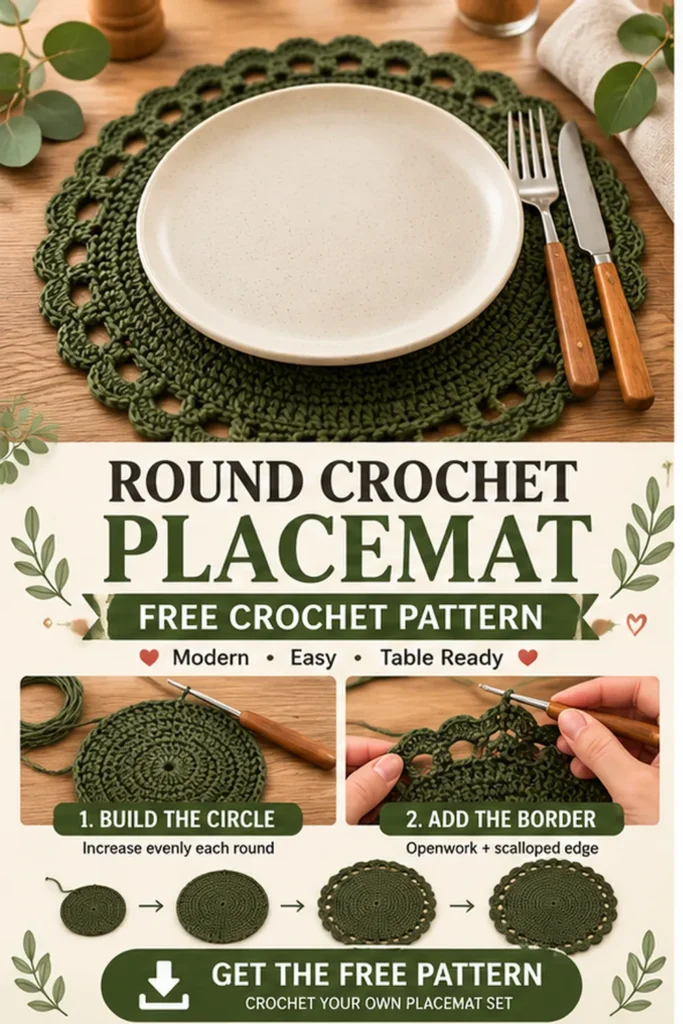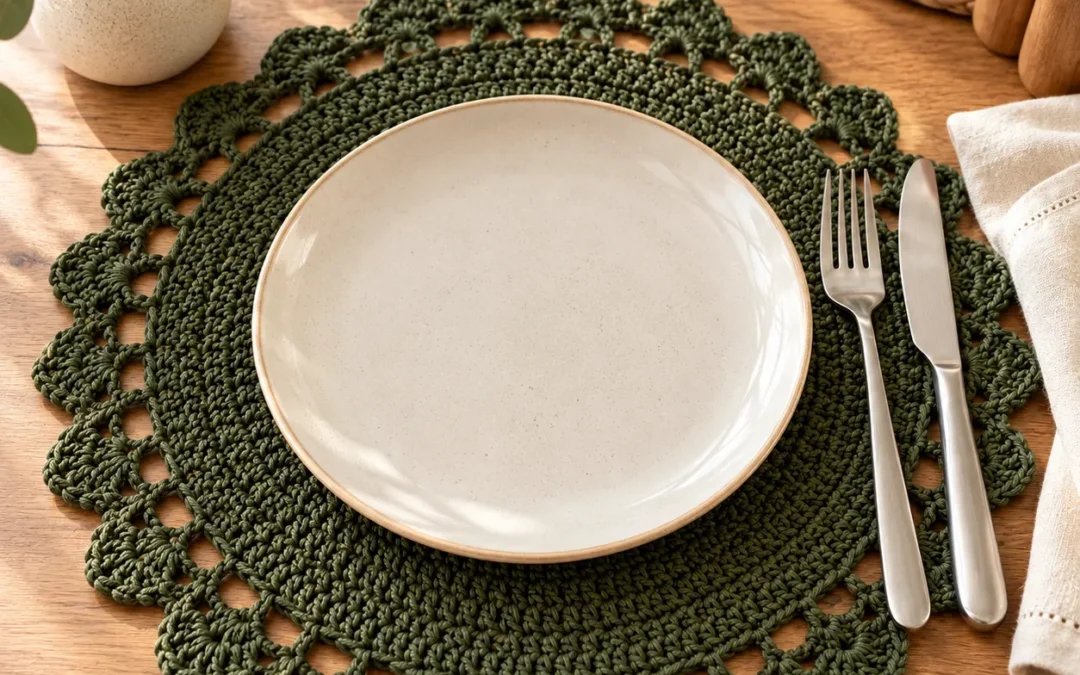
A handmade Round Crochet Placemat is one of those crochet projects that instantly makes a dining table feel warmer and more intentional.
This version combines a smooth, structured circular center with a delicate openwork border and softly scalloped edge. The finished placemat works beautifully beneath everyday dinnerware, but it also looks polished enough for holiday tables, dinner parties, weddings, or handmade housewarming gifts.
For the main sample, use a rich olive or forest green cotton yarn for a modern botanical look.
Pattern at a Glance
| Detail | Information |
|---|---|
| Skill Level | Confident Beginner |
| Crochet Terms | US terminology |
| Yarn | Worsted-weight cotton |
| Hook | 4.0 mm |
| Construction | Worked from center outward |
| Finished Size | Approx. 14–15 in / 36–38 cm |
| Main Stitches | MR, ch, sc, hdc, dc, sl st |
| Best Uses | Dining tables, gifts, weddings, holiday décor |
Why Crochet a Round Placemat?
Round placemats are especially useful because the shape naturally frames plates and bowls.
A solid crochet center protects the table and gives the project enough structure to lie flat, while an open decorative border keeps the finished piece from looking heavy.
The construction is also satisfying:
CENTER → INCREASE ROUNDS → FULL CIRCLE → OPENWORK BORDER → SCALLOPED EDGE
Once you understand the increase rhythm, the project becomes relaxing and repetitive.
Materials
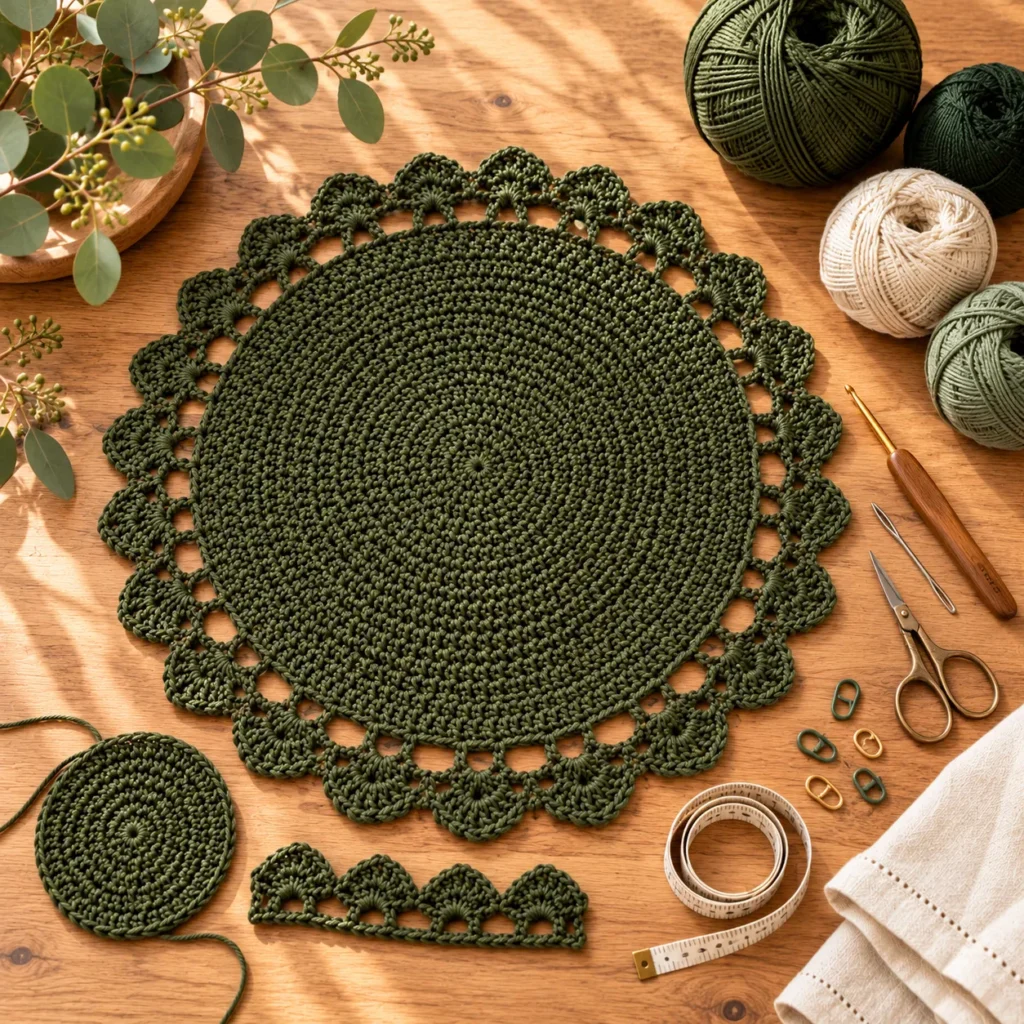
For one placemat you’ll need approximately:
- 200–250 yards worsted-weight cotton yarn
- 4.0 mm crochet hook
- Yarn needle
- Scissors
- Stitch markers
- Blocking pins and mat
Cotton is ideal because it gives the placemat crisp definition and handles repeated table use well.
For a softer decorative placemat, a cotton-blend yarn also works.
Abbreviations
| Abbreviation | Meaning |
|---|---|
| MR | Magic Ring |
| ch | Chain |
| sc | Single Crochet |
| hdc | Half Double Crochet |
| dc | Double Crochet |
| inc | Increase |
| sl st | Slip Stitch |
| st / sts | Stitch / stitches |
Part 1: Start the Circular Center
Using olive-green yarn, make a magic ring.
Round 1
Work:
12 dc into the magic ring
Join with a sl st.
Round 2
Work:
2 dc in each stitch around
You now have 24 stitches.
Round 3
Repeat:
1 dc, 2 dc in next stitch
around.
You now have 36 stitches.
Round 4
Repeat:
2 dc, 2 dc in next stitch
around.
Continue increasing evenly in this manner.
Each new round adds one additional regular dc between increases.
This keeps the center circular rather than allowing it to cup or ripple.
Part 2: Grow the Placemat
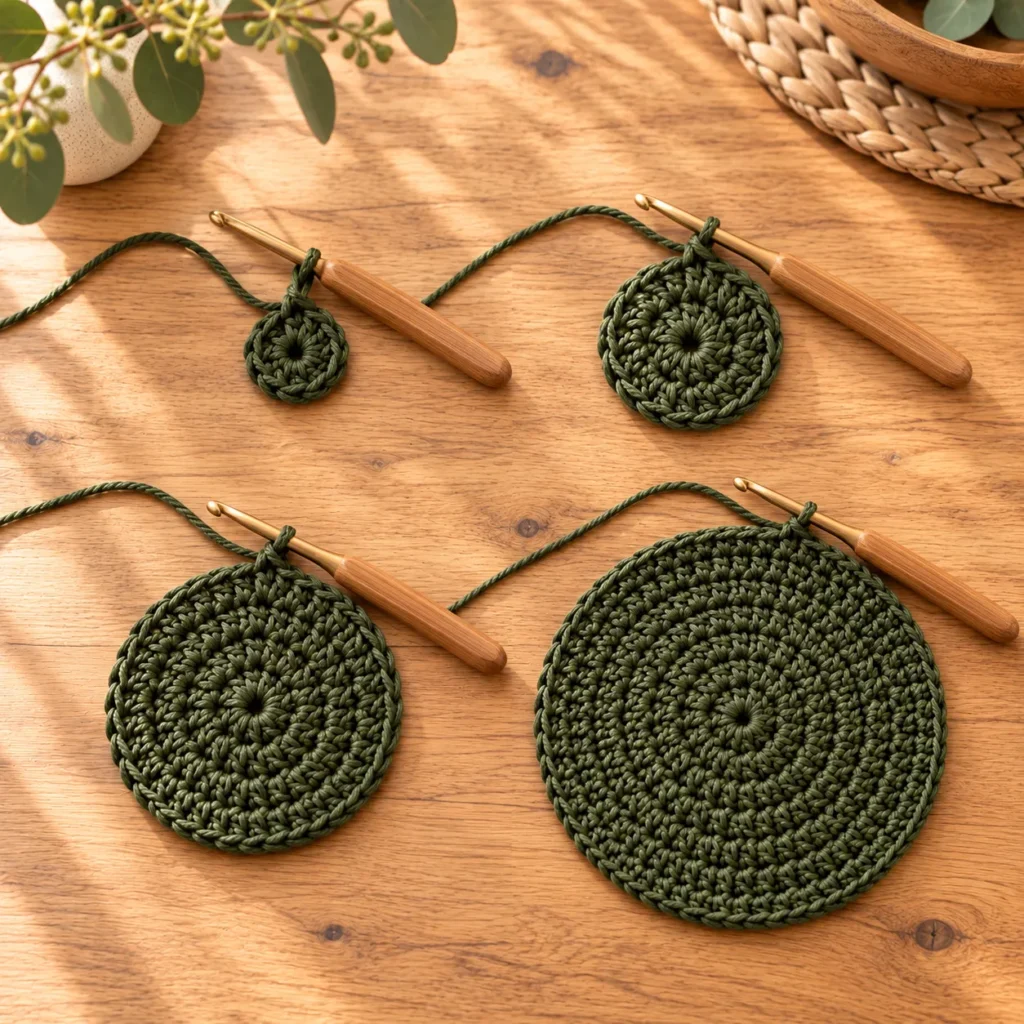
Continue the established increase sequence.
For example:
Round 5
3 dc, inc
Repeat around.
Round 6
4 dc, inc
Repeat around.
Round 7
5 dc, inc
Repeat around.
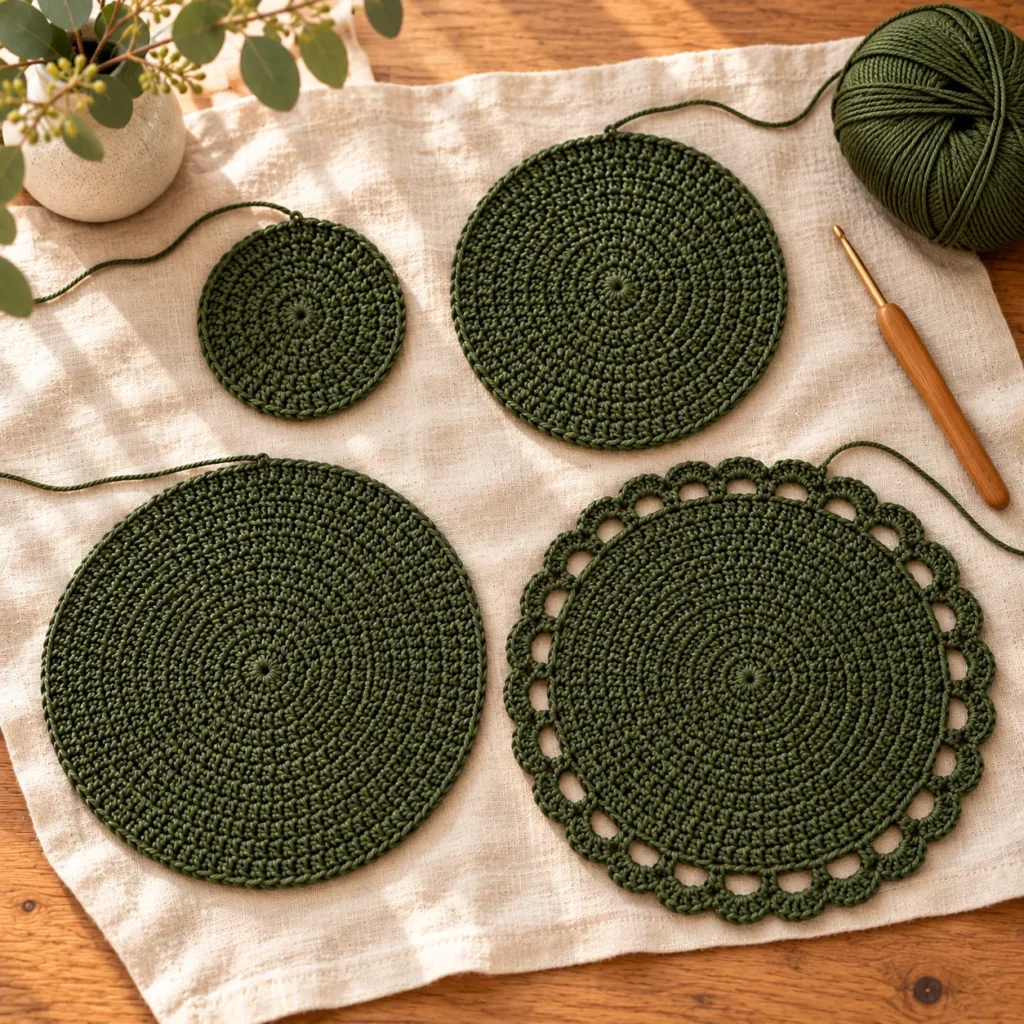
Continue until the solid circle is approximately 11–12 inches across.
Check the work every few rounds.
If the edge begins to curl upward, you probably need slightly more increases.
If the fabric becomes wavy, you may be increasing too quickly.
The ideal circle should lie naturally flat before blocking.
Part 3: Create the Openwork Transition
Once the solid center reaches the desired diameter, begin the decorative border.
Work one stabilizing round of sc.
Then create evenly distributed chain spaces around the outside.
A simple repeat might be:
sc in next stitch, ch 3, skip 2 stitches
Repeat around.
On the next round, work small groups of dc into each chain space.
This creates a light openwork ring between the solid center and outer edge.
Keep the spacing consistent all the way around.
Part 4: Crochet the Scalloped Border
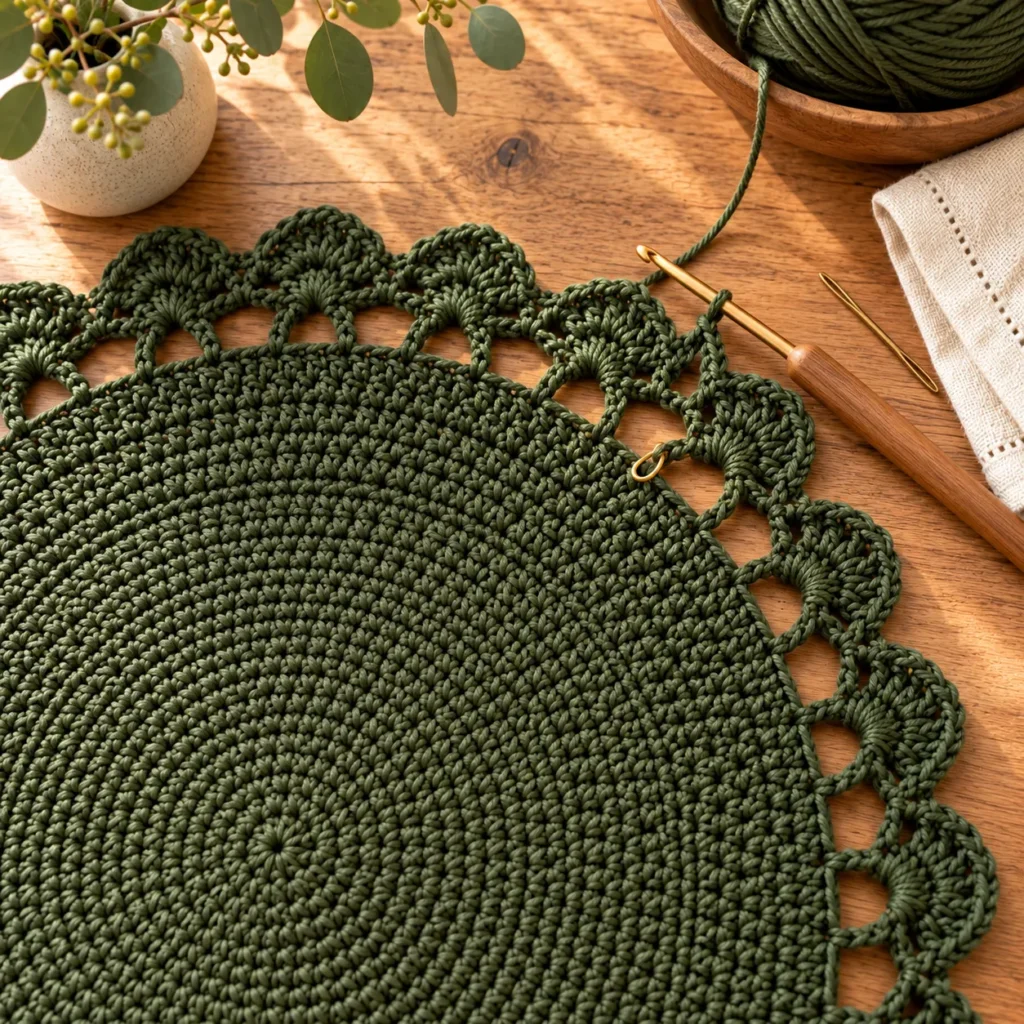
For the final decorative edge, work a shell into each appropriate chain space.
For example:
sl st, 5 dc in next space, sl st
Repeat evenly around the placemat.
If you want a slightly more delicate edge, use:
sc, hdc, 3 dc, hdc, sc
inside each space.
The scallops should curve gently rather than ruffle dramatically.
This border gives the placemat the elegant lace-like look that makes it suitable for both everyday and special table settings.
Blocking the Placemat
Blocking is important for a round placemat because it helps the outer edge look balanced.
Lightly dampen the finished piece.
Lay it on a blocking mat.
Pin the center flat first.
Then work around the outer edge, gently stretching every scallop to approximately the same size.
Measure the placemat in several directions so the finished shape stays circular.
Allow it to dry completely.
Color Ideas
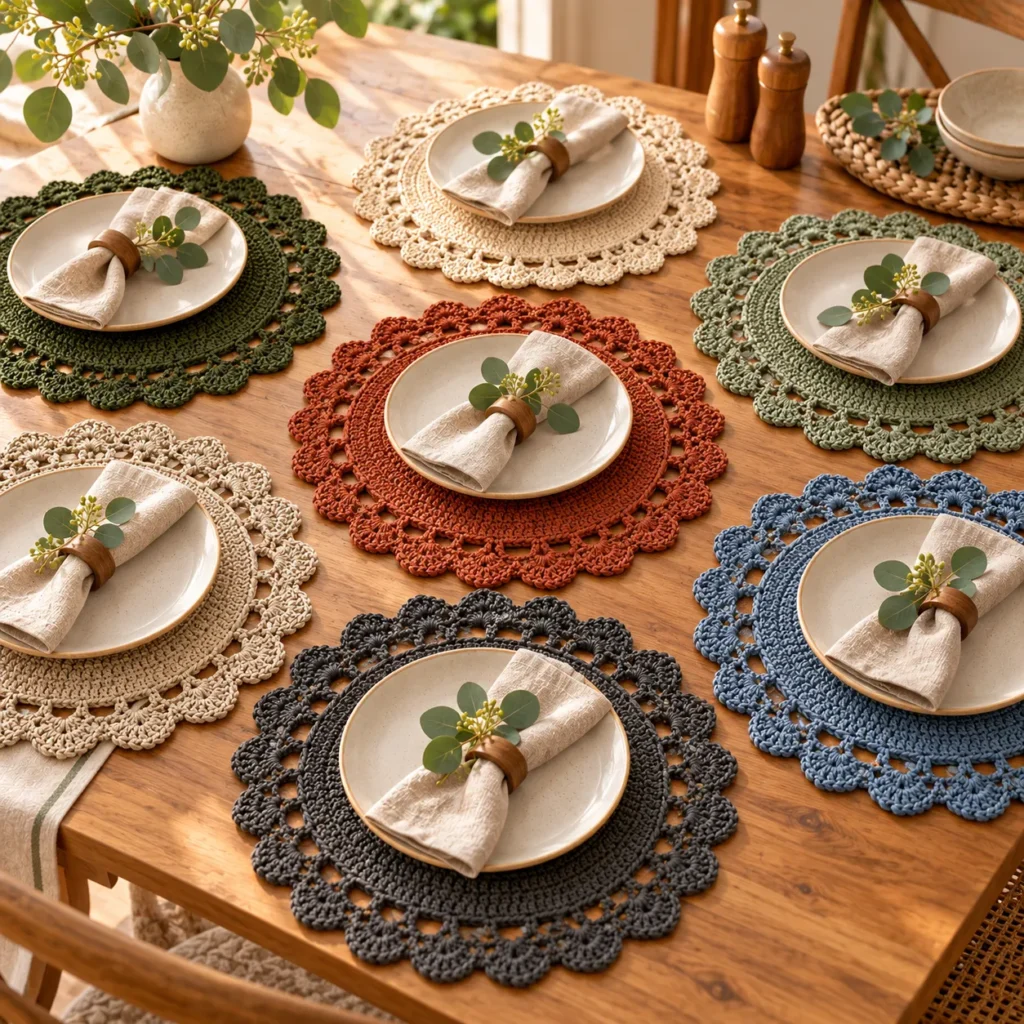
Olive green creates a beautiful modern farmhouse look, but this design is easy to adapt to different interiors.
Try:
Olive Garden
Deep olive green
Farmhouse Ivory
Warm cream
Cottage Sage
Muted green
Terracotta
Warm earthy rust
Natural Oatmeal
Soft neutral beige
Charcoal
Modern deep gray
Dusty Blue
Soft coastal blue
Using several coordinated colors lets you make a full table set while keeping every placemat slightly different.
Styling a Crochet Placemat
The easiest styling option is a neutral plate centered directly over the solid portion of the placemat.
Leave the scalloped edge visible.
Pair olive green with cream plates, wooden tables, and natural linen for a warm modern look.
For holiday tables, try burgundy, forest green, or ivory.
For spring and summer, sage, dusty blue, cream, and soft terracotta work beautifully.
Make a Matching Table Set
One placemat looks pretty, but a coordinated set has much more visual impact.
Make:
4 placemats for a small dining table.
6 placemats for a standard family table.
8–12 placemats if you want a larger entertaining set.
You can also crochet matching coasters using the same construction but stop the solid circle much earlier.
Turn the Design Into a Charger
Use heavier cotton yarn and a slightly larger hook.
Continue the circular rounds until the finished piece measures approximately 16–17 inches.
The larger size works beneath a dinner plate like a decorative crochet charger.
Make Matching Coasters
The center construction also makes an easy coaster.
Simply stop after several rounds and add a miniature version of the openwork border.
This is an easy way to use leftover yarn from the placemats.
Tips for a Professional Finish
Keep your increase points evenly distributed.
Do not pull the magic ring so tightly that the center puckers.
Check frequently that the circle lies flat.
Use stitch markers to track the beginning of each round.
Keep all scallops approximately equal in size.
Block every placemat to the same diameter if you’re making a set.
Cotton yarn is especially helpful because it creates a clean, structured finished shape.
Frequently Asked Questions
Is this Round Crochet Placemat beginner friendly?
Yes. It is best for a confident beginner who understands basic increases and double crochet.
What yarn is best for crochet placemats?
Cotton is usually the best choice because it gives good structure and stitch definition.
How large should a crochet placemat be?
A round placemat of approximately 14–15 inches works well for most standard dinner plates.
Can I make the border without scallops?
Yes. Finish with one or two rounds of single crochet for a more minimal modern look.
Can I make a matching set?
Absolutely. Use one color for a uniform set or several coordinating shades for a more relaxed table.
Do I need to block the placemat?
Blocking is strongly recommended because it improves both the circular shape and decorative edge.
Save This Round Crochet Placemat Pattern
Save this Round Crochet Placemat Pattern to Pinterest for your next home décor crochet project.
Its clean circular center, delicate openwork details, and soft scalloped border create a handmade table accessory that feels both traditional and modern.
Make one as a centerpiece, crochet an entire dining set, or coordinate placemats and coasters for a thoughtful handmade gift.