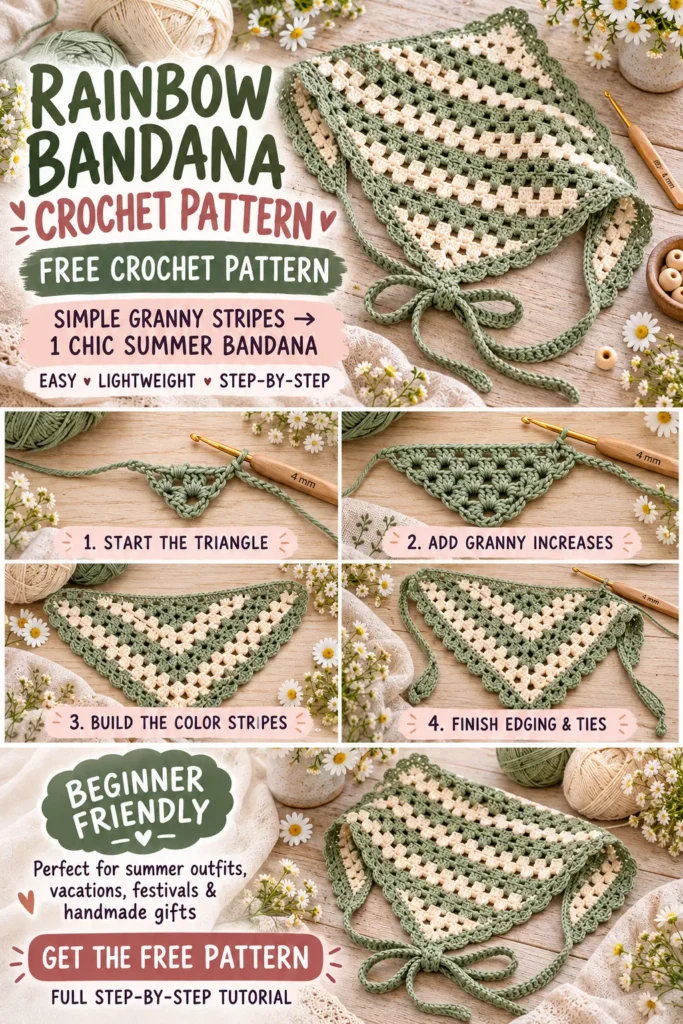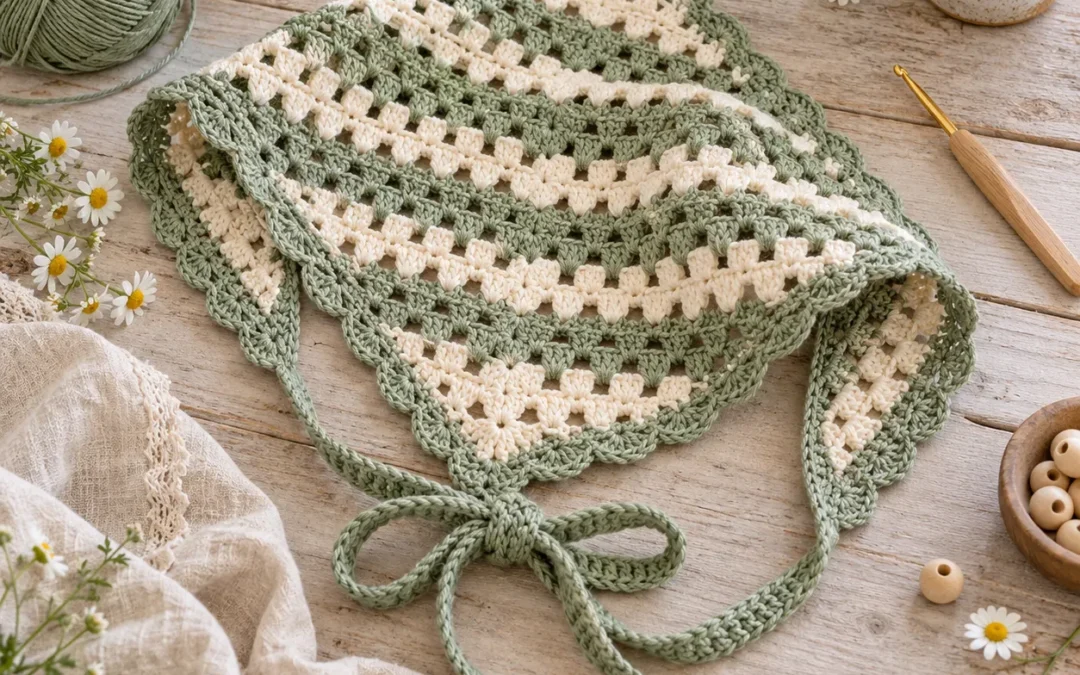
Add an easy handmade accessory to your warm-weather wardrobe with this Chic Rainbow Bandana Headscarf Crochet Pattern.
This lightweight triangular headscarf is worked in simple expanding crochet rows, alternating between muted sage and warm cream to create clean V-shaped stripes.
The finished bandana has an airy granny-style texture, a softly decorative border, and long crochet ties that make the fit easy to adjust.
Although the sample uses only two colors, the pattern is designed to be customized. Try dusty rose and cream, lavender and oatmeal, faded blue and ivory, or combine several soft colors for a true rainbow-inspired version.
It is a beautiful project for summer outfits, vacations, farmers markets, festivals, beach days, and handmade gifts.
Pattern at a Glance
| Detail | Pattern Information |
|---|---|
| Skill Level | Beginner / Confident Beginner |
| Crochet Terms | US terminology |
| Yarn Weight | Light worsted / DK cotton |
| Hook | 4 mm |
| Construction | Top-down expanding triangle |
| Main Stitch | Granny-style double crochet groups |
| Finished Width | Approx. 23–25 in / 58–64 cm |
| Finished Depth | Approx. 11–13 in / 28–33 cm |
| Closure | Long adjustable ties |
| Style | Modern boho / summer / striped |
Why This Bandana Works So Well
The pattern looks more detailed than it actually is.
Most of the project uses repeating groups of double crochet separated by chain spaces. A center chain space creates the point of the triangle, while increases at the beginning, center, and end of every row gradually widen the headscarf.
Changing color every two rows produces the clean striped effect without creating too many yarn ends.
Cotton yarn gives the bandana enough structure to hold its triangle shape while remaining breathable and comfortable against the hair.
Materials
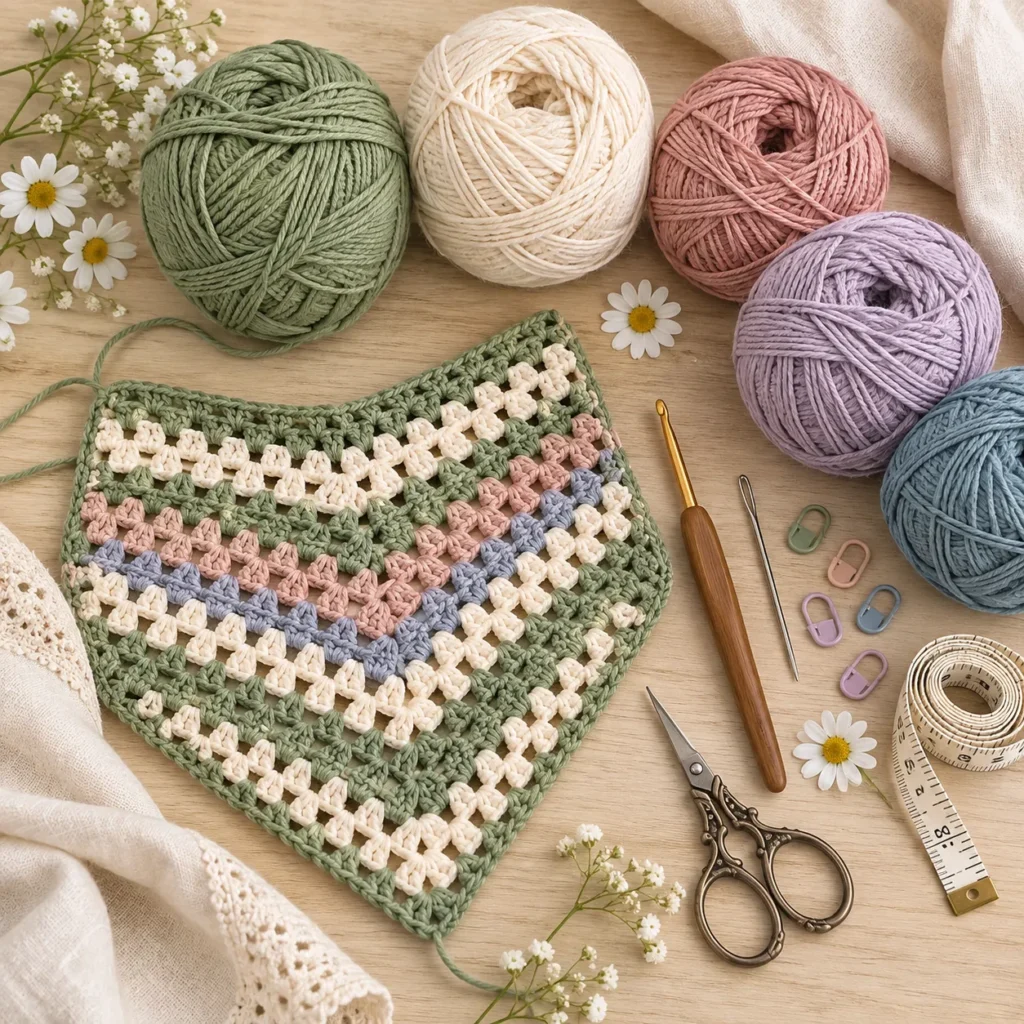
For one adult-size bandana you will need:
- approximately 120–150 yd muted-sage cotton yarn; 90–120 yd warm-cream cotton yarn; 4 mm crochet hook; yarn needle; scissors; measuring tape; optional stitch markers; and small amounts of additional cotton colors if you want a multicolor rainbow version.
A soft DK or light-worsted cotton works especially well. Cotton-bamboo yarn can also be used if you want more drape.
Crochet Abbreviations
| Abbreviation | Meaning |
|---|---|
| ch | Chain |
| dc | Double Crochet |
| sc | Single Crochet |
| sl st | Slip Stitch |
| sp | Space |
| st / sts | Stitch / stitches |
| FO | Fasten Off |
Color Sequence
The sample alternates two rows of muted sage with two rows of warm cream.
Continue repeating:
Sage × 2 rows → Cream × 2 rows
until the triangle reaches the desired size.
For a softer rainbow version, rotate through sage, cream, dusty rose, lavender, faded blue, and oatmeal.
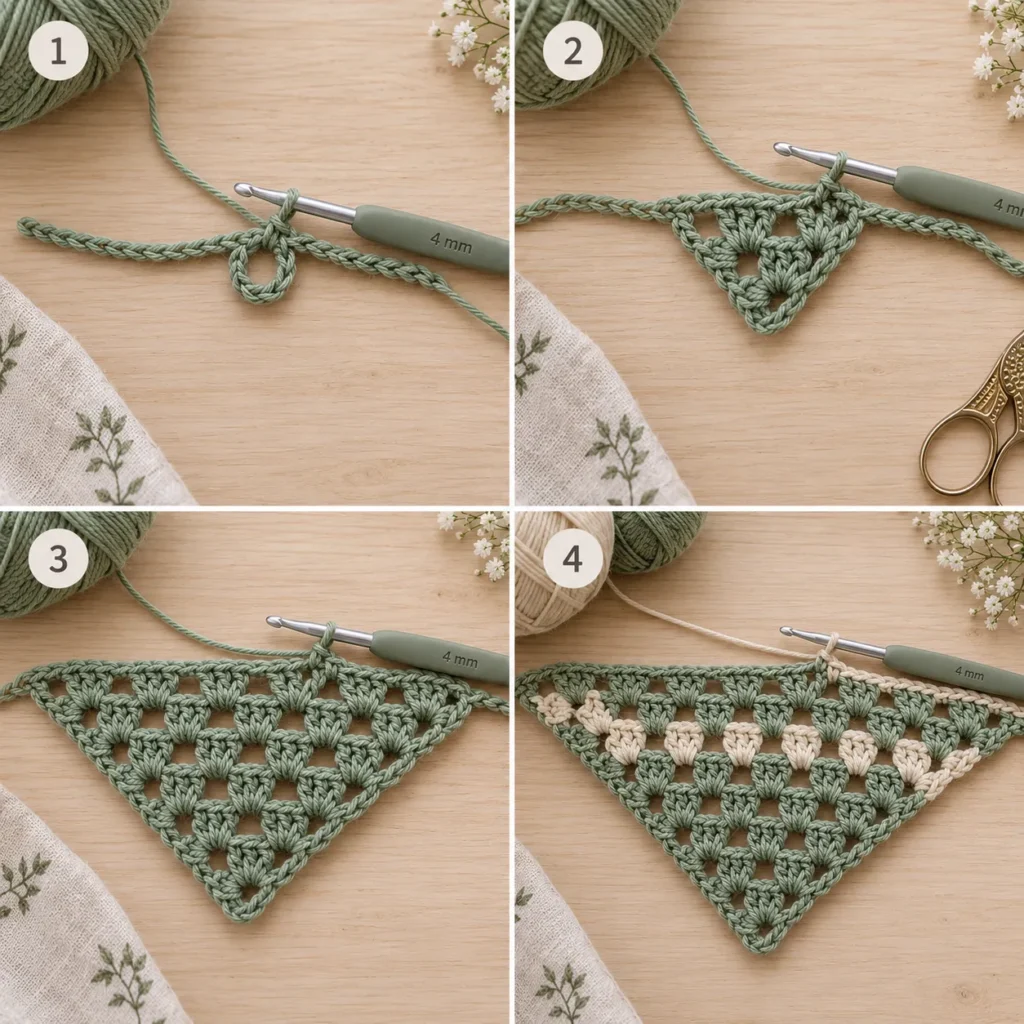
Part 1: Start the Triangle
Using muted-sage yarn:
Ch 4.
Join with a slip stitch into the first chain to form a small ring.
Row 1
Ch 3.
Work:
3 dc, ch 2, 4 dc
into the center ring.
Turn.
The ch-2 space becomes the permanent center point of the bandana.
Row 2
Ch 3.
Work 2 dc into the first stitch.
Ch 1.
In the center ch-2 space work:
3 dc, ch 2, 3 dc
Ch 1.
Work 3 dc into the final stitch.
Turn.
The triangle should already be beginning to open outward.
Part 2: Continue the Granny-Stripe Pattern
From this point forward, the construction remains almost identical.
At the beginning of each row, work:
ch 3, 2 dc in the first stitch
Then ch 1.
Work one group of:
3 dc
into each ch-1 space across until you reach the center.
In the center ch-2 space work:
3 dc, ch 2, 3 dc
Then continue across the second half with:
ch 1, 3 dc in each ch-1 space
Finish with 3 dc into the final stitch.
Turn.
Each new row automatically adds another granny section on both sides of the center point.
Changing Colors
After completing two sage rows, switch to warm cream.
On the final yarn-over of the last double crochet, pull the new color through.
Do not pull too tightly.
Work two cream rows.
Then switch back to sage.
Continue repeating this sequence.
The stripe pattern will naturally form nested V shapes pointing toward the lower tip.
Part 3: Grow the Bandana to Size
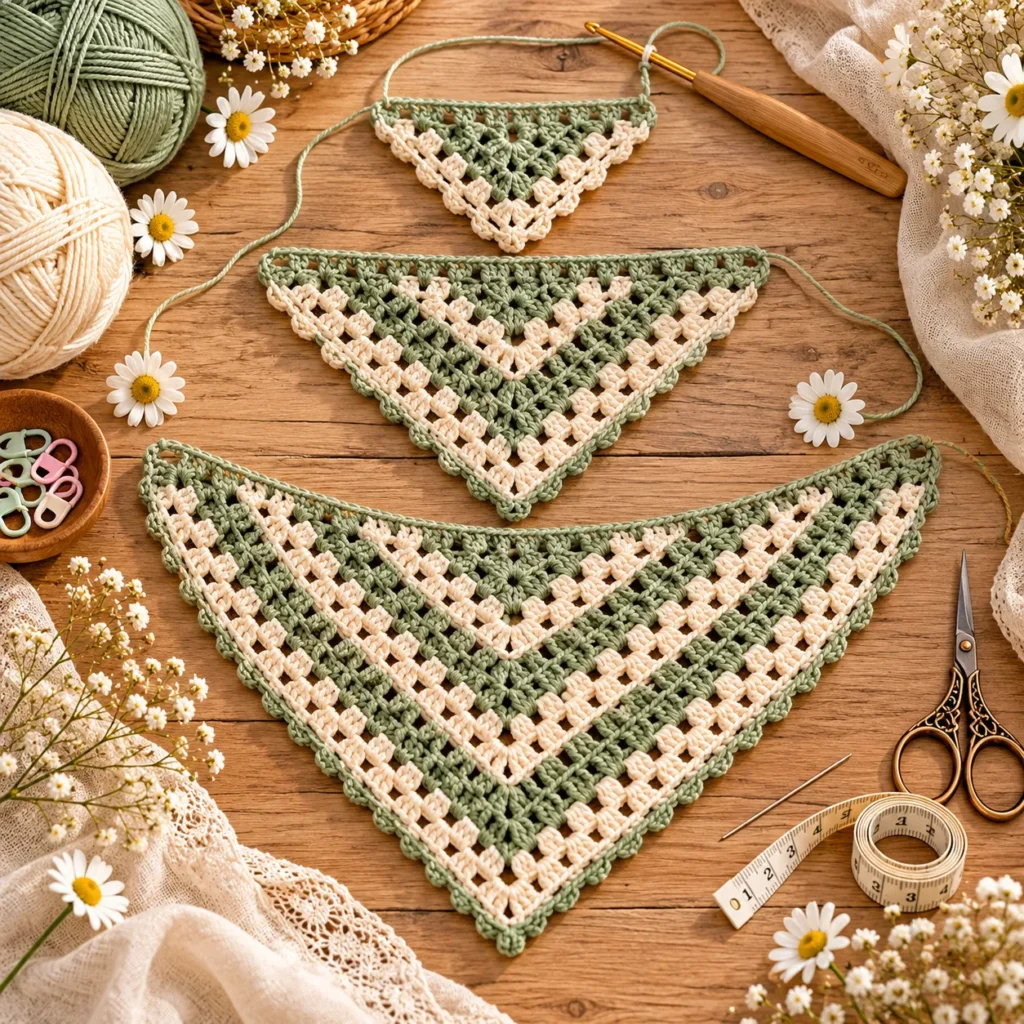
Continue working the same increase structure until the widest top edge measures approximately:
23–25 inches / 58–64 cm
The center depth should be approximately:
11–13 inches / 28–33 cm
You can stop earlier for a smaller kerchief or continue for additional coverage.
Because the bandana ties closed, the sizing is forgiving.
Creating a True Rainbow Version
Instead of repeating two colors, change color every two rows.
A soft vintage sequence could be:
Sage → Cream → Dusty Rose → Oatmeal → Lavender → Faded Blue
Then repeat the sequence if additional rows are needed.
For a brighter summer bandana, try coral, yellow, turquoise, lilac, and white.
Part 4: Add the Decorative Border
Once the triangle reaches the desired size, keep the last working color attached.
Work sc evenly down the first diagonal edge.
At the bottom point work:
sc, ch 2, sc
Continue evenly up the opposite side.
For a simple feminine finish, add tiny picots every few stitches.
A picot can be made by working:
ch 3, sl st into the first chain
Then continue with sc.
Keep the top edge simple so the bandana lies comfortably against the head.
Optional Scalloped Lower Edge
If you want a more decorative look, work along the two diagonal edges:
skip 1 stitch, 5 dc in next stitch, skip 1 stitch, sl st in next stitch
Repeat toward the point and back up the opposite side.
Do not use heavy scallops along the top edge because that area should stay relatively flat.
Part 5: Crochet the First Tie
Join sage yarn to one upper corner.
Ch approximately:
55–65
depending on how long you want your ties.
For a stronger tie, work back along the chain with one slip stitch in each chain.
For a slightly thicker tie, use one single crochet in each chain.
Fasten off.
Part 6: Crochet the Second Tie
Repeat exactly the same construction on the opposite upper corner.
Measure both ties before fastening off to make sure they match.
Long ties allow the bandana to be tied underneath the hair, around a ponytail, or into a small bow.
Blocking the Finished Bandana
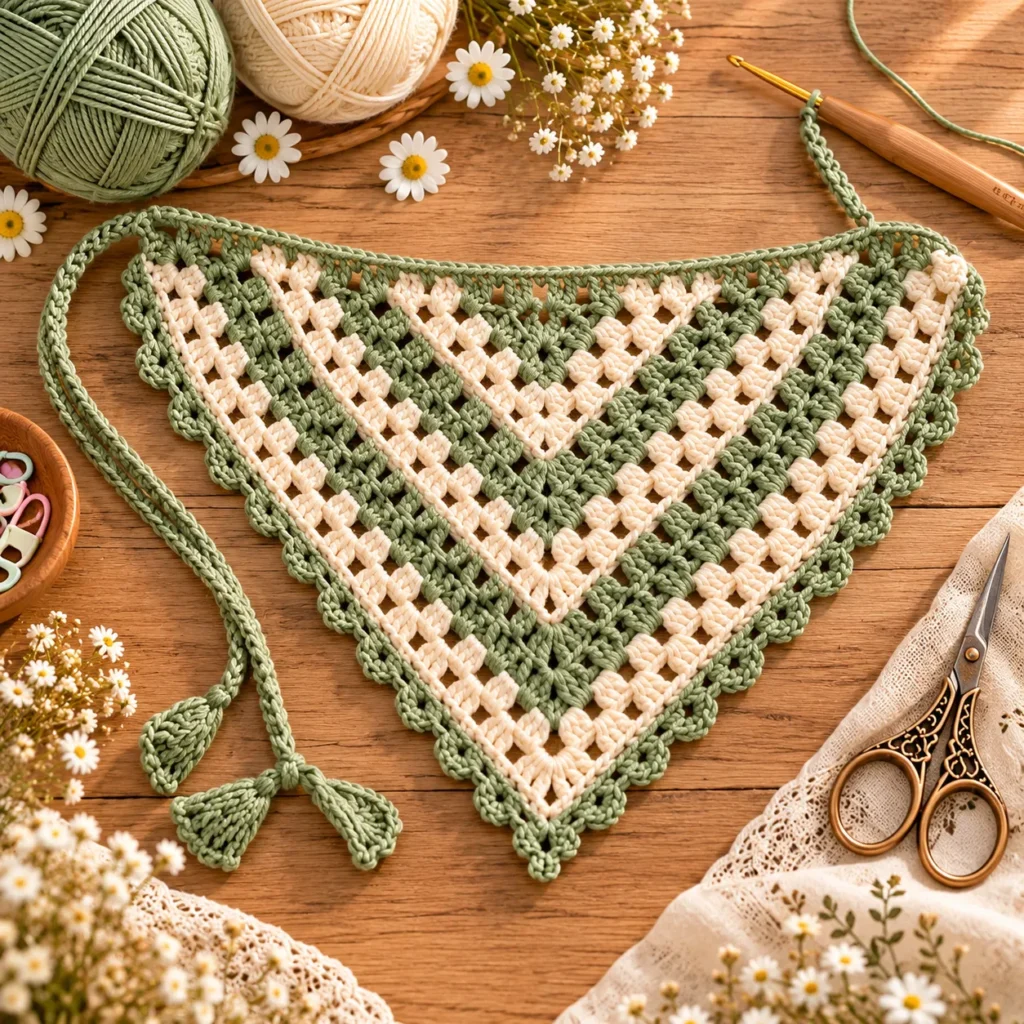
Cotton bandanas look much more polished after light blocking.
Wet the finished piece gently or mist it with water.
Lay it flat on a towel or blocking mat.
Straighten the top edge.
Shape both diagonal edges evenly.
Pull the center point gently downward.
Arrange the openwork stitches so each stripe looks balanced.
Allow the bandana to dry completely.
Blocking will open the chain spaces and make the V-shaped stripe pattern much clearer.
How to Wear Your Crochet Bandana
For a classic headscarf look, place the wide edge slightly behind the hairline and allow the triangle to fall toward the back of your head.
Bring both ties underneath the hair and knot them at the nape.
For a ponytail style, position the bandana slightly higher and tie the cords around the ponytail.
For a low-bun style, allow the triangle to sit over the bun and tie underneath.
You can also fold the triangle inward to create a narrower crochet headband.
Easy Size Adjustments
For a smaller bandana, simply stop several rows earlier.
For more hair coverage, continue adding increase rows.
For longer ties, add more chains.
For wider openwork, increase the chain spaces between the 3-dc groups from ch 1 to ch 2, although this creates a looser fabric.
Yarn Color Ideas
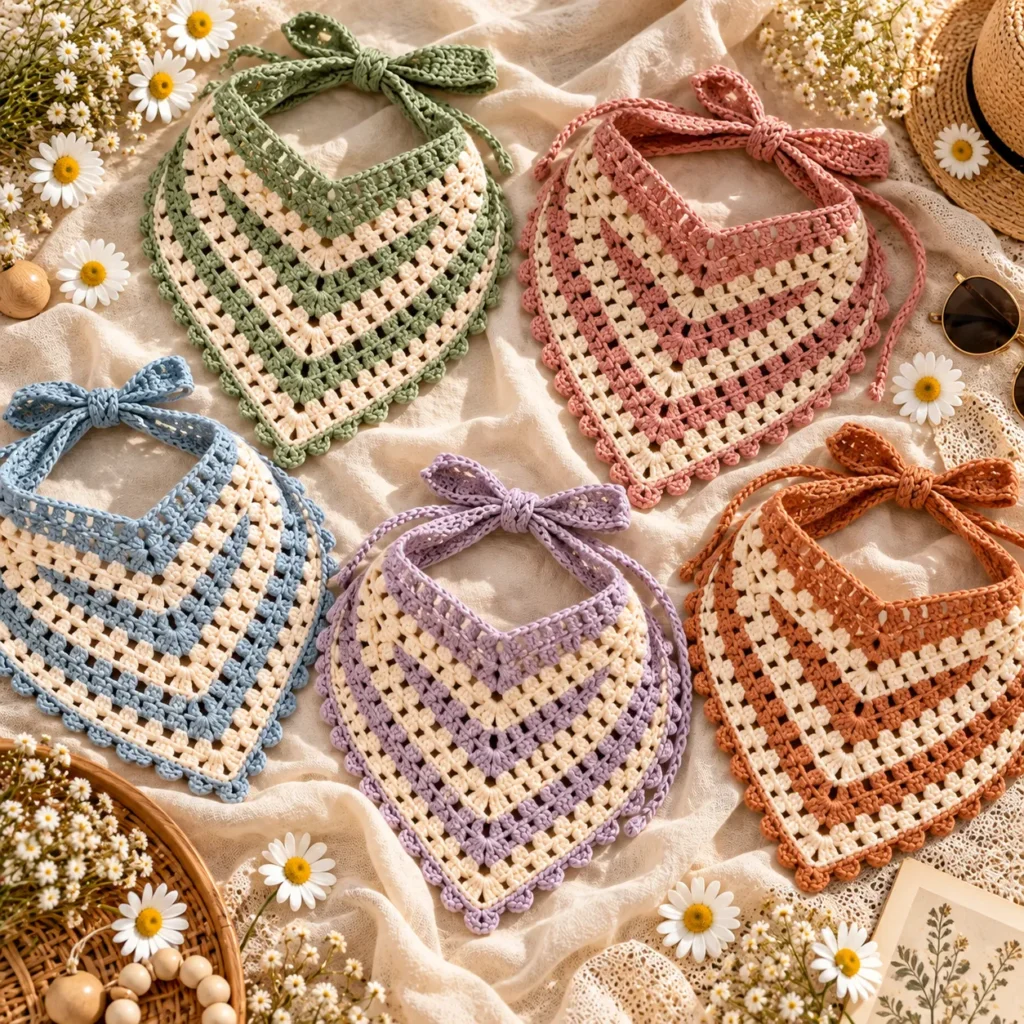
The sage-and-cream combination gives the pattern a calm botanical look.
Dusty rose with oatmeal creates a romantic version.
Faded blue with cream gives the headscarf a soft coastal style.
Lavender with beige works well for a feminine spring version.
Terracotta with ivory creates a warm bohemian look.
Using five or six alternating shades creates the most literal rainbow bandana interpretation.
Styling Ideas
Pair the sage version with white linen and neutral summer outfits.
Wear dusty rose with cream dresses or denim.
Try faded blue with white for a coastal vacation look.
Terracotta works beautifully with beige, rust, and warm brown clothing.
The multicolor rainbow version pairs especially well with simple neutral outfits because the crochet becomes the main visual detail.
Tips for Clean Stripes
Change yarn on the final yarn-over of the last stitch.
Keep the color-change tension relaxed.
Weave ends into rows of the same color.
Count your granny groups periodically to make sure both sides remain symmetrical.
Use a stitch marker in the center ch-2 space if you are new to granny triangles.
Do not over-tighten the beginning and ending stitches because that can cause the upper corners to curl inward.
Make a Matching Set
The same stripe combination can be reused for a matching crochet tote, bucket hat, hair scrunchie, summer top, granny-square purse, or lightweight scarf.
Using the same muted palette makes the pieces feel like a coordinated handmade collection.
Frequently Asked Questions
Is the Chic Rainbow Bandana beginner friendly?
Yes. Once you understand the center increase, most of the bandana is a simple repeat of double-crochet groups and chain spaces.
Why is it called a rainbow bandana if the sample has only two colors?
The construction is designed to work with any number of colors. The sage-and-cream version gives the pattern a more wearable neutral look, while additional colors can be added for a true rainbow effect.
Can I use acrylic yarn?
Yes, but cotton is usually more breathable for a summer headscarf.
Can I make the triangle larger?
Yes. Simply continue the established increase row until the desired width is reached.
Can I use only one color?
Absolutely. A solid cream, sage, black, or terracotta version will emphasize the openwork texture.
Can I make wider stripes?
Yes. Work three or four rows before changing colors instead of two.
Do I need to block the bandana?
It is recommended, especially with cotton yarn. Blocking improves the triangle shape and opens the granny stitch pattern.
Save This Chic Rainbow Bandana Pattern
Save this Chic Rainbow Bandana Headscarf Crochet Pattern to Pinterest for your next easy summer accessory.
The V-shaped crochet stripes, breathable cotton yarn, triangular construction, decorative edging, and long adjustable ties make it a versatile handmade headscarf for summer outfits, vacations, festivals, markets, and gifts.