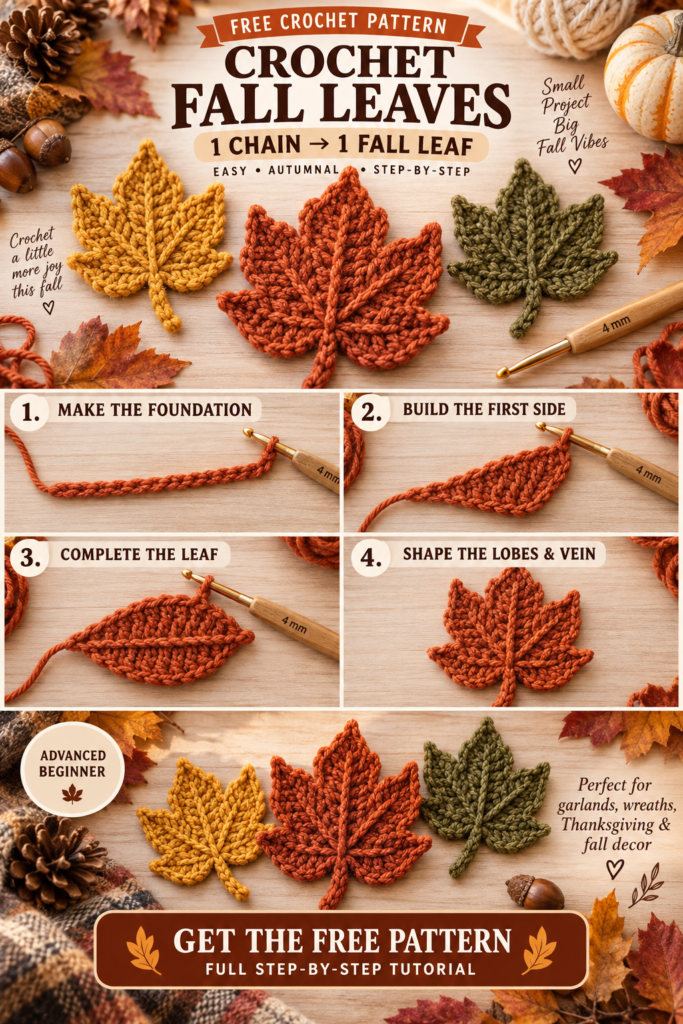
Bring the colors of autumn into your crochet projects with this beautiful Crochet Fall Leaves Pattern.
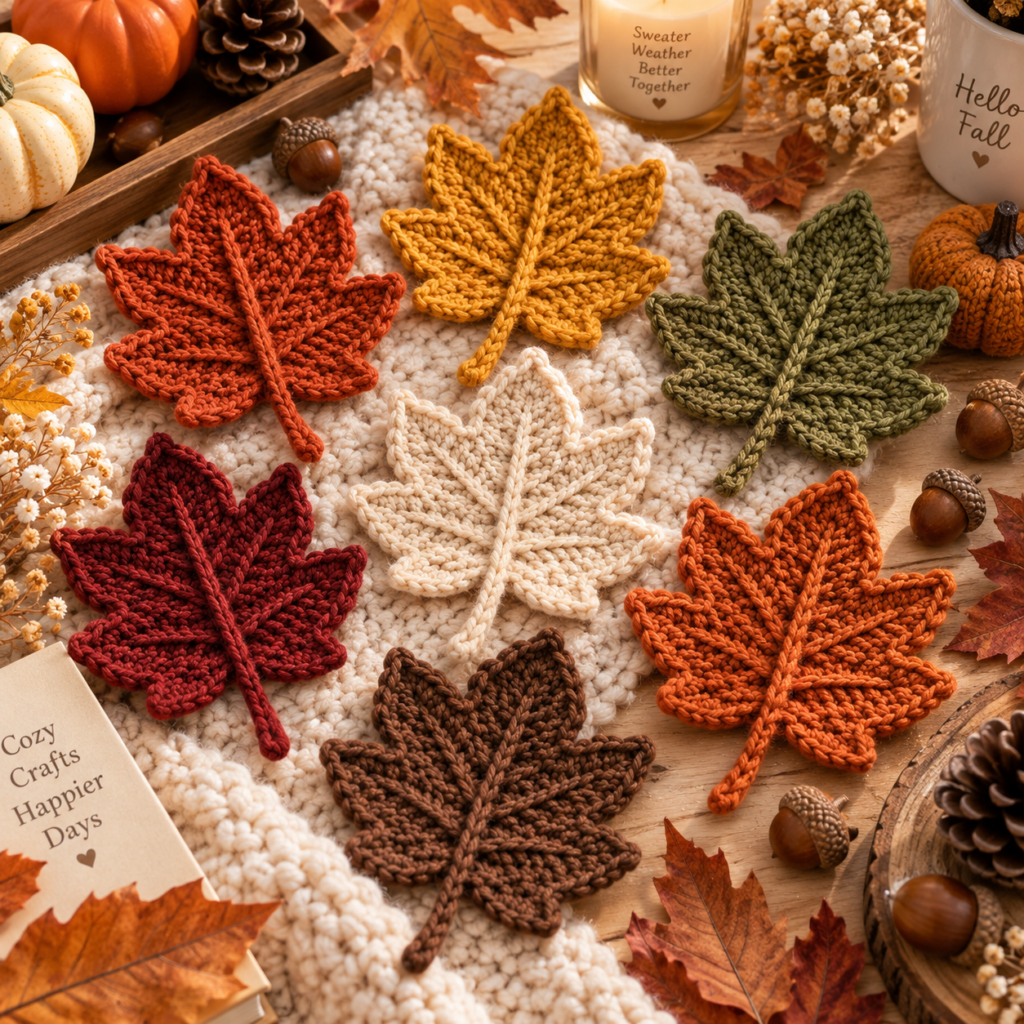
These textured crochet leaves are quick to make, use only a small amount of yarn, and look gorgeous in classic fall shades like rust, burnt orange, mustard yellow, olive green, burgundy, and warm brown.
The pattern starts with a simple center foundation that creates the main leaf vein. From there, the crochet grows outward into pointed lobes before a final edging round gives the leaf a crisp, natural shape.
Make one leaf as an appliqué or crochet a whole pile for garlands, wreaths, Thanksgiving tables, fall baskets, gift wrapping, and seasonal home décor.
Crochet Fall Leaf Pattern at a Glance
| Pattern Detail | Information |
|---|---|
| Skill Level | Advanced Beginner |
| Crochet Terms | US terminology |
| Yarn Weight | Worsted / Medium #4 |
| Hook Size | 4 mm |
| Finished Length | Approx. 4.5–5.5 in / 11–14 cm |
| Construction | Center vein + shaped leaf body |
| Main Stitches | sc, hdc, dc, tr |
| Working Style | Flat |
| Estimated Time | 20–30 minutes per leaf |
| Best Uses | Garlands, wreaths, appliqués, tablescapes |
Finished measurements will vary depending on yarn, hook size, and blocking.
Why You’ll Love These Crochet Fall Leaves
This is one of those patterns that becomes more useful the more leaves you make.
A single leaf can decorate:
- A hat
- Crochet bag
- Pumpkin
- Gift package
- Mug cozy
- Autumn basket
A collection of leaves can become:
- Fall garland
- Thanksgiving table décor
- Autumn wreath
- Crochet bunting
- Wall hanging
- Seasonal centerpiece
And because every leaf requires only a small amount of yarn, this is also a great scrap-yarn crochet project.
Materials
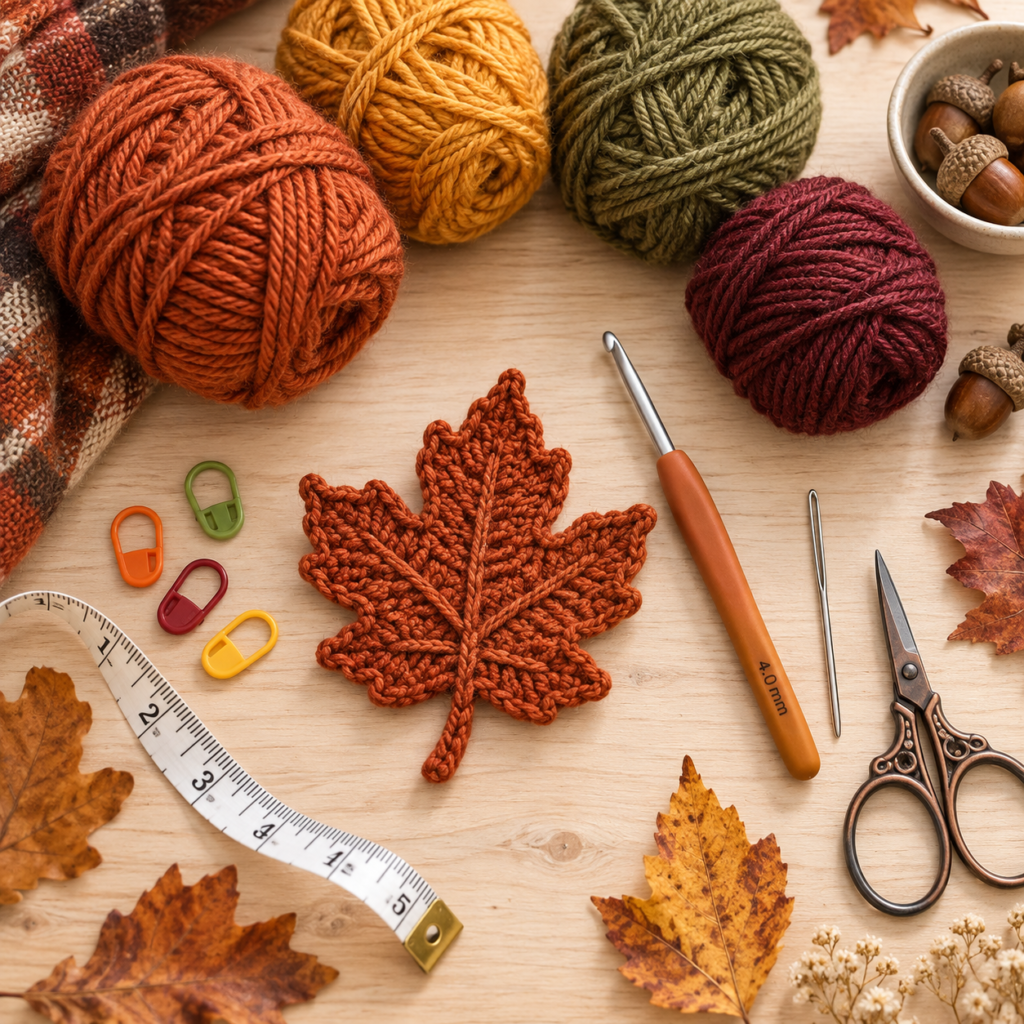
You will need:
- Small amount worsted-weight yarn in your chosen fall color
- 4 mm crochet hook
- Yarn needle
- Scissors
- Stitch marker, optional
- Blocking pins, optional
Good autumn color choices include:
- Burnt orange
- Rust
- Mustard
- Ochre
- Olive
- Moss green
- Burgundy
- Terracotta
- Chocolate brown
- Warm cream
Cotton yarn gives the leaves crisp stitch definition.
Acrylic yarn works well for softer garlands and decorations.
Crochet Abbreviations
| Abbreviation | Meaning |
|---|---|
| ch | Chain |
| sl st | Slip stitch |
| sc | Single crochet |
| hdc | Half double crochet |
| dc | Double crochet |
| tr | Treble crochet |
| st / sts | Stitch / stitches |
| FO | Fasten off |
Pattern Notes
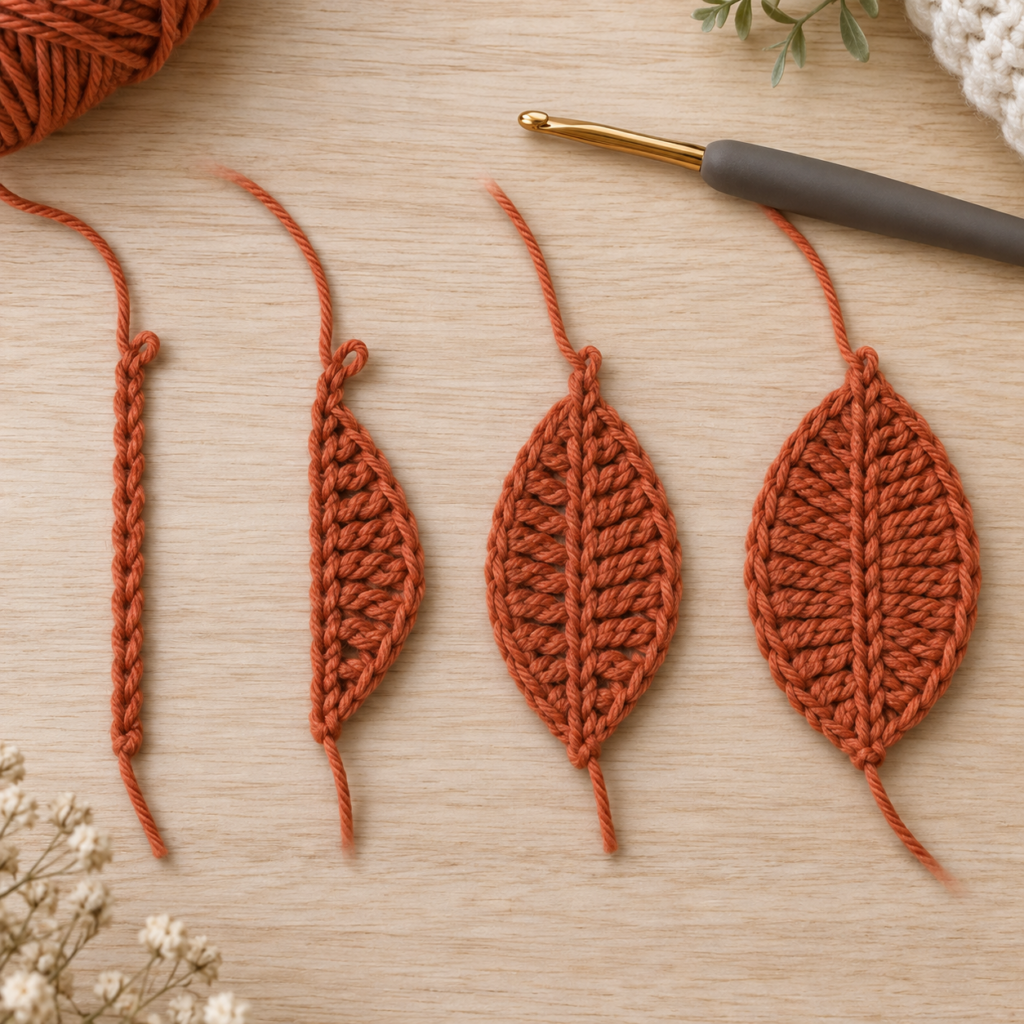
The leaf begins with a long foundation chain.
You will work around both sides of the chain to create the basic leaf shape.
A second shaping round creates the pointed autumn lobes.
The center foundation remains slightly raised and visually resembles the main vein of the leaf.
The stem is added last.
Do not worry if your leaf curls slightly while crocheting.
Light blocking at the end will flatten and define the lobes.
Part 1: Crochet the Center Foundation
Using your chosen fall color:
Ch 13.
Starting in the second chain from the hook:
- sl st in next ch
- sc in next ch
- hdc in next ch
- dc in next 2 ch
- tr in next 2 ch
- dc in next 2 ch
- hdc in next ch
- sc in next ch
- 3 sc in final ch
Do not turn.
Rotate the foundation so you can work along the opposite side of the starting chain.
Work:
- sc in next ch
- hdc in next ch
- dc in next 2 ch
- tr in next 2 ch
- dc in next 2 ch
- hdc in next ch
- sc in next ch
- sl st in final ch
Sl st into the beginning stitch.
You now have the basic elongated leaf body.
Part 2: Shape the Autumn Lobes
The second round turns the simple leaf shape into a more decorative maple-inspired fall leaf.
Before beginning, look at the two long sides of your leaf.
Imagine each side divided into five sections:
small • medium • large • medium • small
These sections will become the pointed lobes.
Small Lobe
Work into the next stitch:
sc
Ch 2.
Sl st into second chain from hook.
Sc into the next stitch.
This creates a small pointed edge.
Medium Lobe
In the following stitches work:
hdc, dc
Ch 3.
Sl st into second chain from hook and then next chain.
Work:
dc, hdc
This creates a slightly larger point.
Large Center Lobe
Continue toward the widest section.
Work:
dc, tr
Ch 4.
Sl st into second chain from hook and sl st through the remaining chains.
Then work:
tr, dc
This is the largest side lobe.
Second Medium Lobe
Repeat the medium-lobe sequence:
hdc, dc, ch 3 pointed tip, dc, hdc
Final Small Lobe
Repeat:
sc, ch 2 pointed tip, sc
Work toward the upper tip of the leaf.
At the leaf tip, work:
sc, ch 3, sl st back through the chain, sc
This makes a sharp central point.
Repeat the same lobe arrangement down the opposite side.
Try to mirror the first side as closely as possible.
Sl st at the base.
Fasten off only if you do not want a stem.
How to Keep Both Sides Even
Count the stitches between each lobe.
The exact placement may vary slightly depending on your tension.
The important part is symmetry.
Your sequence should visually look like:
small → medium → large → medium → small → top point → small → medium → large → medium → small
If one side looks slightly different, gently shape it with your fingers before blocking.
Part 3: Crochet the Leaf Stem
Do not cut the yarn at the bottom of the leaf.
Ch 7–10, depending on how long you want the stem.
Starting in the second chain from the hook:
Sl st in every chain back toward the leaf.
Sl st into the leaf base.
Fasten off.
Weave in the ends.
For a thicker stem, work sc instead of sl st along the return chain.
Part 4: Add a Raised Center Vein
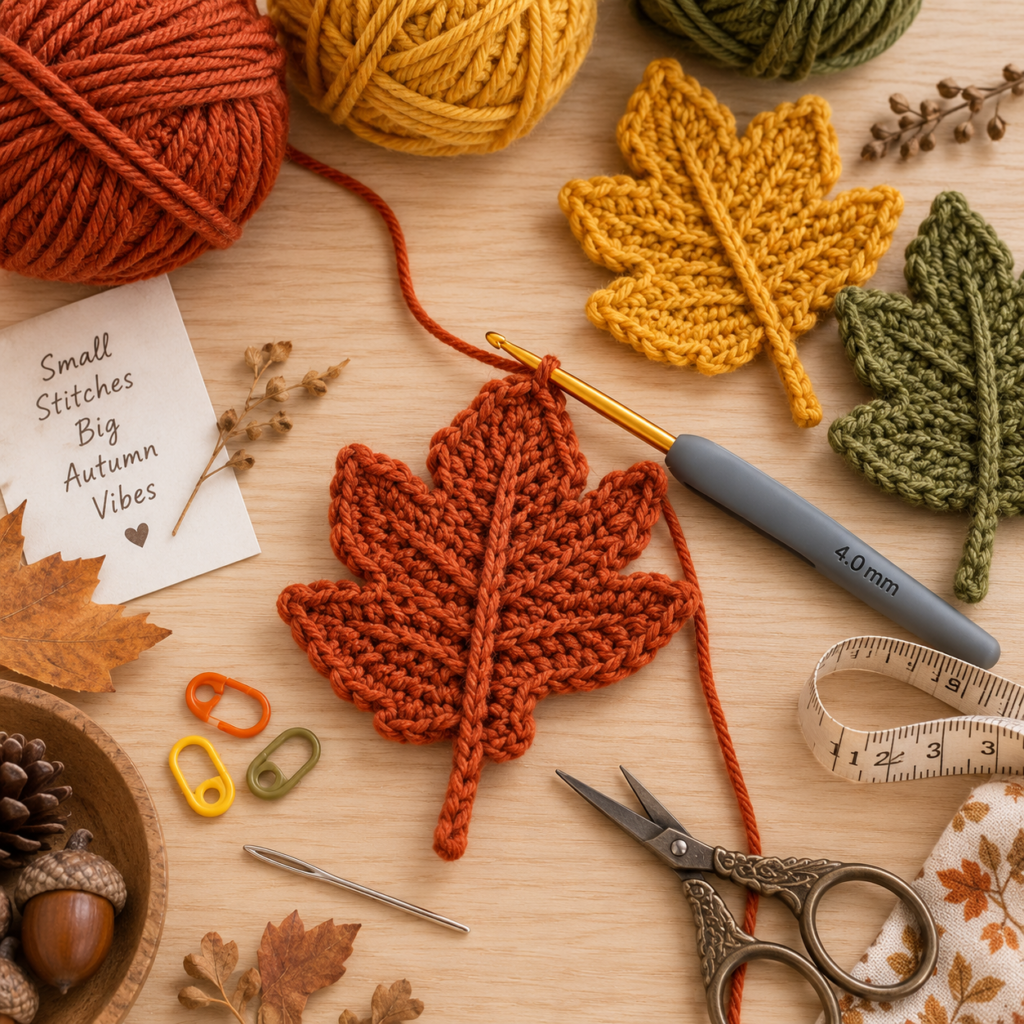
The foundation already creates a subtle center line, but you can make the vein more visible.
Thread a yarn needle with a matching or slightly darker shade.
Begin at the stem.
Using surface stitches, work straight upward through the center of the leaf.
Keep each stitch approximately:
¼–½ inch / 0.5–1 cm long
Continue toward the upper tip.
Fasten securely on the back.
You can also embroider two or three short diagonal veins extending outward toward the larger lobes.
Keep them subtle.
The main center vein should remain the strongest feature.
Optional Contrasting Vein
For a more decorative leaf, use:
- Mustard vein on rust
- Dark olive vein on sage
- Burgundy vein on burnt orange
- Brown vein on cream
This is especially pretty for fall garlands.
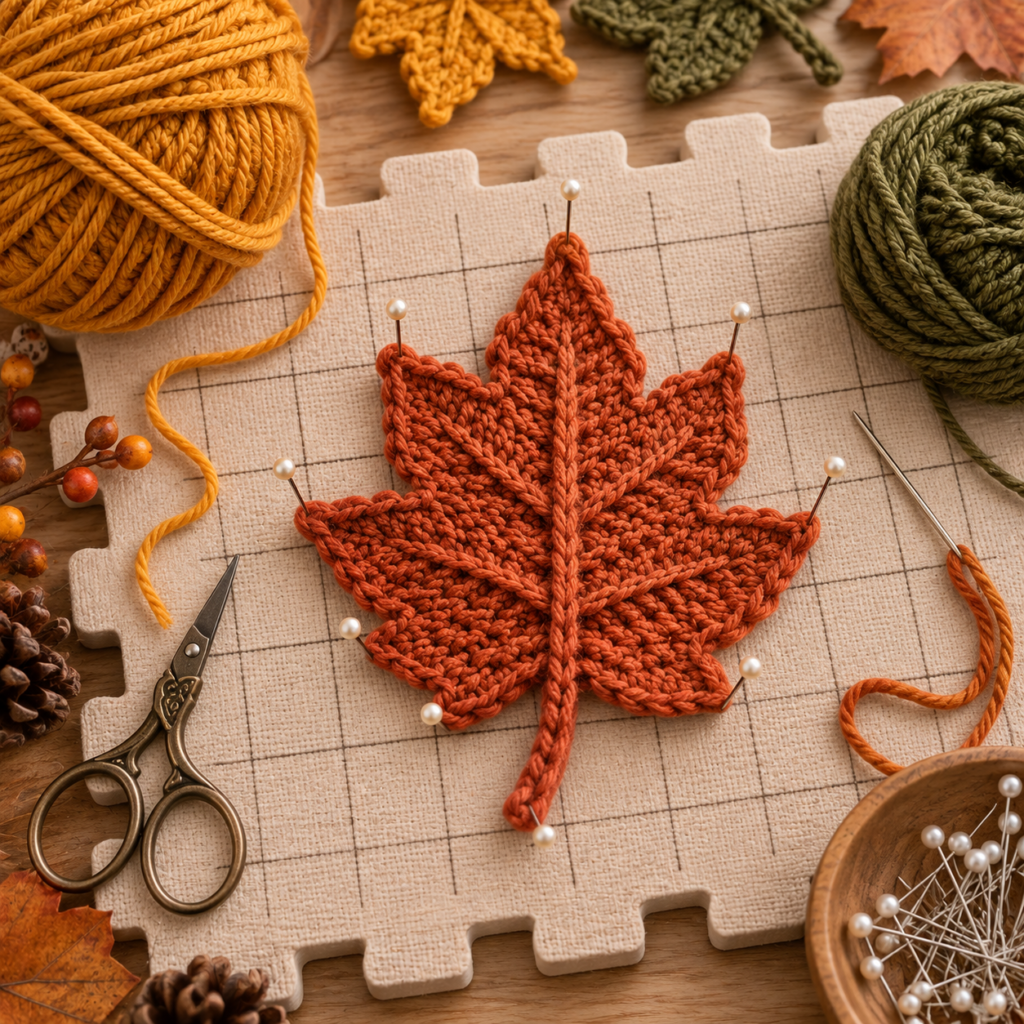
Part 5: Block and Shape the Leaf
Blocking makes a major difference with crochet leaves.
Lightly dampen the finished leaf.
Place it on a blocking mat or folded towel.
Pin the top point first.
Next pin:
- Large left lobe
- Large right lobe
- Medium lobes
- Small lobes
- Stem
Stretch only gently.
Do not distort the stitches.
Allow the leaf to dry completely.
The finished leaf should look crisp, flat, and symmetrical.
Make the Leaf Smaller
For a mini leaf, use:
- DK-weight yarn
- 3–3.5 mm hook
Start with approximately:
Ch 10
Reduce the number of stitches proportionally.
Mini leaves are great for:
- Earrings
- Gift tags
- Pumpkin appliqués
- Small garlands
- Hair accessories
Make the Leaf Larger
Use:
- Bulky yarn
- 5–6 mm hook
Keep the same basic construction.
The leaf will automatically become larger and more dimensional.
Large leaves work especially well for:
- Table décor
- Wreaths
- Pillow appliqués
- Fall wall hangings
Autumn Color Combinations
Classic Harvest
Rust
Mustard
Olive
Pumpkin Patch
Burnt orange
Cream
Dark green
Woodland
Chocolate brown
Moss green
Terracotta
Thanksgiving
Burgundy
Gold
Warm cream
Neutral Cottagecore
Oatmeal
Camel
Taupe
Vintage Fall
Dusty orange
Mustard
Muted sage
The leaves look especially beautiful when every one is a slightly different shade.
Make a Crochet Fall Leaf Garland
Crochet approximately:
7–11 leaves
Use different autumn colors.
Then crochet a long chain using cream, brown, or olive yarn.
Try:
Ch 120–180
depending on the desired garland length.
Position the leaves approximately:
5–7 in / 12–18 cm apart
Attach each stem to the chain with a yarn needle.
Alternate colors rather than placing matching shades beside each other.
For extra texture, add:
- Wooden beads
- Crochet acorns
- Mini pumpkins
- Tassels
Thanksgiving Table Décor
Crochet one leaf for every guest.
Place a leaf on each plate.
Add a small kraft name tag to the stem.
You instantly have a handmade Thanksgiving place setting that guests can take home afterward.
Crochet Leaf Coasters
Use cotton yarn and a slightly larger hook.
Make the leaves approximately 5–6 inches wide.
Block them firmly.
Cotton works best because it handles moisture and keeps its shape.
Decorate Crochet Pumpkins
Sew one olive or rust leaf next to the stem of a crochet pumpkin.
This adds an extra handmade detail without changing the pumpkin pattern.
You can also add a curly green vine.
Turn Leaves Into Appliqués
Leave the stem short.
Sew the leaf onto:
- Tote bags
- Blankets
- Cardigans
- Hats
- Scarves
- Baskets
- Pillows
Only sew around the center vein if you want the outer lobes to remain dimensional.
Fall Wreath Idea
Make approximately:
12–18 leaves
Use a mixture of:
- Rust
- Mustard
- Olive
- Burgundy
- Cream
Arrange them around a grapevine or wrapped yarn wreath.
Layer some leaves slightly over others.
Add miniature crochet pumpkins or acorns for an extra seasonal look.
Tips for Better Crochet Leaves
Keep your beginning chain loose.
A tight foundation can make the leaf curl.
Use a slightly smaller hook for firm, crisp leaves.
Count the lobes carefully.
Mirror the opposite side as closely as possible.
Block every finished leaf.
Use cotton if you want very defined points.
Use acrylic for softer garlands.
Do not weave the stem end in until you are happy with the shape.
Frequently Asked Questions
Is this Crochet Fall Leaves Pattern beginner friendly?
It is best for an advanced beginner.
You should already know basic stitches including sc, hdc, dc, and tr.
How long does one leaf take?
Most crocheters can finish one leaf in approximately 20–30 minutes.
What yarn works best?
Worsted-weight cotton gives the crispest structure.
Acrylic also works well for softer decorations.
Do I need to block the leaves?
It is highly recommended.
Blocking makes the points and lobes much more defined.
Can I use different yarn weights?
Yes.
Simply adjust your hook size.
The finished leaf will become smaller or larger depending on the yarn.
Can I use the leaves as coasters?
Yes.
Use cotton yarn and make them slightly larger.
Can I make a garland?
Absolutely.
Fall leaf garlands are one of the best ways to use this pattern.
Can I add wire to the stem?
Yes, for decorative projects.
A small piece of floral wire can be wrapped or crocheted into the stem if you want it to hold a particular position.
Save This Crochet Fall Leaves Pattern
Save this Crochet Fall Leaves Pattern to Pinterest for your autumn crochet list.
These leaves are quick, scrap-friendly, customizable, and perfect for fall garlands, Thanksgiving décor, wreaths, appliqués, crochet pumpkins, tablescapes, and handmade gifts.