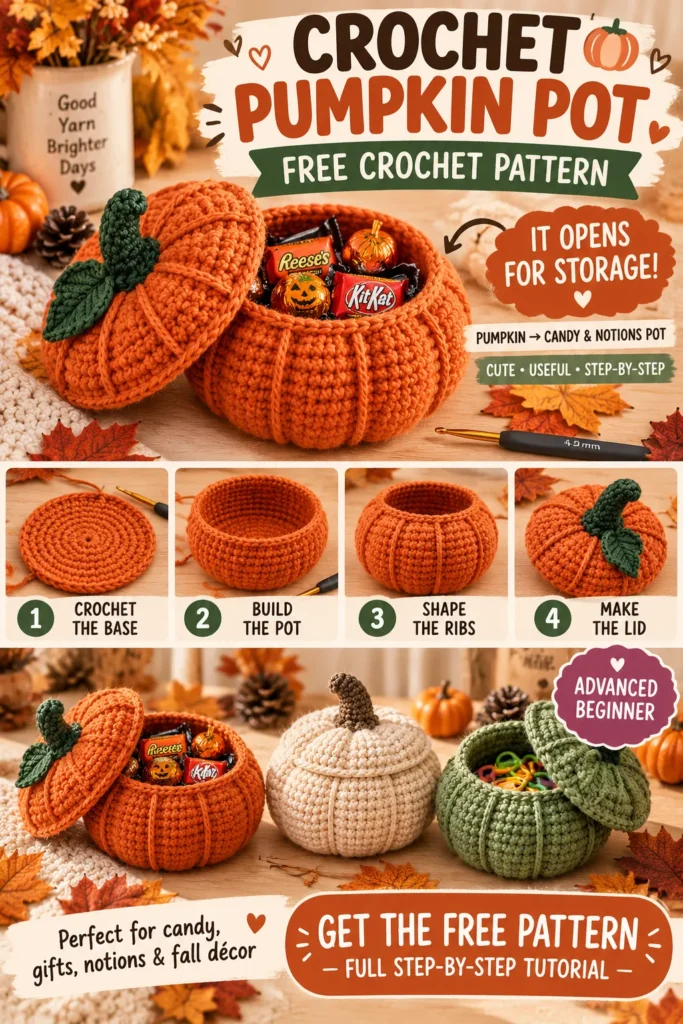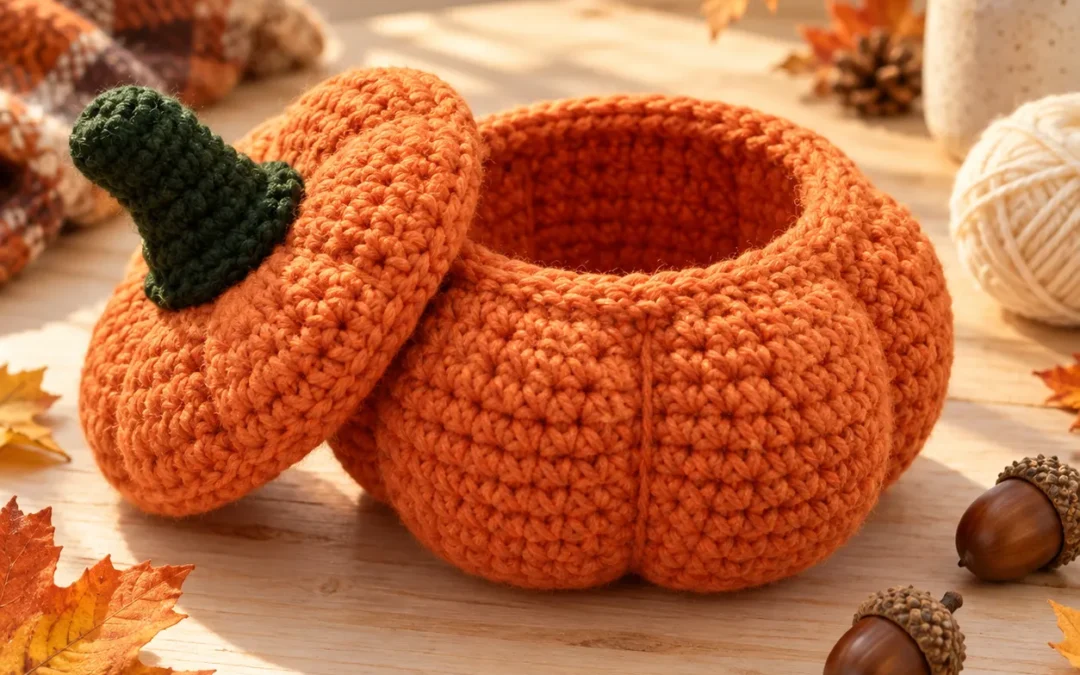
Bring cozy handmade charm to your fall décor with these adorable Crochet Pumpkin Pots.
At first glance, they look like plump little crochet pumpkins. Lift the stemmed top, however, and each pumpkin becomes a useful storage pot for candy, small gifts, craft supplies, jewelry, keys, or seasonal treats.
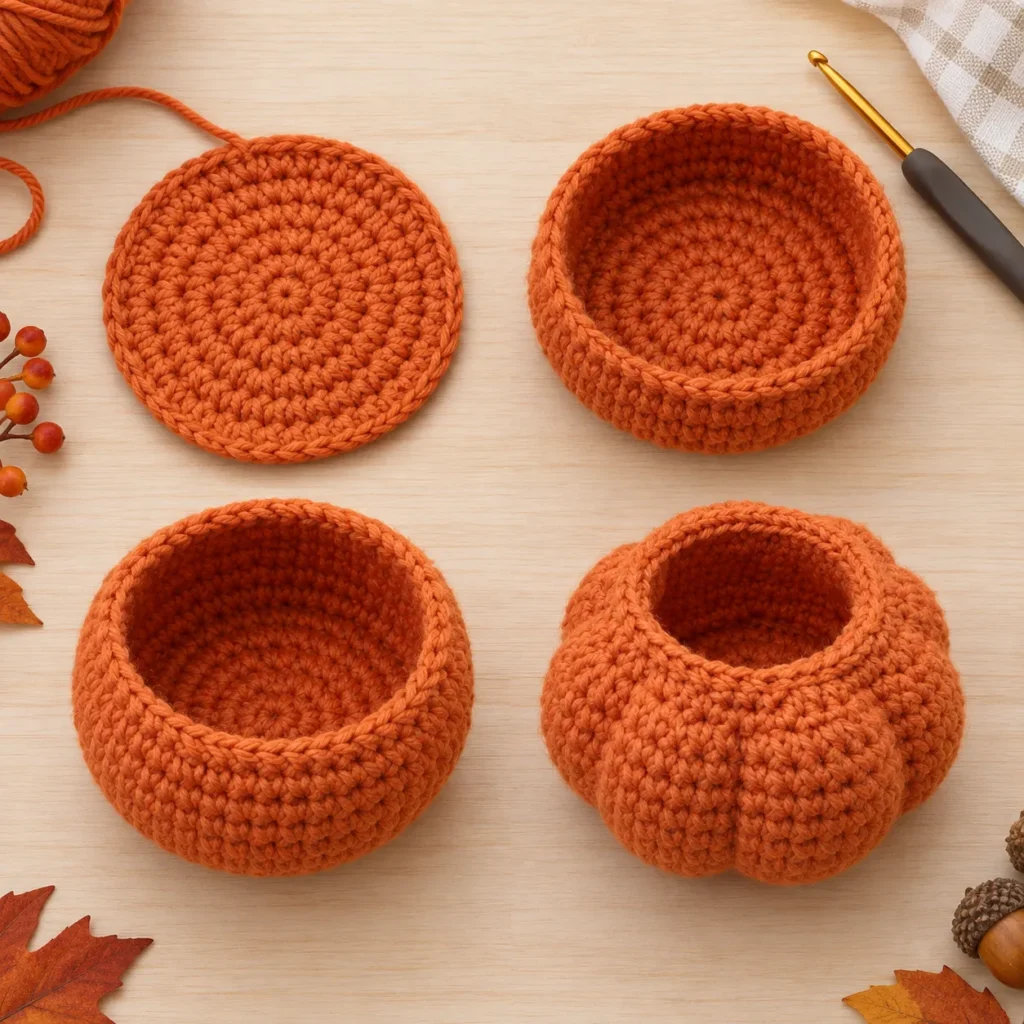
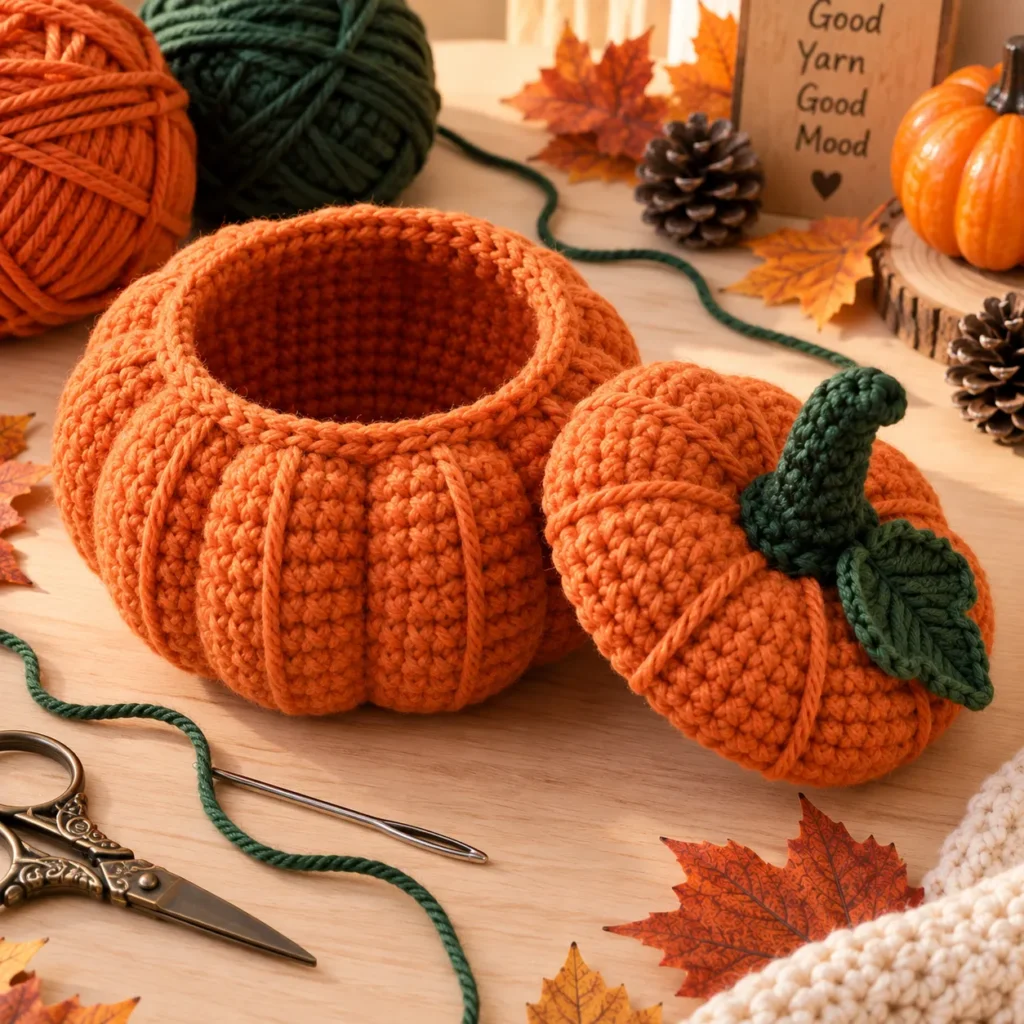
The pumpkin body is worked in continuous rounds with subtle shaping to create a sturdy bowl. After crocheting the container, long surface shaping stitches form the familiar pumpkin ribs.
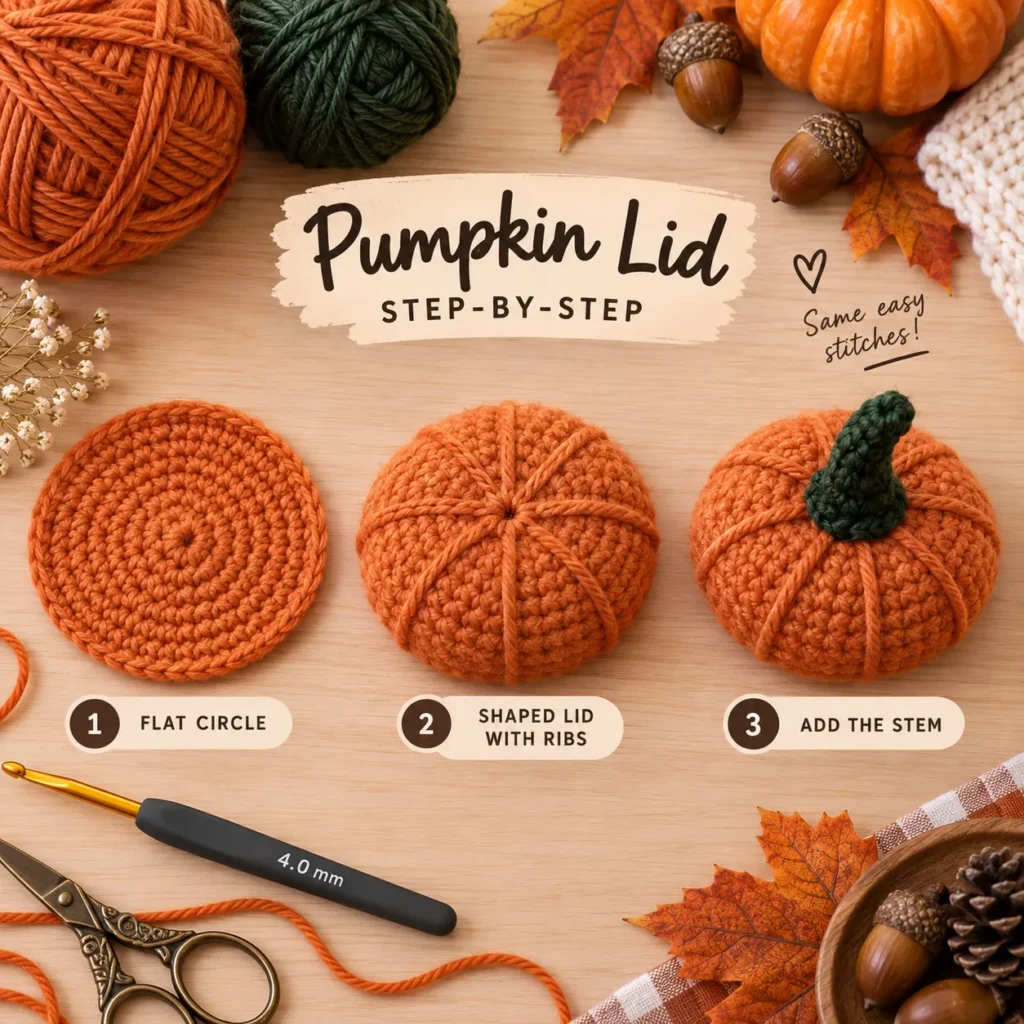
The lid is crocheted separately and finished with a dark-green stem that works as a convenient little handle.
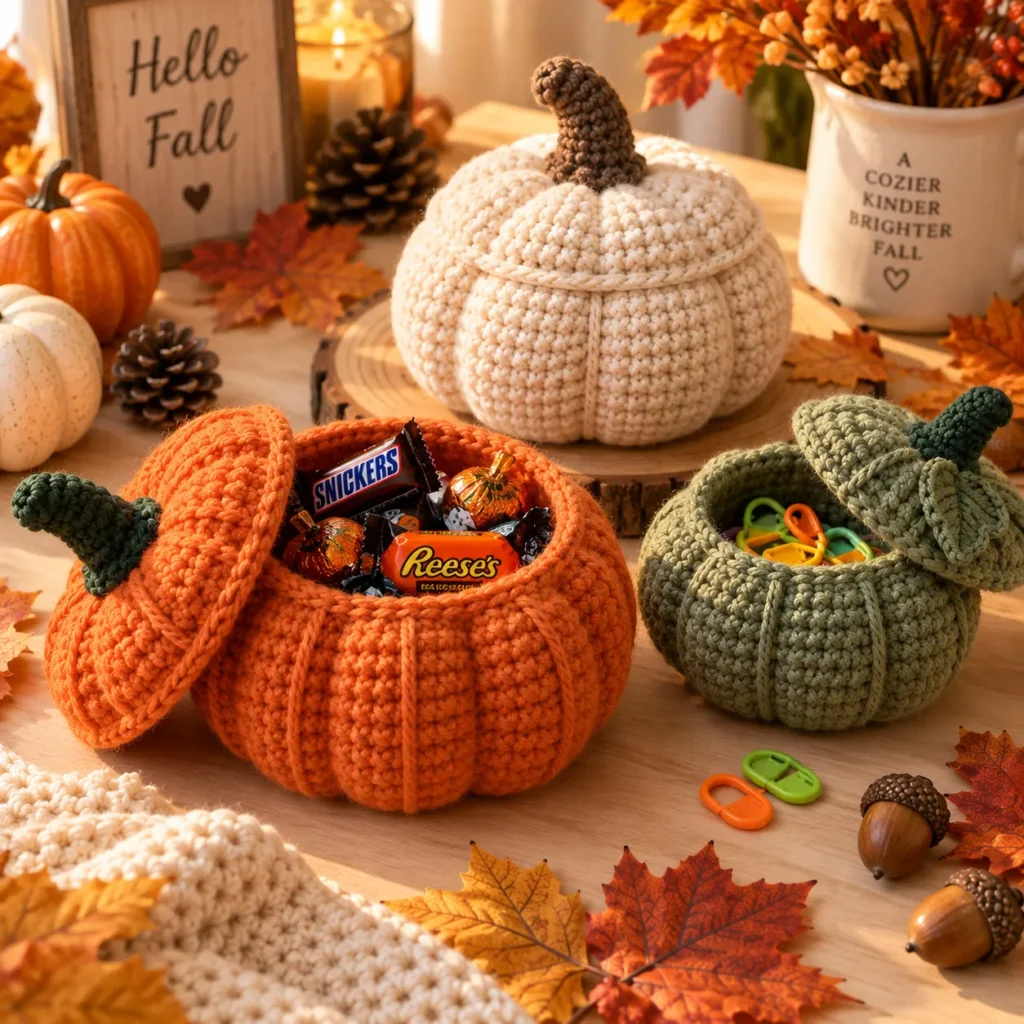
Make the classic version in burnt orange and forest green, or create a whole collection in cream, rust, mustard, sage, terracotta, and brown.
Crochet Pumpkin Pot Pattern at a Glance
| Pattern Detail | Information |
|---|---|
| Skill Level | Advanced Beginner |
| Crochet Terms | US terminology |
| Yarn Weight | Worsted / Medium #4 |
| Hook Size | 4 mm |
| Finished Width | Approx. 5.5–6 in / 14–15 cm |
| Finished Height | Approx. 5 in / 13 cm including stem |
| Construction | Bottom-up pot + separate lid |
| Main Stitch | Single crochet |
| Pumpkin Ribs | Surface shaping with yarn |
| Lid | Removable |
| Best Uses | Candy, gifts, craft storage, fall décor |
Finished dimensions may vary depending on yarn, hook size, and tension.
Why You’ll Love These Crochet Pumpkin Pots
This project combines seasonal décor with practical storage.
The finished pumpkin is decorative enough to display on a shelf or Thanksgiving table, but the removable lid means it can also hide small items inside.
Use one as:
- Halloween candy bowl
- Thanksgiving table favor
- Crochet notions container
- Jewelry pot
- Desk storage
- Small gift box
- Key bowl
- Autumn centerpiece
- Treat container
- Party favor
You can also make several sizes and group them together for a pumpkin-patch display.
Materials
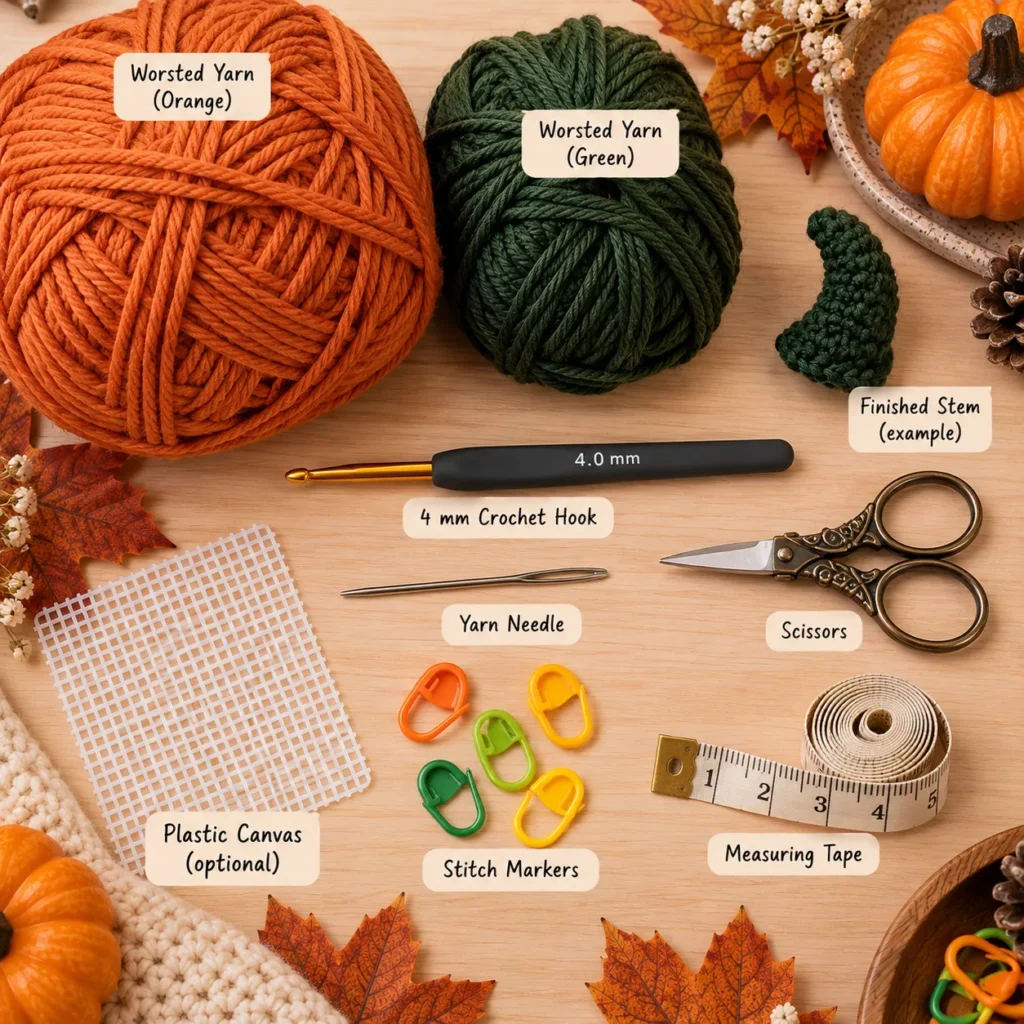
For one medium pumpkin pot:
- Approx. 120–150 yd / 110–137 m burnt-orange worsted yarn
- Approx. 15–20 yd / 14–18 m dark-green yarn
- 4 mm crochet hook
- Yarn needle
- Scissors
- Stitch marker
- Measuring tape
Optional for extra structure:
- Plastic canvas
- Craft felt
- Thin cardboard insert
- Fabric lining
Use a smooth yarn with good stitch definition.
Cotton and cotton blends create especially firm containers, while acrylic produces a softer pot.
Crochet Abbreviations
| Abbreviation | Meaning |
|---|---|
| MR | Magic ring |
| ch | Chain |
| sc | Single crochet |
| inc | 2 sc in one stitch |
| dec | Invisible decrease |
| sl st | Slip stitch |
| BLO | Back loop only |
| st / sts | Stitch / stitches |
| FO | Fasten off |
Pattern Notes
The pot is worked from the bottom upward in continuous rounds.
Use a stitch marker to mark the first stitch of each round.
The body is crocheted as a smooth bowl first.
Afterward, long strands of yarn are passed from top to bottom around the outside to create the pumpkin ribs.
The lid is worked separately.
The lid should sit just slightly wider than the pot opening so it rests securely without becoming difficult to remove.
Part 1: Crochet the Pumpkin Pot Base
Use burnt-orange yarn.
Round 1
Create a magic ring.
Work:
6 sc into MR
6 sts
Round 2
Inc in each stitch around.
12 sts
Round 3
Repeat:
sc, inc
around.
18 sts
Round 4
Repeat:
2 sc, inc
around.
24 sts
Round 5
Repeat:
3 sc, inc
around.
30 sts
Round 6
Repeat:
4 sc, inc
around.
36 sts
Round 7
Repeat:
5 sc, inc
around.
42 sts
Round 8
Repeat:
6 sc, inc
around.
48 sts
You should now have a flat circular base.
Part 2: Turn the Base Into a Pot
Round 9
Work:
sc BLO around
48 sts
Working into the back loops creates a neat turning edge between the bottom and side walls.
Rounds 10–12
Sc around.
48 sts
Part 3: Shape the Pumpkin Body
The next increases create the plump pumpkin silhouette.
Round 13
Repeat:
7 sc, inc
around.
54 sts
Rounds 14–18
Sc around.
54 sts
The walls should now rise vertically while beginning to look rounded.
Round 19
Repeat:
7 sc, dec
around.
48 sts
Round 20
Sc around.
48 sts
Round 21
Repeat:
6 sc, dec
around.
42 sts
Rounds 22–23
Sc around.
42 sts
The opening should now be slightly narrower than the widest section of the pot.
Finish the Upper Edge
Work one final round of:
sl st loosely around
Do not pull tightly.
Fasten off and weave in the yarn tail.
The pot should now resemble a rounded pumpkin-shaped bowl.
Optional Firm Base
If you want the finished pot to hold its shape especially well, cut a circle of plastic canvas slightly smaller than the crochet base.
Place it inside the pot.
Cover it with a circle of craft felt or crochet fabric if desired.
This is particularly helpful if the pot will hold candy, jewelry, keys, or heavier craft supplies.
Do not use cardboard if you plan to wash the finished piece.
Part 4: Create the Pumpkin Ribs
Cut a long strand of orange yarn approximately:
60–70 in / 150–180 cm
Thread it onto your yarn needle.
Insert the needle through the bottom center of the pot.
Bring it up along the outside and pass it through the upper edge.
Return the yarn back down to the bottom center.
Pull gently.
The side should indent slightly.
Repeat to create approximately 6–8 evenly spaced pumpkin sections.
For eight sections, imagine the pumpkin divided like a clock.
Space each shaping strand evenly around the body.
Do not pull too tightly.
The container needs to remain open and functional.
When all ribs are shaped, secure the yarn firmly inside the bottom.
Part 5: Crochet the Pumpkin Lid
Using burnt-orange yarn:
Round 1
Create a magic ring.
Work:
6 sc
Round 2
Inc around.
12 sts
Round 3
Repeat:
sc, inc
around.
18 sts
Round 4
Repeat:
2 sc, inc
around.
24 sts
Round 5
Repeat:
3 sc, inc
around.
30 sts
Round 6
Repeat:
4 sc, inc
around.
36 sts
Round 7
Repeat:
5 sc, inc
around.
42 sts
Round 8
Repeat:
6 sc, inc
around.
48 sts
Curve the Lid
Round 9
Sc around.
48 sts
Round 10
Repeat:
6 sc, dec
around.
42 sts
Round 11
Sc around.
42 sts
The lid should now form a shallow dome.
Test it on the pot before fastening off.
It should overlap the opening slightly.
Fasten off.
Shape the Lid Ribs
Use the same method used for the pot body.
Pass long orange yarn strands from the center to the edge.
Create approximately 6–8 shallow ribs.
Pull more lightly than on the body.
The lid should remain broad enough to cover the opening.
Part 6: Crochet the Pumpkin Stem
Using dark-green yarn:
Create a magic ring.
Round 1
Work:
5 sc into MR
Rounds 2–6
Sc around.
5 sts
Fasten off with a long tail.
The stem should be narrow and slightly curved.
For a thicker stem, begin with 6 sc instead of 5.
Do not stuff unless you prefer a very firm stem.
Attach the Stem
Position the stem at the center of the pumpkin lid.
Sew around the bottom edge securely.
Pass the yarn through several neighboring stitches so the stem can safely be used as a lid handle.
Weave in the yarn ends underneath.
Optional Curved Stem
To create a more natural pumpkin stem:
Thread a green yarn tail through one side of the finished stem.
Pull gently.
Secure it at the base.
This causes the stem to lean slightly rather than standing perfectly straight.
Part 7: Add an Optional Leaf
Using green yarn:
Ch 8.
Beginning in second chain:
sl st, sc, hdc, dc, hdc, sc
Work 3 sc into the last chain.
Continue along the opposite side:
sc, hdc, dc, hdc, sc, sl st
Fasten off.
Sew the small leaf beside the stem.
This detail is optional but looks especially nice on Thanksgiving versions.
Part 8: Check the Lid Fit
Place the lid over the pot.
It should rest comfortably across the top.
If it falls inside the container, add one additional round of sc around the lid edge.
If it is too large, lightly shape it using a final decrease round.
Because crochet tension varies, always test the lid before weaving in every end.
Fill Your Crochet Pumpkin Pot
Once complete, you can fill the pumpkin with all kinds of small items.
For Halloween:
- Wrapped candy
- Mini chocolate bars
- Small toys
- Stickers
- Party favors
For Thanksgiving:
- Wrapped sweets
- Thank-you notes
- Table favors
- Small gifts
For craft storage:
- Stitch markers
- Buttons
- Yarn needles
- Measuring tapes
- Safety eyes
For everyday storage:
- Jewelry
- Keys
- Hair ties
- Coins
Avoid putting unwrapped food directly against yarn.
Make a Small Pumpkin Pot
For a mini version, stop increasing the base after:
36 stitches
Work approximately 7–9 side rounds.
Then decrease slightly before finishing.
Make the lid to approximately the same stitch count.
Mini pumpkin pots work well for:
- Rings
- Stitch markers
- Small chocolates
- Party favors
- Desk accessories
Make a Large Pumpkin Pot
For a larger candy bowl, continue increasing the base.
After 48 stitches:
Next Round
Repeat:
7 sc, inc
around.
54 sts
Then:
8 sc, inc
around.
60 sts
Continue the side shaping proportionally.
Use a firmer cotton yarn or double strands for extra structure.
Crochet Pumpkin Pot Color Ideas
Classic Pumpkin
Burnt orange
Forest-green stem
White Farmhouse
Warm cream
Brown stem
Sage Pumpkin
Muted sage
Dark olive stem
Terracotta
Rust / clay orange
Deep brown stem
Golden Harvest
Mustard
Olive stem
Pink Fall
Dusty blush
Sage stem
Gothic Halloween
Black pumpkin
Dark-purple stem
Neutral Cottagecore
Oatmeal
Camel or olive stem
A group of three different colors looks especially nice on a fall shelf or Thanksgiving table.
Add a Face for Halloween
Turn the pumpkin pot into a jack-o’-lantern.
Using black yarn or felt, add:
- Triangle eyes
- Small nose
- Curved mouth
You can embroider the face directly onto the crochet or sew on removable felt features.
Leave the classic pumpkin plain if you want the pot to work for both Halloween and Thanksgiving.
Make Thanksgiving Table Favors
Crochet one mini pumpkin pot for each place setting.
Fill each with:
- Wrapped chocolate
- Small note
- Name card
- Tiny handmade gift
Use cream, rust, mustard and sage yarn for an elegant Thanksgiving palette.
Guests can take the pumpkin home after dinner.
Add a Fabric Lining
For a more finished storage container, add a simple fabric lining.
Measure:
- Bottom diameter
- Pot circumference
- Interior height
Cut a round base and rectangular side piece from cotton fabric.
Sew them together.
Insert the lining.
Hand stitch the upper edge to the inside of the crochet pot.
A lining helps prevent tiny objects from slipping between stitches.
Tips for a Sturdy Crochet Pot
Use a hook slightly smaller than the yarn label recommends.
Keep your single crochet stitches firm.
Cotton yarn generally creates the strongest walls.
Add plastic canvas to the base if necessary.
Do not over-pull the shaping strands.
Keep the opening wide enough for practical storage.
Block the lid lightly if it curls.
Washing and Care
If the pumpkin contains no cardboard or glued structure, gently hand wash in cool water.
Press excess moisture out with a towel.
Do not wring.
Stuff the container temporarily with a clean towel while drying so it keeps its shape.
Reshape the ribs with your fingers.
Allow it to dry completely before replacing the lid.
Frequently Asked Questions
Is this Crochet Pumpkin Pot beginner friendly?
It is suitable for an advanced beginner.
You should be comfortable with working in continuous rounds, increases, decreases and basic sewing.
Is the lid removable?
Yes.
The lid is crocheted separately and rests over the pot opening.
How big is the finished pumpkin?
Approximately 5.5–6 inches / 14–15 cm wide using worsted-weight yarn and a 4 mm hook.
Does the pumpkin need stuffing?
No.
The pot remains hollow because it is designed for storage.
How does the pumpkin stay round?
Firm single crochet combined with the shaping strands creates the pumpkin form.
Optional plastic canvas can provide even more structure.
Can I put candy inside?
Yes, as long as the candy is individually wrapped.
Can I use bulky yarn?
Yes.
Your pumpkin pot will become larger and thicker.
Adjust your hook accordingly.
Can I make it without the rib shaping?
Yes, although the vertical shaping lines are what make the container strongly resemble a pumpkin.
Can I add a handle?
Yes.
You can crochet a short strap and attach it to opposite sides of the pot to create a small Halloween treat basket.
Save This Crochet Pumpkin Pot Pattern
Save this Crochet Pumpkin Pots pattern to Pinterest for your fall crochet list.
These little containers combine cozy autumn décor with practical storage, making them perfect for Halloween candy, Thanksgiving favors, crochet supplies, handmade gifts and seasonal decorating.