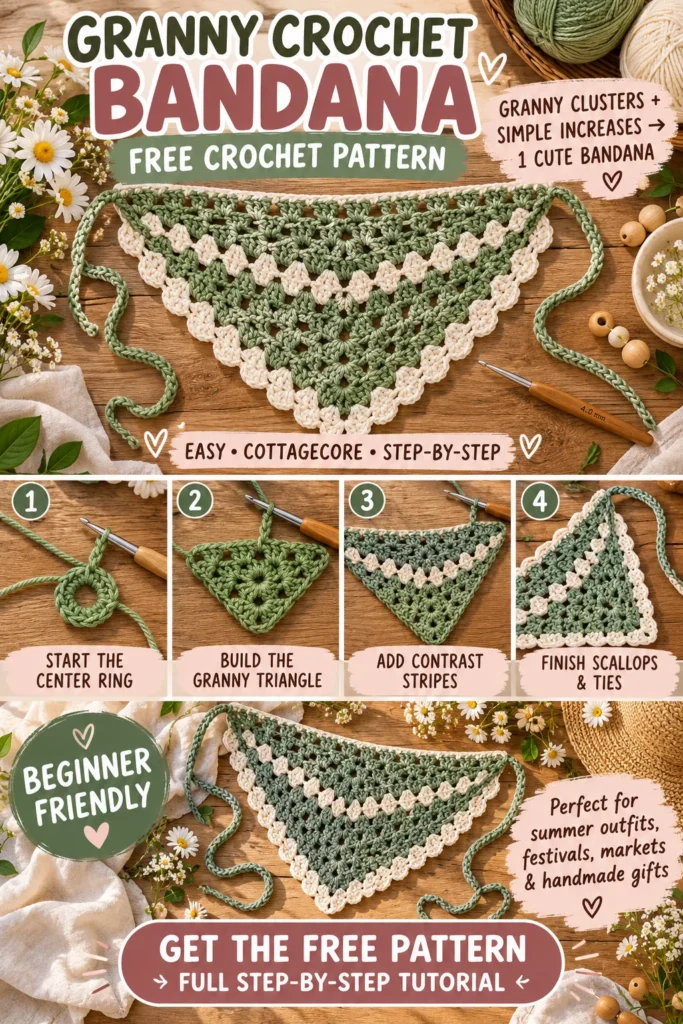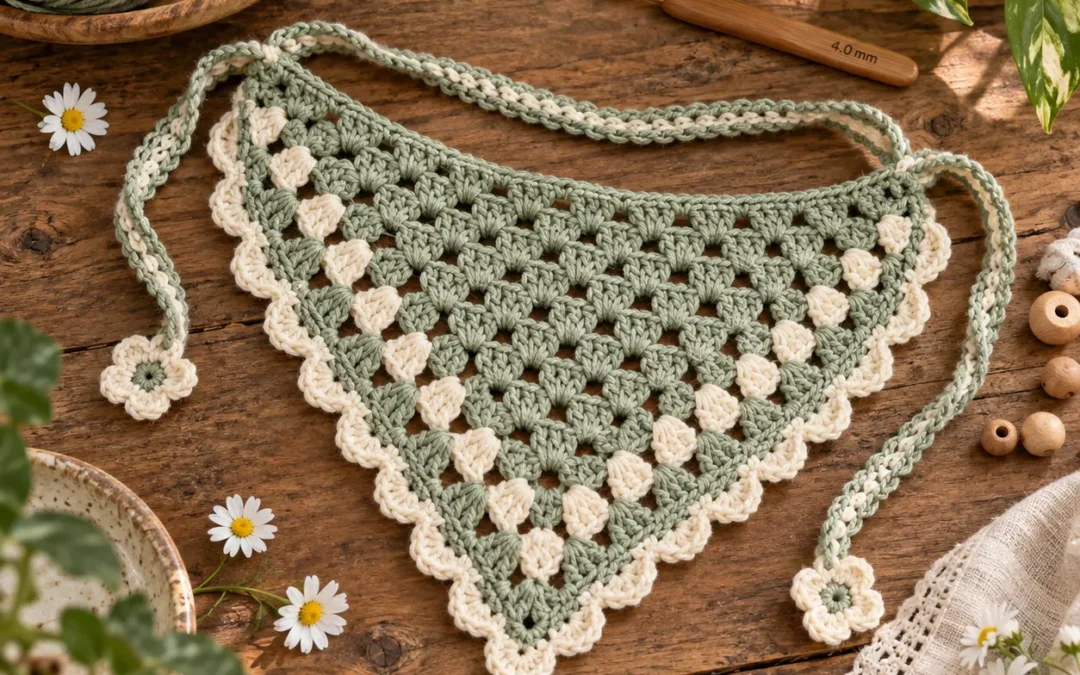
Add a relaxed handmade touch to your everyday outfits with this Granny Crochet Bandana Pattern.
This lightweight crochet headscarf uses classic granny-style clusters to create a soft triangular shape that grows naturally from the center. The sample combines muted sage green and warm cream for a calm cottage-inspired look, then finishes the triangle with a delicate scalloped edge and long crochet ties.
Because the bandana is worked from the center outward, it is easy to customize the size. Simply keep adding granny rows until the top edge gives you the coverage you want.
This pattern is a lovely project for:
- Summer outfits
- Farmers markets
- Festivals
- Vacations
- Boho styling
- Cottagecore wardrobes
- Handmade gifts
- Scrap-yarn projects
Pattern at a Glance
| Pattern Detail | Information |
|---|---|
| Skill Level | Beginner / Confident Beginner |
| Crochet Terms | US terminology |
| Yarn | DK or light worsted cotton |
| Hook Size | 4 mm |
| Construction | Center-out granny triangle |
| Main Stitch | 3-double-crochet granny clusters |
| Border | Simple scallops |
| Closure | Long adjustable ties |
| Finished Width | Approx. 22–24 in / 56–61 cm |
| Finished Depth | Approx. 11–12 in / 28–30 cm |
Why You’ll Love This Granny Crochet Bandana
This is one of those crochet projects that looks stylish without requiring complicated shaping.
The triangle grows automatically through increases at the center and along the outside edges.
The granny clusters create:
- Light openwork texture
- Natural drape
- Fast progress
- Easy color changes
- A classic handmade look
You can keep the pattern minimal with one color or introduce contrast stripes for a more vintage granny-square feel.
Materials
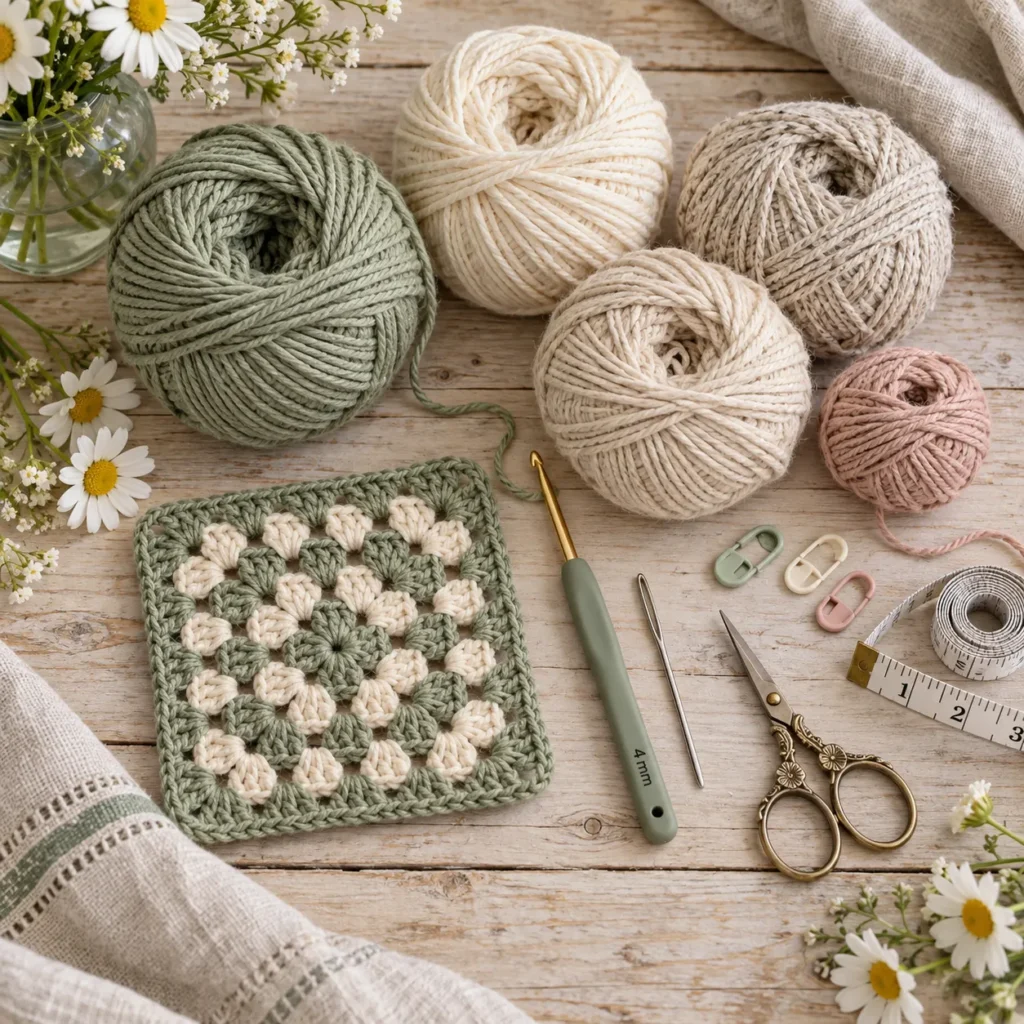
For one adult-size bandana:
- 120–150 yd muted-sage DK cotton yarn
- 70–100 yd warm-cream DK cotton yarn
- 4 mm crochet hook
- Yarn needle
- Scissors
- Measuring tape
- Stitch markers, optional
Cotton yarn works especially well because it is breathable and gives the granny clusters clean stitch definition.
A cotton-bamboo blend is another nice option if you prefer a softer drape.
Crochet Abbreviations
| Abbreviation | Meaning |
|---|---|
| ch | Chain |
| dc | Double Crochet |
| sc | Single Crochet |
| sl st | Slip Stitch |
| sp | Space |
| st / sts | Stitch / stitches |
| FO | Fasten Off |
Suggested Color Sequence
For the sage-and-cream version:
Rows 1–4: Sage
Rows 5–6: Cream
Rows 7–10: Sage
Rows 11–12: Cream
Rows 13–16: Sage
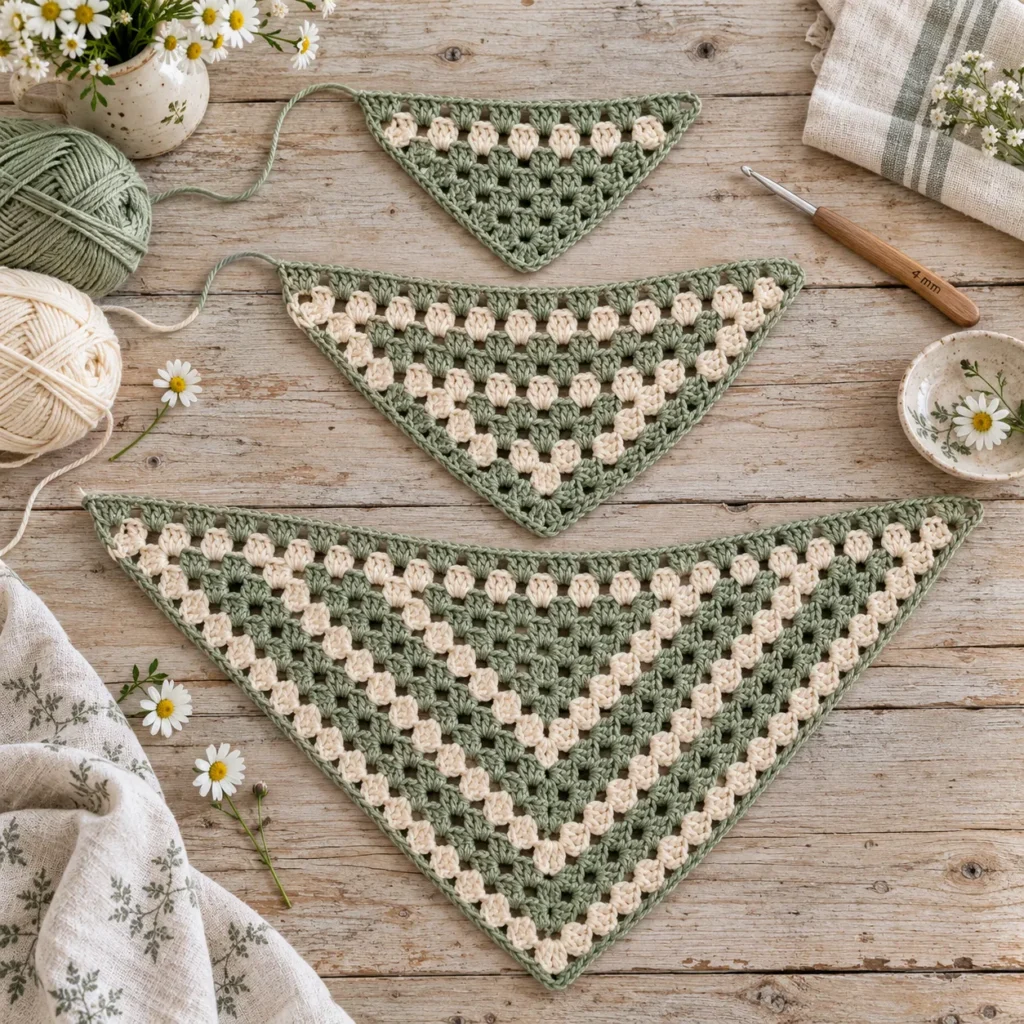
Continue this sequence until the bandana reaches your preferred size.
For a more striped look, change colors every two rows.
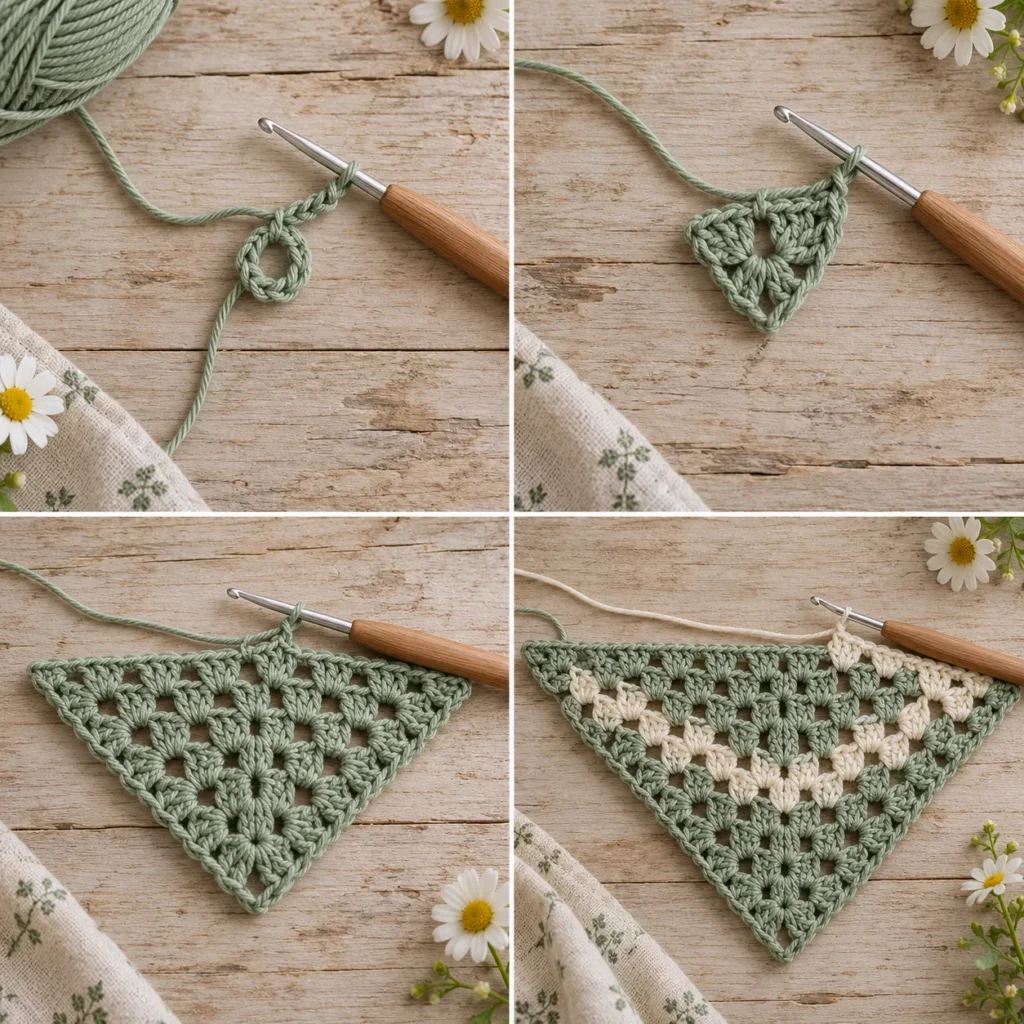
Part 1: Begin the Granny Triangle
Using muted-sage yarn:
Ch 4.
Join with a slip stitch in the first chain to form a small ring.
Row 1
Ch 3.
Work into the center ring:
3 dc, ch 2, 4 dc
Turn.
The ch-2 space in the middle becomes the center point of the triangle.
Row 2
Ch 3.
Work:
2 dc in the first stitch
Ch 1.
Work into the center ch-2 space:
3 dc, ch 2, 3 dc
Ch 1.
Work:
3 dc in the final stitch
Turn.
You now have a small triangle.
Part 2: Continue the Granny Rows
From this point onward, the same basic construction repeats.
At the start of each row:
Ch 3, 2 dc in the first stitch.
Then:
Ch 1.
Work:
3 dc in each ch-1 space
until you reach the center.
In the center ch-2 space work:
3 dc, ch 2, 3 dc
Continue along the second side:
ch 1, 3 dc in each ch-1 space
Finish with:
3 dc in the final stitch
Turn.
Each row increases the triangle evenly.
Keep the Center Point Clear
If you are a beginner, place a stitch marker in the center ch-2 space.
That makes it much easier to identify where the main increase belongs.
Without the center increase, the bandana will lose its triangular shape.
Part 3: Add the Cream Accent Stripes
When you are ready to change colors, switch yarn during the final yarn-over of the last dc.
Pull the warm-cream yarn through the remaining loops.
Turn and continue the next row.
For the sample design, work two cream rows between wider sage sections.
This creates a subtle stripe without making the bandana too busy.
Clean Color Changes
Leave a yarn tail long enough to weave securely.
Avoid making knots at the side edge.
Keep the first stitch after each color change slightly relaxed.
You can weave the yarn ends into matching-color rows later.
Part 4: Crochet to the Desired Size
Continue repeating the granny row until the top edge measures approximately:
22–24 in / 56–61 cm
The center depth should be approximately:
11–12 in / 28–30 cm
These measurements are only a guide.
For more coverage, continue for several additional rows.
For a smaller hair scarf, stop earlier.
Because the design uses ties, the finished fit is very forgiving.
Optional Wider Headscarf
If you want a deeper kerchief that covers more hair, continue until the top edge reaches approximately:
26–28 in / 66–71 cm
This version works nicely over a low bun or ponytail.
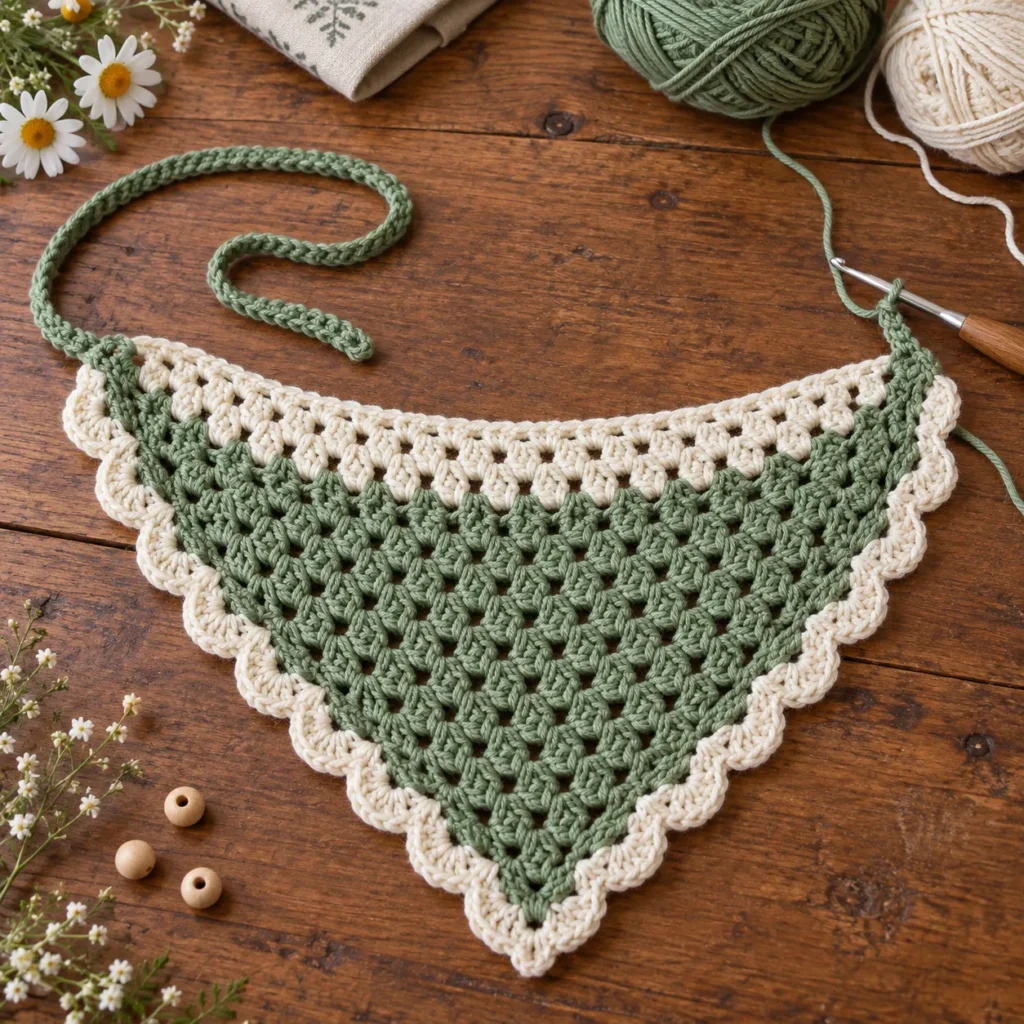
Part 5: Add the Scalloped Border
Once the triangle reaches your preferred size, fasten off the main color.
Join warm-cream yarn at one upper corner.
Work sc evenly down the first diagonal edge.
For the scalloped section, repeat:
skip 1 stitch, 5 dc in next stitch, skip 1 stitch, sl st in next stitch
Continue toward the lower point.
Work carefully around the center point.
Then repeat the scallops up the opposite diagonal side.
Keep the upper horizontal edge simple.
A row of sc across the top is enough.
This helps the bandana sit flat against the head.
Alternative Picot Border
If you want a smaller decorative finish, work sc around the diagonal edges and add a picot every 3–4 stitches.
For one picot:
ch 3, sl st into the first chain
Then continue with sc.
Part 6: Crochet the First Tie
Using sage yarn, join at one upper corner.
Ch 60–75.
The exact number depends on how long you want the tie.
For a stronger tie, work back along the chain with:
sl st in each chain
or:
sc in each chain
Fasten off.
Part 7: Crochet the Second Tie
Repeat on the opposite corner.
Make sure both ties are approximately equal in length.
The long ties allow the bandana to be:
- Tied at the nape
- Knotted over a ponytail
- Finished with a small bow
- Adjusted for different head sizes
Blocking the Bandana
Blocking makes a big difference with granny stitch.
Lightly wet the finished bandana.
Press out excess water in a towel.
Lay it flat.
Straighten the upper edge.
Gently stretch both side edges.
Shape the lower point.
Open the granny spaces evenly.
Arrange the scallops so they are all similar in size.
Allow the piece to dry completely.
How to Wear the Granny Crochet Bandana
Classic Headscarf
Place the wide edge just behind your hairline.
Allow the triangle to fall toward the back.
Tie underneath your hair.
Low Bun
Place the triangle over a low bun and tie underneath.
Ponytail Style
Wear the bandana slightly higher and wrap the ties around a ponytail.
Headband Style
Fold the triangle upward and wear it as a wide granny-stitch headband.
Bow Style
Make the ties slightly longer and finish with a visible bow at the back.
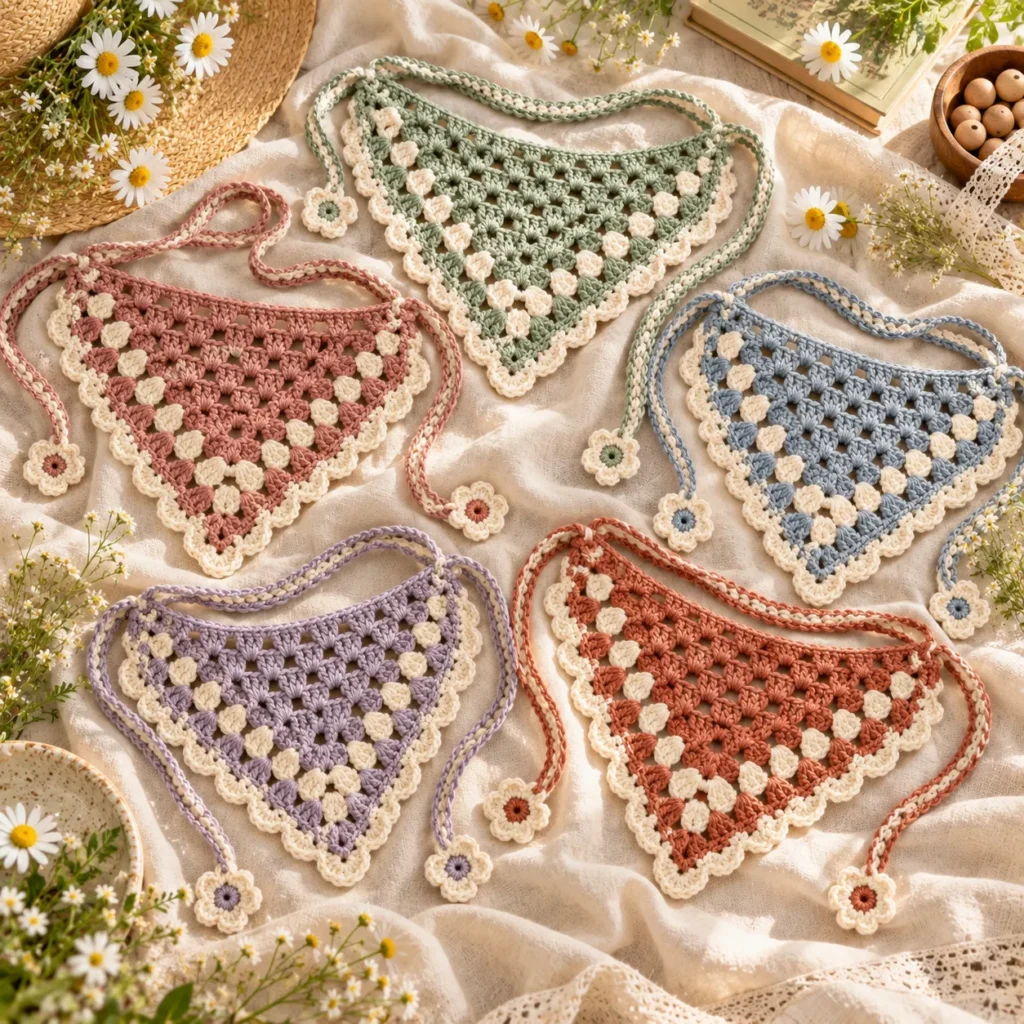
Easy Color Variations
Sage Cottage
Muted sage + warm cream.
Vintage Rose
Dusty rose + oatmeal.
Coastal Blue
Faded blue + ivory.
Lavender Garden
Soft lavender + beige.
Terracotta Boho
Terracotta + cream.
Neutral Granny
Oatmeal + taupe.
Classic Black & Cream
Black + warm ivory for a stronger graphic look.
Make It in One Color
The design also looks beautiful without stripes.
Try:
- Antique ivory
- Black
- Olive
- Caramel
- Dusty blue
- Rust
A single-color version puts more focus on the classic granny texture.
Make It With Scrap Yarn
This is a great scrap-yarn pattern because every row can be a different color.
For a vintage granny look, try:
mustard → cream → sage → terracotta → dusty rose → oatmeal
Repeat the colors until the desired size is reached.
Keep the edging in one neutral color to make the finished piece feel cohesive.
Cotton Yarn Tips
Cotton does not stretch as much as acrylic or wool.
Keep your tension relaxed.
If the stitches feel stiff, move up to a 4.5 mm hook.
If the triangle feels too loose, try a 3.5 mm hook.
Always check the width before adding the final border.
Tips for Neat Granny Clusters
Keep each 3-dc cluster consistent.
Do not pull chain spaces too tightly.
Check the center increase every row.
Count both sides occasionally to make sure they match.
Work color changes at the edge rather than in the center.
Block the finished piece before wearing.
Make a Matching Granny Set
Use the same colors to create a coordinated:
- Granny tote bag
- Bucket hat
- Scrunchie
- Mini shoulder bag
- Summer top
- Crochet belt
This is especially effective for Pinterest-friendly handmade collections.
Frequently Asked Questions
Is the Granny Crochet Bandana beginner friendly?
Yes. The main pattern uses chains, double crochet, granny clusters, and simple increases.
How is the triangle shaped?
The bandana increases at both outer edges and in the center ch-2 space.
Can I make the bandana larger?
Yes. Continue adding rows until the top edge reaches the size you want.
Can I use acrylic yarn?
Yes, although cotton is usually more breathable for warm-weather wear.
Can I skip the scalloped border?
Absolutely. A simple single-crochet border creates a cleaner minimalist look.
Can I use more than two colors?
Yes. This pattern works beautifully as a scrap-yarn or rainbow granny bandana.
How much yarn do I need?
Most adult-size versions require approximately 180–250 total yards, depending on size, hook, border, and tie length.
Do I need to block it?
Blocking is recommended because it improves the triangle shape and opens the granny stitch spaces.
Save This Granny Crochet Bandana Pattern
Save this Granny Crochet Bandana Pattern to Pinterest for your next easy wearable crochet project.
The classic granny clusters, striped triangle construction, scalloped edging, breathable cotton yarn, and long adjustable ties make it a cute handmade accessory for summer outfits, vacations, markets, festivals, and everyday styling.