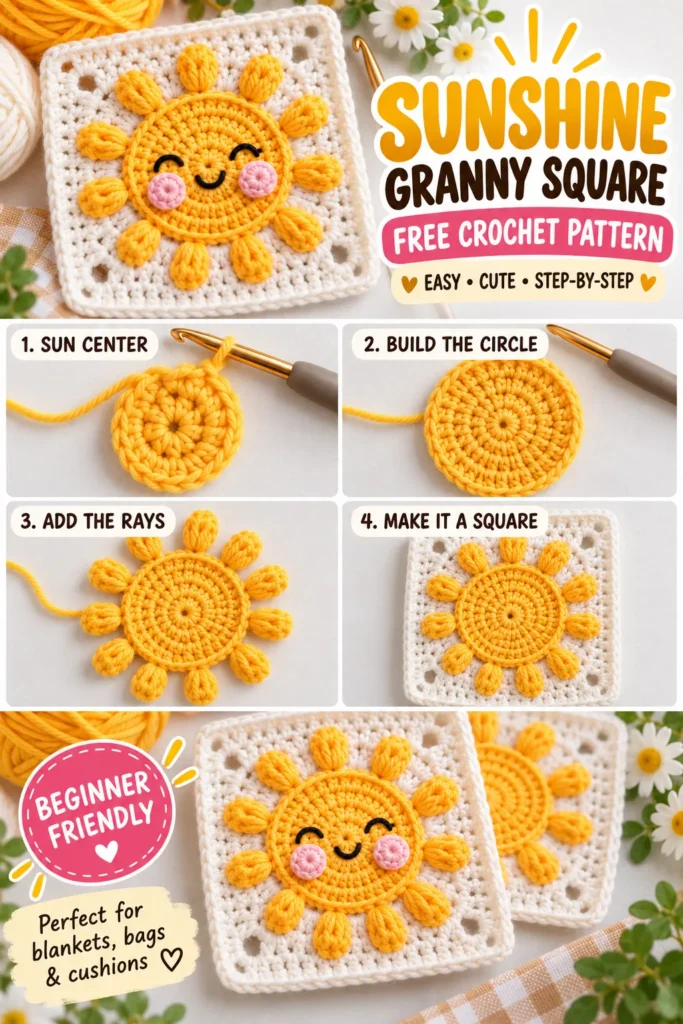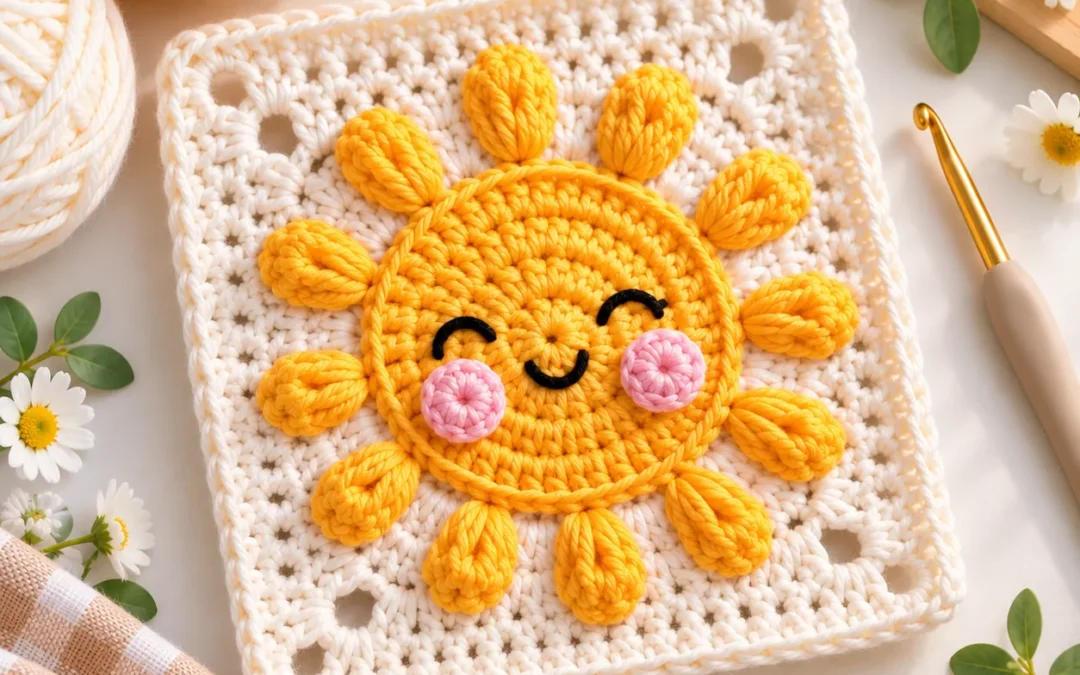
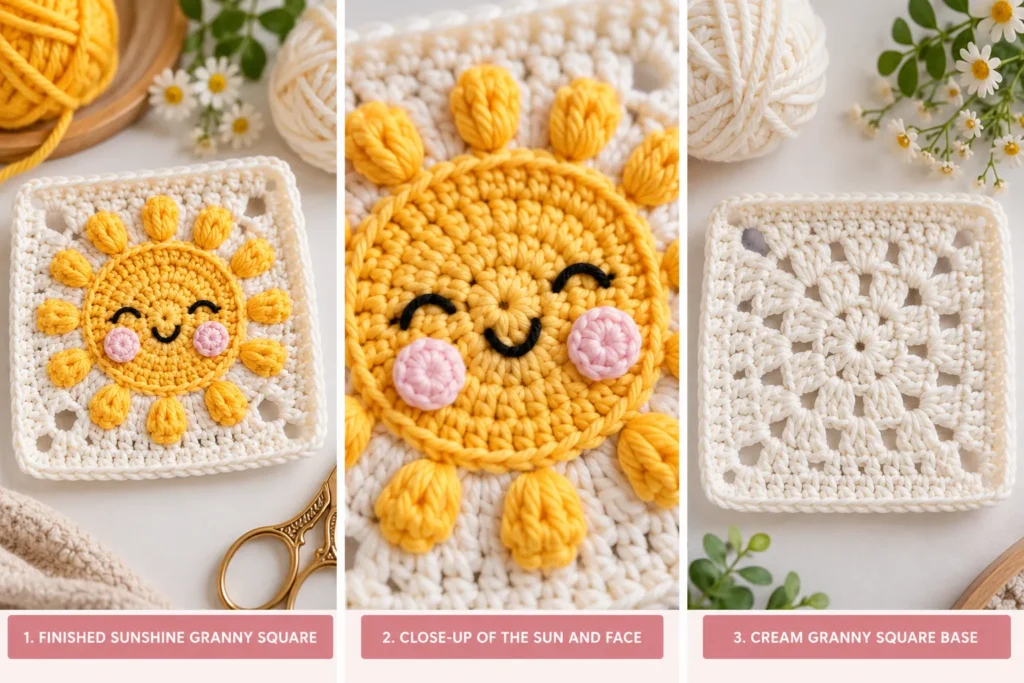
Bright, cheerful, and full of personality, this Sunshine Granny Square adds a playful touch to blankets, bags, cushions, nursery décor, and colorful crochet projects.
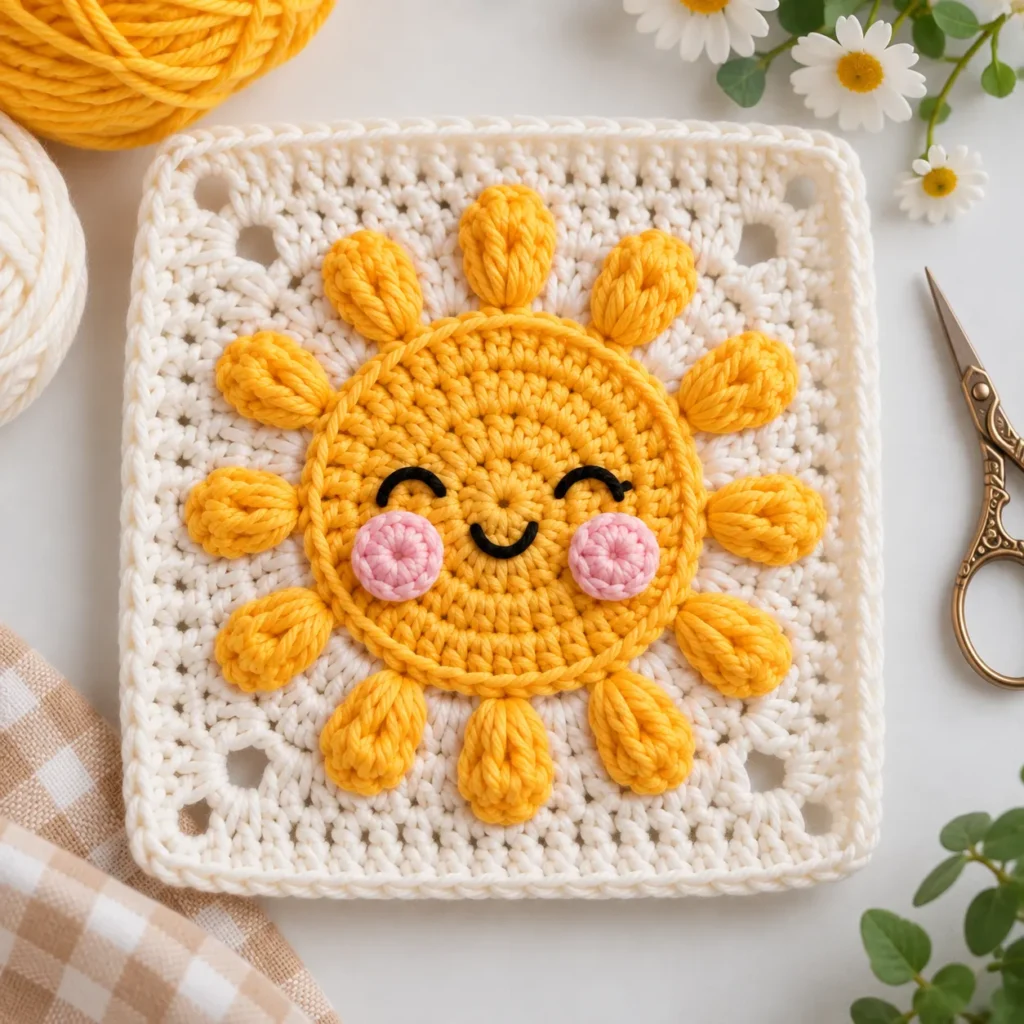
The design features a warm yellow crochet sun with textured rays, a sweet embroidered face, rosy cheeks, and a soft cream granny square background. Although the finished square looks detailed, the construction uses familiar crochet stitches and simple shaping.
This free Sunshine Granny Square crochet pattern is a fun project for confident beginners and experienced crocheters looking for a quick motif to add to a larger project.
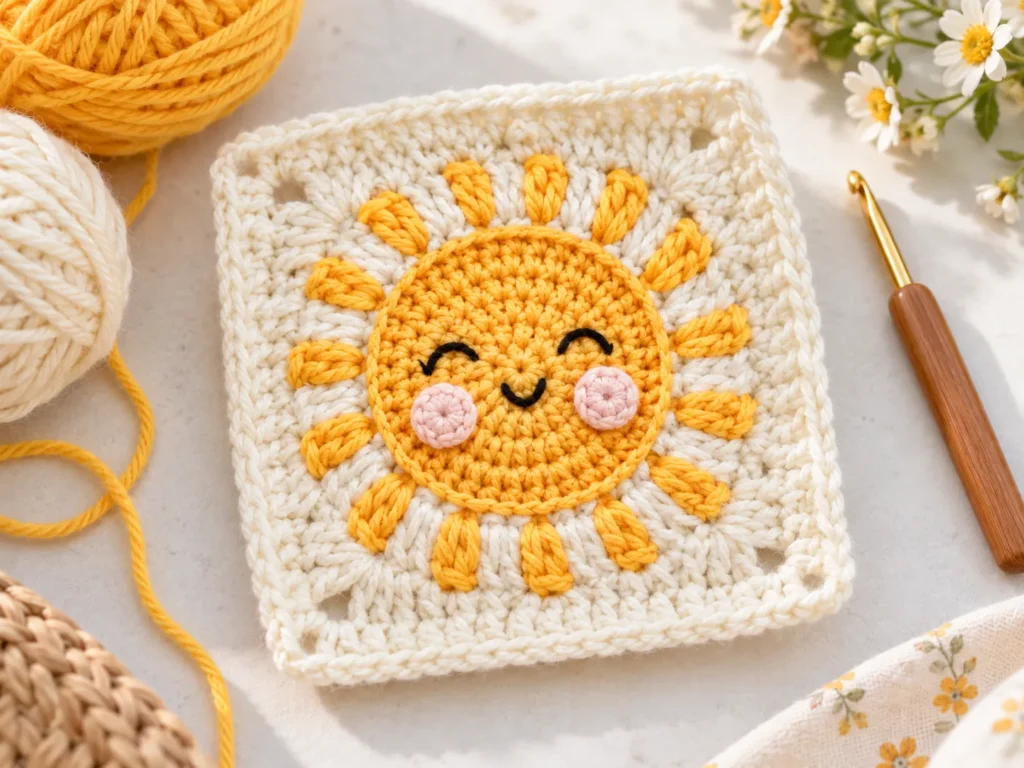
Sunshine Granny Square Pattern at a Glance
| Pattern Detail | Information |
|---|---|
| Skill Level | Easy / Advanced Beginner |
| Pattern Type | Granny Square |
| Crochet Terms | US Terms |
| Yarn Weight | DK / Light #3 |
| Hook Size | 3.5 mm |
| Finished Size | Approx. 4–4.5 inches |
| Construction | Square + crochet sun appliqué |
| Main Colors | Yellow, cream, pink and black |
| Main Techniques | Magic ring, double crochet, granny square, embroidery |
The final size can vary slightly depending on yarn, hook size, and crochet tension.
Why You’ll Love This Sunshine Granny Square
There are plenty of ways to use this cute crochet square.
The smiling sunshine makes it especially suitable for colorful handmade projects, while the neutral background allows the yellow center to stand out.
This pattern also works well for using small amounts of leftover yarn.
Some project ideas include:
- Crochet baby blankets
- Granny square blankets
- Tote bags
- Cushion covers
- Nursery décor
- Crochet cardigans
- Wall hangings
- Crochet bunting
- Pouches
- Summer accessories
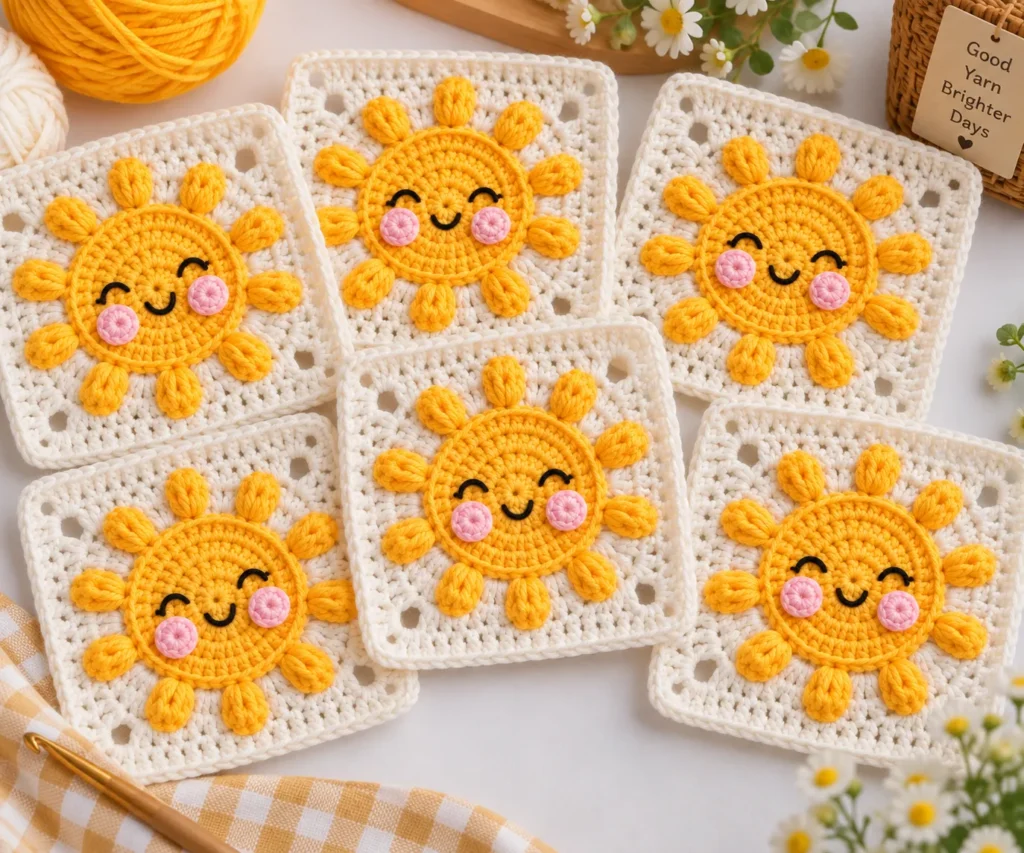
A collection of sunshine squares mixed with plain granny squares can also create a fun repeating pattern.
Materials
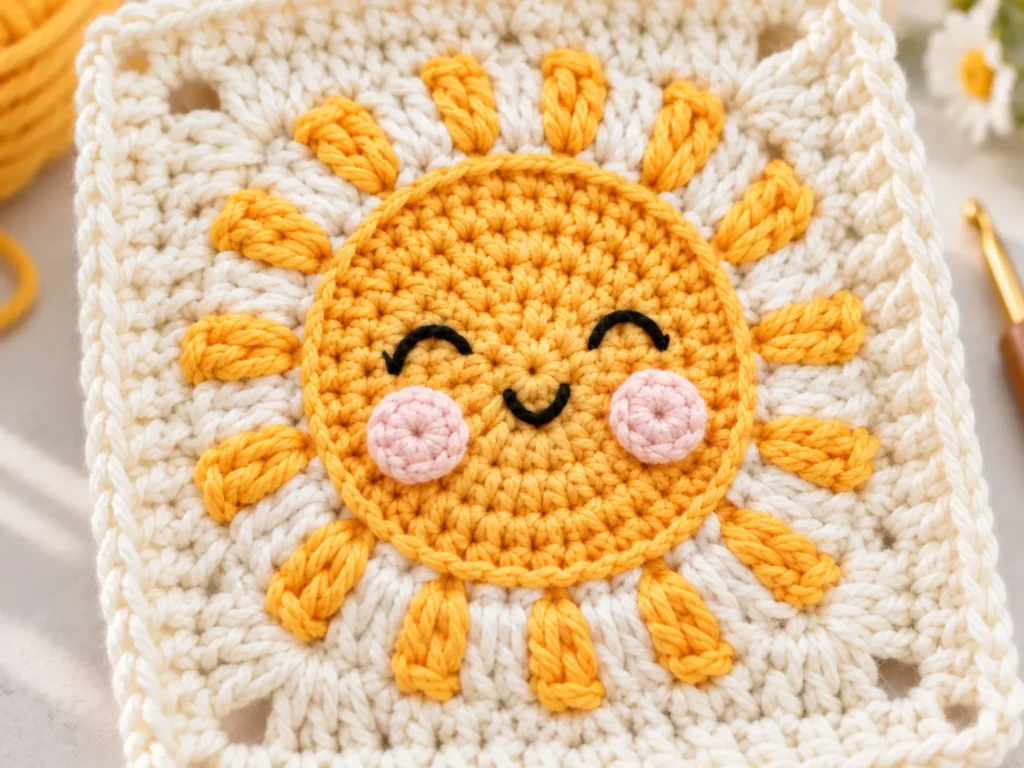
For one Sunshine Granny Square:
- DK weight yellow yarn
- DK weight cream or white yarn
- Small amount of pale pink yarn
- Small amount of black yarn or embroidery thread
- 3.5 mm crochet hook
- Yarn needle
- Scissors
- Stitch markers, optional
Cotton yarn gives the square crisp stitch definition, while acrylic yarn creates a softer result.
Both can work well for this project.
Yarn Color Ideas
The classic version uses a bright yellow sun with a cream background, but the colors are easy to customize.
Try combinations such as:
Classic Sunshine
Golden yellow + cream + blush pink
Pastel Sunshine
Butter yellow + white + pale pink
Sunset
Burnt orange + beige + dusty rose
Summer Brights
Lemon yellow + turquoise + coral
Neutral Nursery
Mustard + ivory + muted pink
Using several shades of yellow across different squares can also create a beautiful blanket without changing the basic pattern.
Crochet Abbreviations
This pattern uses US crochet terminology.
- MR – Magic Ring
- ch – Chain
- sc – Single Crochet
- hdc – Half Double Crochet
- dc – Double Crochet
- sl st – Slip Stitch
- st – Stitch
- sts – Stitches
- sp – Space
- rep – Repeat
Pattern Notes
The cream granny square and the sunshine motif are crocheted separately.
The sun is then sewn onto the center of the square.
This construction makes the motif easier to shape and also allows the sunshine design to stand slightly above the background for extra texture.
The starting chain counts as a stitch only where stated.
The finished square can be blocked after assembly to create straighter edges.
Part 1: Crochet the Granny Square Base
Use cream or white yarn.
Round 1
Create a magic ring.
Ch 3.
Work:
2 dc into the ring, ch 2.
Then repeat:
3 dc, ch 2
three more times.
Join with a sl st to the top of the beginning ch 3.
There should now be four groups of 3 dc and four corner spaces.
Pull the magic ring closed.
Round 2
Sl st across to the first corner space.
Ch 3.
Work:
2 dc, ch 2, 3 dc
into the same corner space.
Ch 1.
In the next corner work:
3 dc, ch 2, 3 dc
Ch 1.
Repeat around the remaining corners.
Join with a sl st.
Round 3
Sl st to the next corner.
Work:
Ch 3, 2 dc, ch 2, 3 dc
into the corner.
Ch 1.
Work:
3 dc
into the next side space.
Ch 1.
In the next corner work:
3 dc, ch 2, 3 dc
Continue around.
Join with a sl st.
Round 4
Repeat the same granny-square construction.
Work:
3 dc, ch 2, 3 dc
inside every corner.
Work:
3 dc
inside each side space.
Place ch 1 between each cluster.
Join and fasten off.
The cream square should now measure roughly 4 to 4.5 inches depending on tension.
Part 2: Crochet the Sun Center
Switch to yellow yarn.
Sun Round 1
Create a magic ring.
Ch 3.
Work 11 dc into the ring.
Join to the beginning chain.
12 stitches
Pull the ring closed.
Sun Round 2
Ch 3.
Work another dc into the same stitch.
Work:
2 dc in each stitch around.
Join.
24 stitches
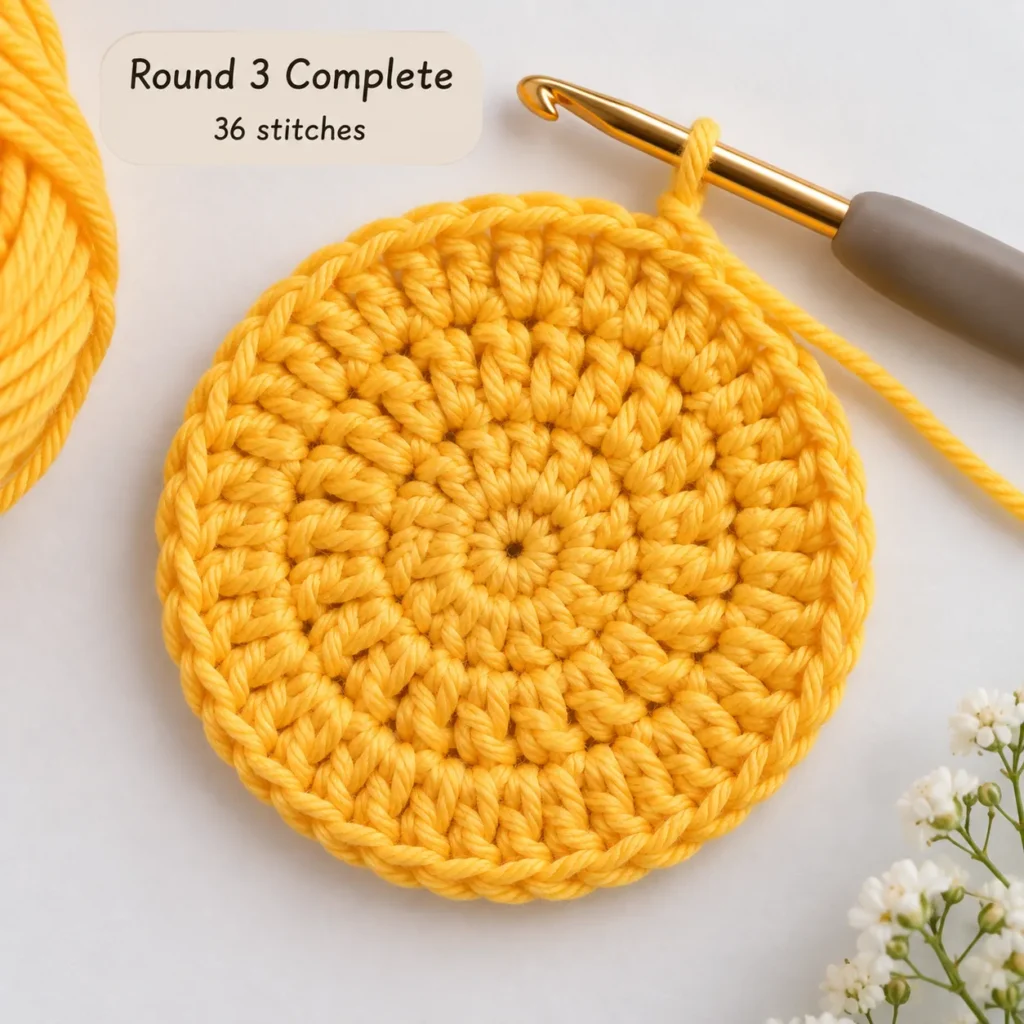
Sun Round 3
Ch 3.
Work:
1 dc in the next stitch, 2 dc in the following stitch.
Repeat around.
Join.
36 stitches
Fasten off if a simple circular sun is preferred.
For the textured rays, continue to the next section.
Part 3: Crochet the Sunshine Rays
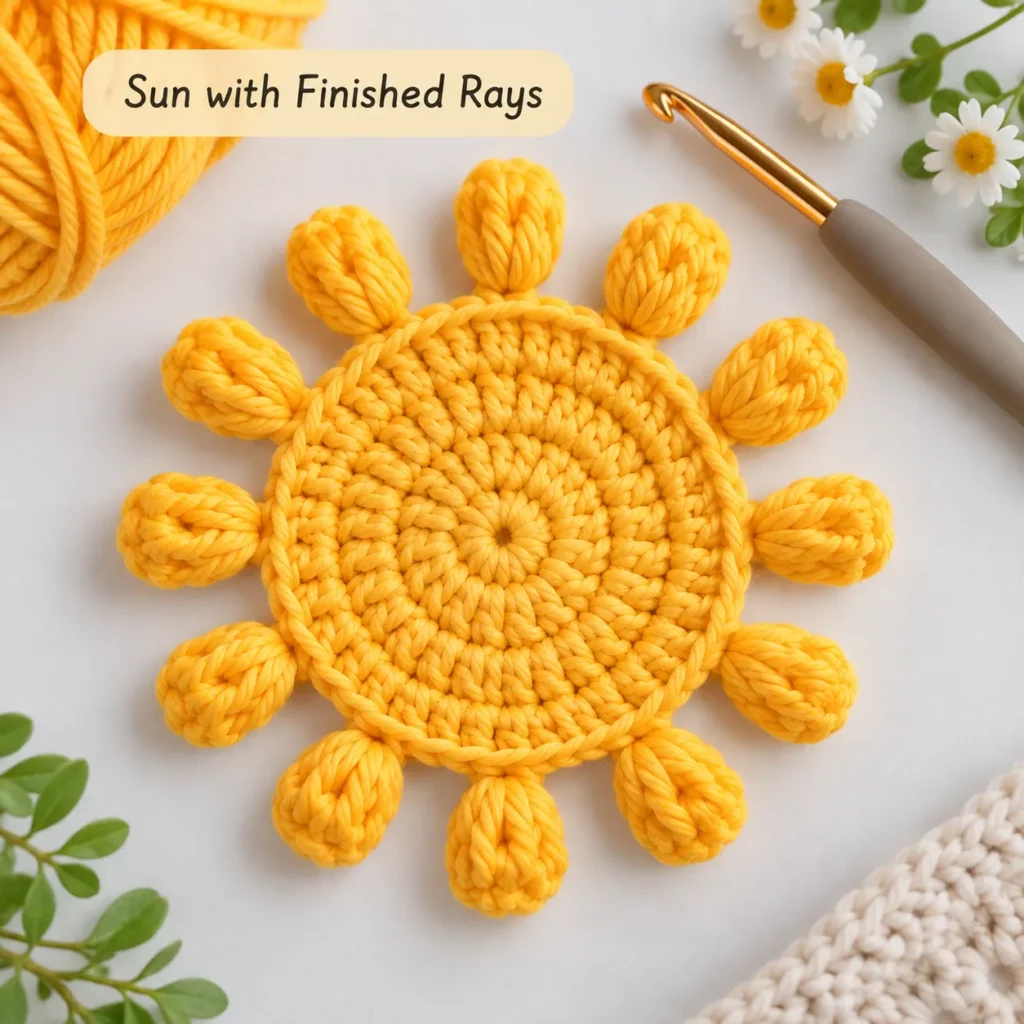
Keep using yellow yarn.
Join the yarn to any stitch around the edge of the sun.
First Ray
Ch 5.
Starting in the second chain from the hook:
- 1 sl st
- 1 sc
- 1 hdc
- 1 dc
Sl st into the next stitch along the sun edge.
This creates one small pointed ray.
Continue the Rays
Sl st into the following stitch.
Make another:
ch 5 → sl st → sc → hdc → dc
Continue spacing the rays evenly around the sun.
Aim for approximately 12 rays.
Small differences in spacing are fine as long as the rays appear evenly distributed.
Fasten off.
Part 4: Add the Sunshine Face
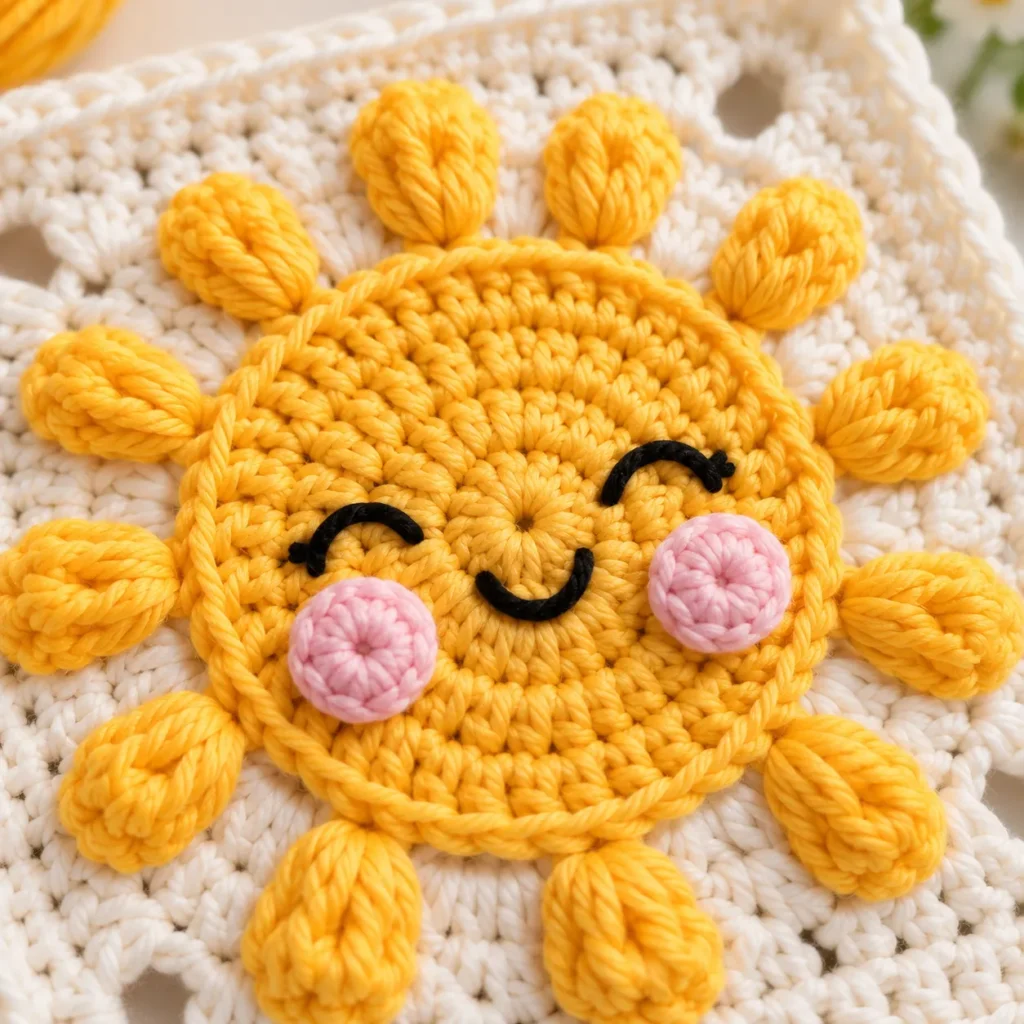
The little face turns the motif into the cheerful Sunshine Granny Square.
Embroider the Eyes
Thread a yarn needle with black yarn or embroidery thread.
Create two small curved eyes approximately halfway down the sun.
A simple curved stitch gives the sun a relaxed, happy expression.
Embroider the Smile
Place the smile centrally between the two eyes.
Use two or three small stitches to create a gentle upward curve.
Avoid pulling the embroidery too tightly because this can distort the crochet circle.
Crochet the Rosy Cheeks
Use pale pink yarn.
Make a magic ring.
Work:
6 sc into the ring.
Join with a sl st.
Fasten off while leaving a long tail for sewing.
Make two cheeks.
Position one beneath each eye.
Sew them securely to the yellow sun.
Part 5: Attach the Sun to the Granny Square
Place the finished sunshine motif in the center of the cream granny square.
Make sure the motif is evenly positioned before sewing.
Thread the yellow yarn tail through a yarn needle.
Sew around the outer edge of the circular sun center.
The rays can remain loose to create a dimensional effect.
Alternatively, each ray can be lightly stitched to the background for a flatter finish.
Weave in all remaining yarn ends.
Your Sunshine Granny Square is finished.
Blocking the Finished Granny Square
Blocking can make the final square look much neater, particularly when several squares will be joined together.
Lightly dampen the finished piece.
Lay it on a blocking mat or folded towel.
Gently shape each side and corner until the square looks even.
Allow it to dry completely.
Avoid stretching the sun motif excessively.
How to Make a Larger Sunshine Granny Square
A larger square can be created by adding more cream granny rounds before attaching the sunshine.
Continue working around the square using:
3 dc clusters separated by ch 1 spaces
and:
3 dc, ch 2, 3 dc
inside every corner.
Each additional round increases the finished dimensions while maintaining the classic granny-square shape.
This approach can be useful when making cushions, bags, garments, or larger blanket blocks.
Sunshine Granny Square Blanket Idea
One of the cutest ways to use this pattern is in a crochet blanket.
There are several layout possibilities.
All Sunshine Squares
Create the same motif repeatedly for a cheerful sun-themed blanket.
Sunshine + Plain Squares
Alternate one Sunshine Granny Square with one plain cream square.
This creates more breathing room between motifs.
Mixed Weather Blanket
Combine sunshine squares with:
- Clouds
- Rainbows
- Moons
- Stars
- Flowers
This can create a playful nursery or children's blanket.
Sunshine Granny Square Tote Bag
Two panels made from joined granny squares can become a colorful handmade tote.
For example:
Create four squares for the front.
Create another four for the back.
Join the squares using slip stitches or a preferred joining method.
Add side seams and crochet handles.
A plain cream lining can also be added for more structure.
Sunshine Granny Square Cushion
Another simple project idea is a cushion cover.
Join several squares into a panel approximately the same size as the cushion insert.
Create a matching back panel.
Join three sides together, insert the cushion, and close the remaining side.
The dimensional sun motifs create a particularly interesting texture on decorative cushions.
Customization Ideas
The same basic pattern can create many variations.
Try:
- Different facial expressions
- Orange sunshine centers
- White rays
- Pastel-colored backgrounds
- Rainbow granny square borders
- Different cheek colors
- Smaller embroidered faces
- No face for a simpler sun motif
- Alternating yellow shades
Individual details can make every square slightly different while still keeping a coordinated overall design.
Frequently Asked Questions
Is the Sunshine Granny Square beginner friendly?
The granny-square base uses basic double crochet stitches and chain spaces.
The sun motif also uses common crochet stitches.
Crocheters already comfortable with magic rings, double crochet, slip stitches, and basic sewing should find the pattern manageable.
What yarn is suitable for this pattern?
DK cotton, cotton blends, acrylic, and lightweight wool blends can all work.
Using the same yarn weight for the square and the sunshine motif generally produces the most balanced result.
Can worsted weight yarn be used?
Yes.
Worsted weight yarn will create a larger and thicker square.
A crochet hook around 4–5 mm may work depending on the yarn.
The exact final dimensions will differ from the DK version.
Can the Sunshine Granny Square be made without the face?
Absolutely.
Leave off the eyes, smile, and cheeks to create a simple crochet sun motif.
This variation can work well for home décor and more minimal blanket designs.
How can several granny squares be joined?
Common joining methods include:
- Whip stitch
- Mattress stitch
- Slip stitch joining
- Single crochet joining
- Join-as-you-go
The joining method changes the amount of texture visible between the squares.
Can different colors be used?
Yes.
Color changes are one of the easiest ways to customize the pattern.
Yellow and cream create a traditional sunshine look, while orange, peach, mustard, pastel yellow, or even pink can produce very different results.
Save This Sunshine Granny Square on Pinterest
Love this cheerful crochet square? For an illustrated downloadable version, you can also explore the Sunshine Granny Square PDF pattern overview. The free written tutorial on this page remains available to read.
Save the pattern on Pinterest so it is easy to find when it is time to start the next crochet project.